43_JRR_20240907_0032.jpg

Blog

Posts tagged Acoustics
Day 2: Quadratic Residue Diffuser Build

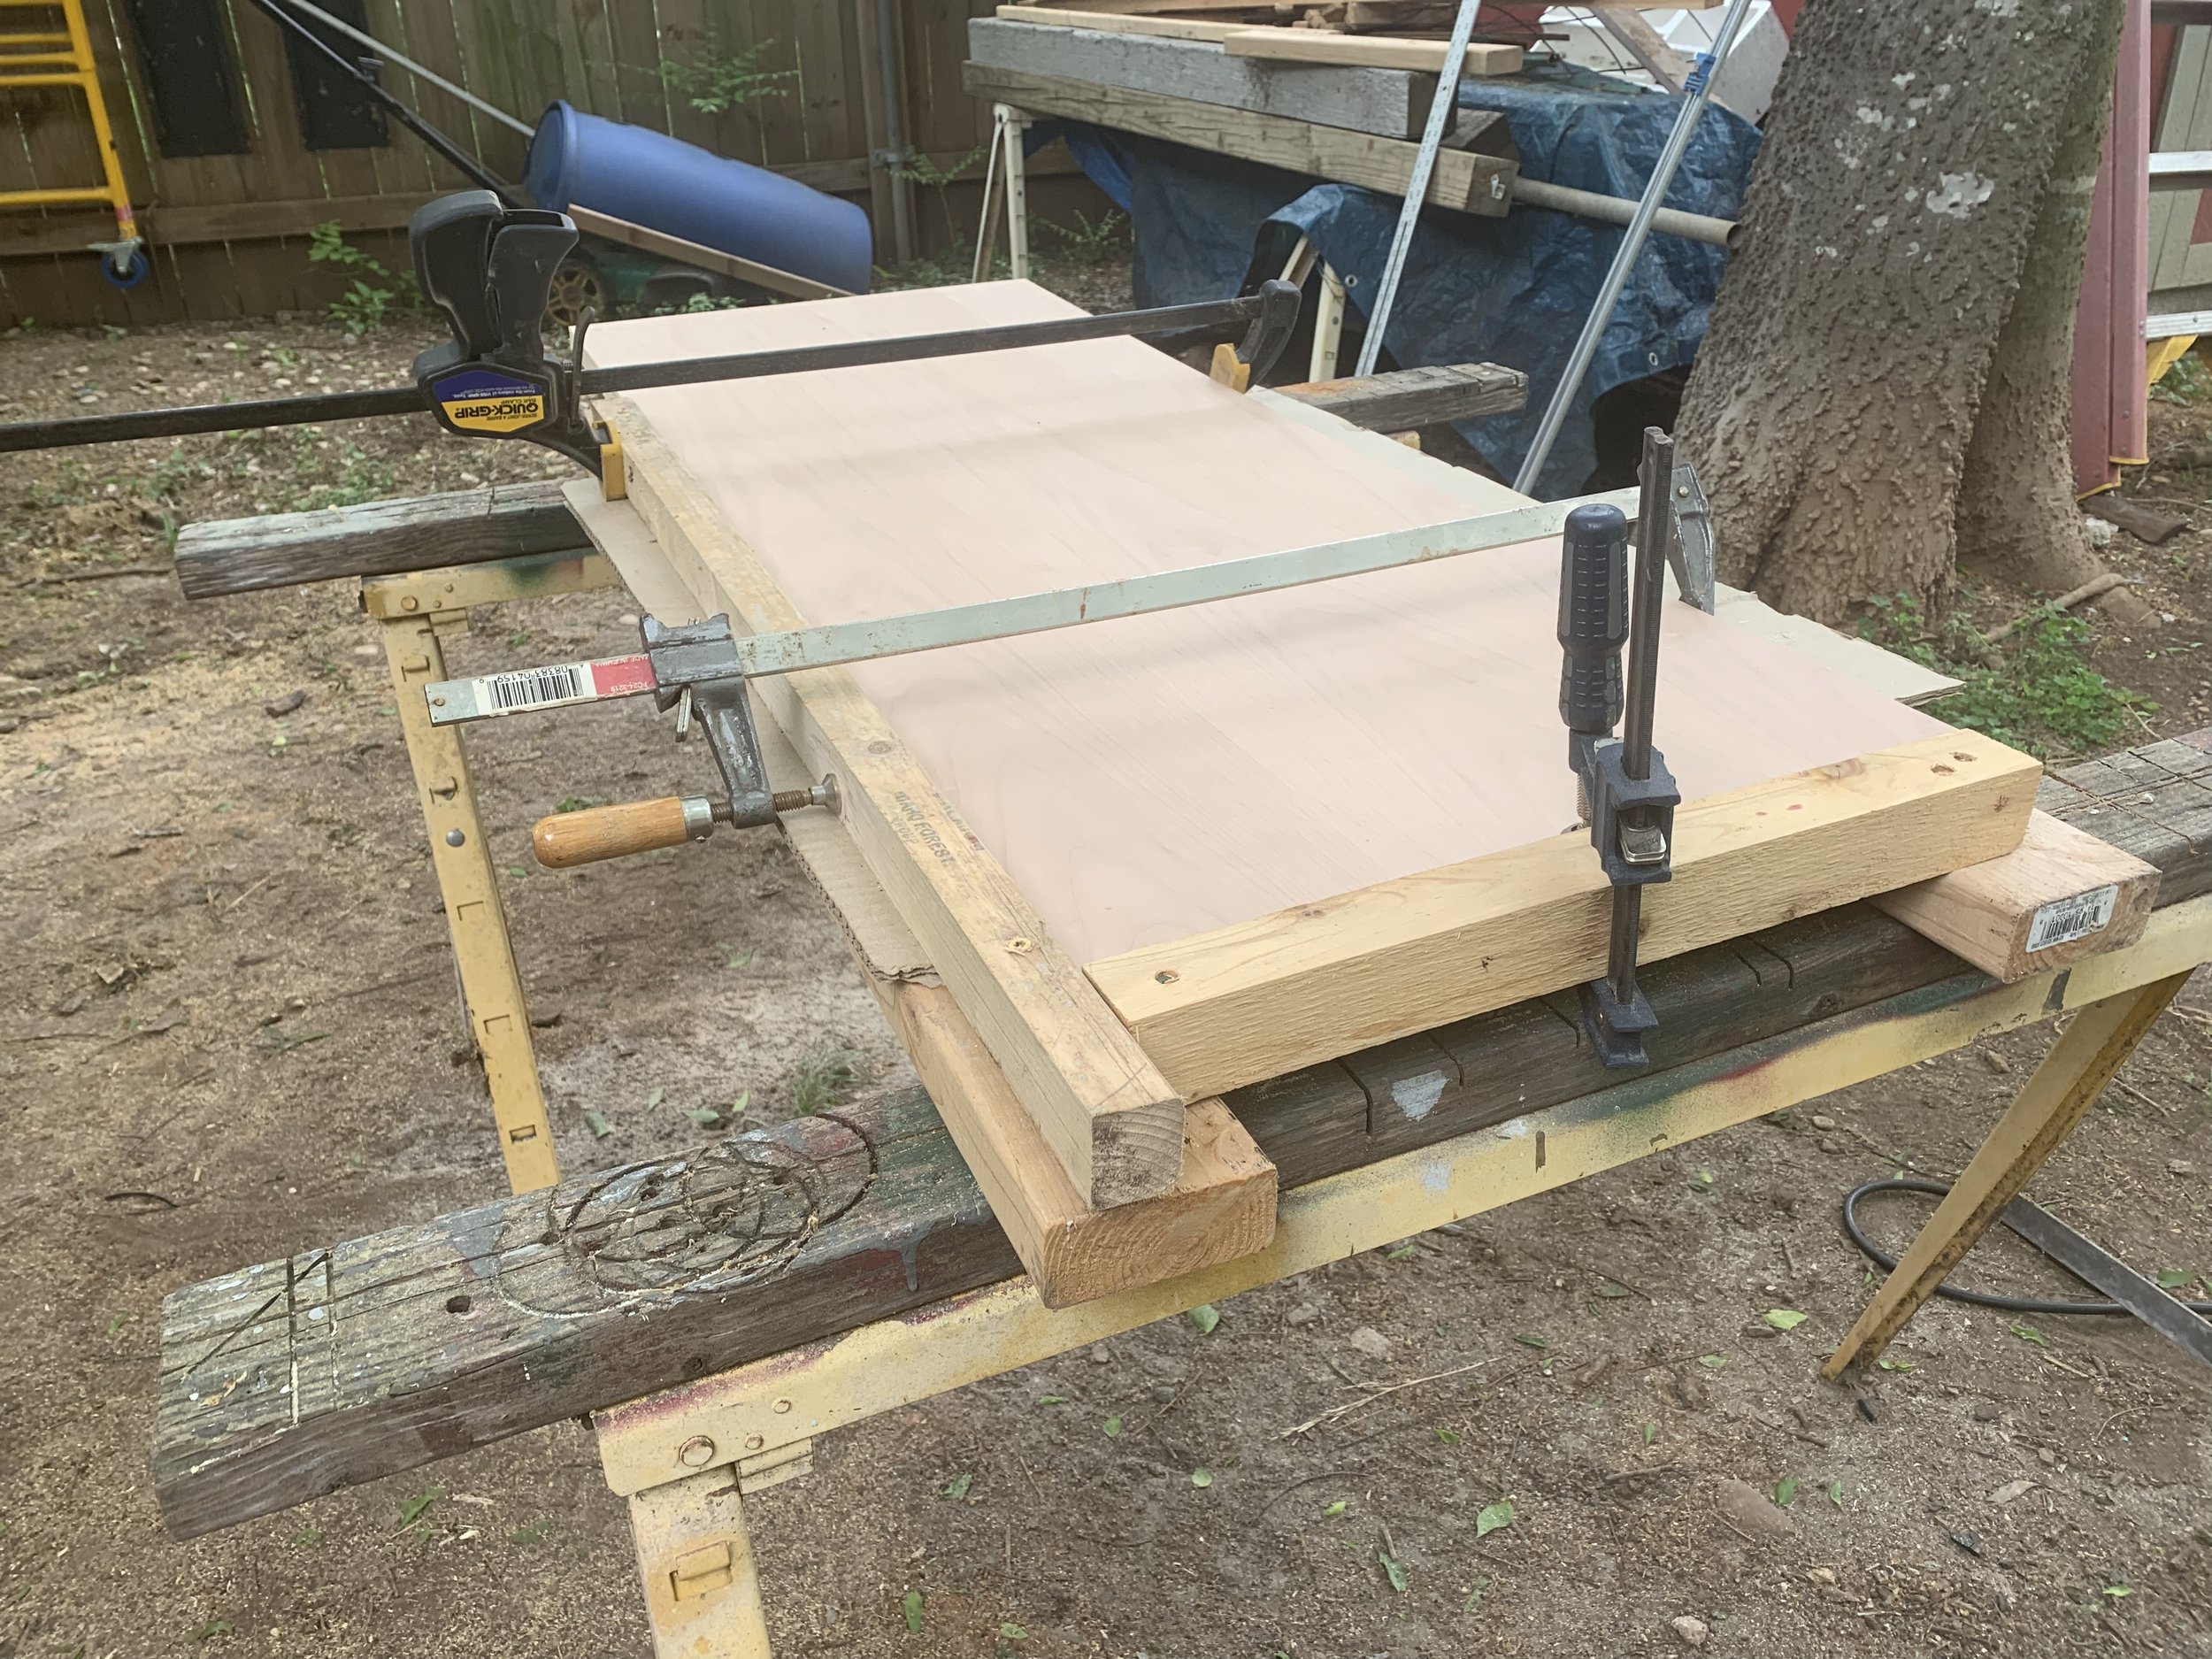
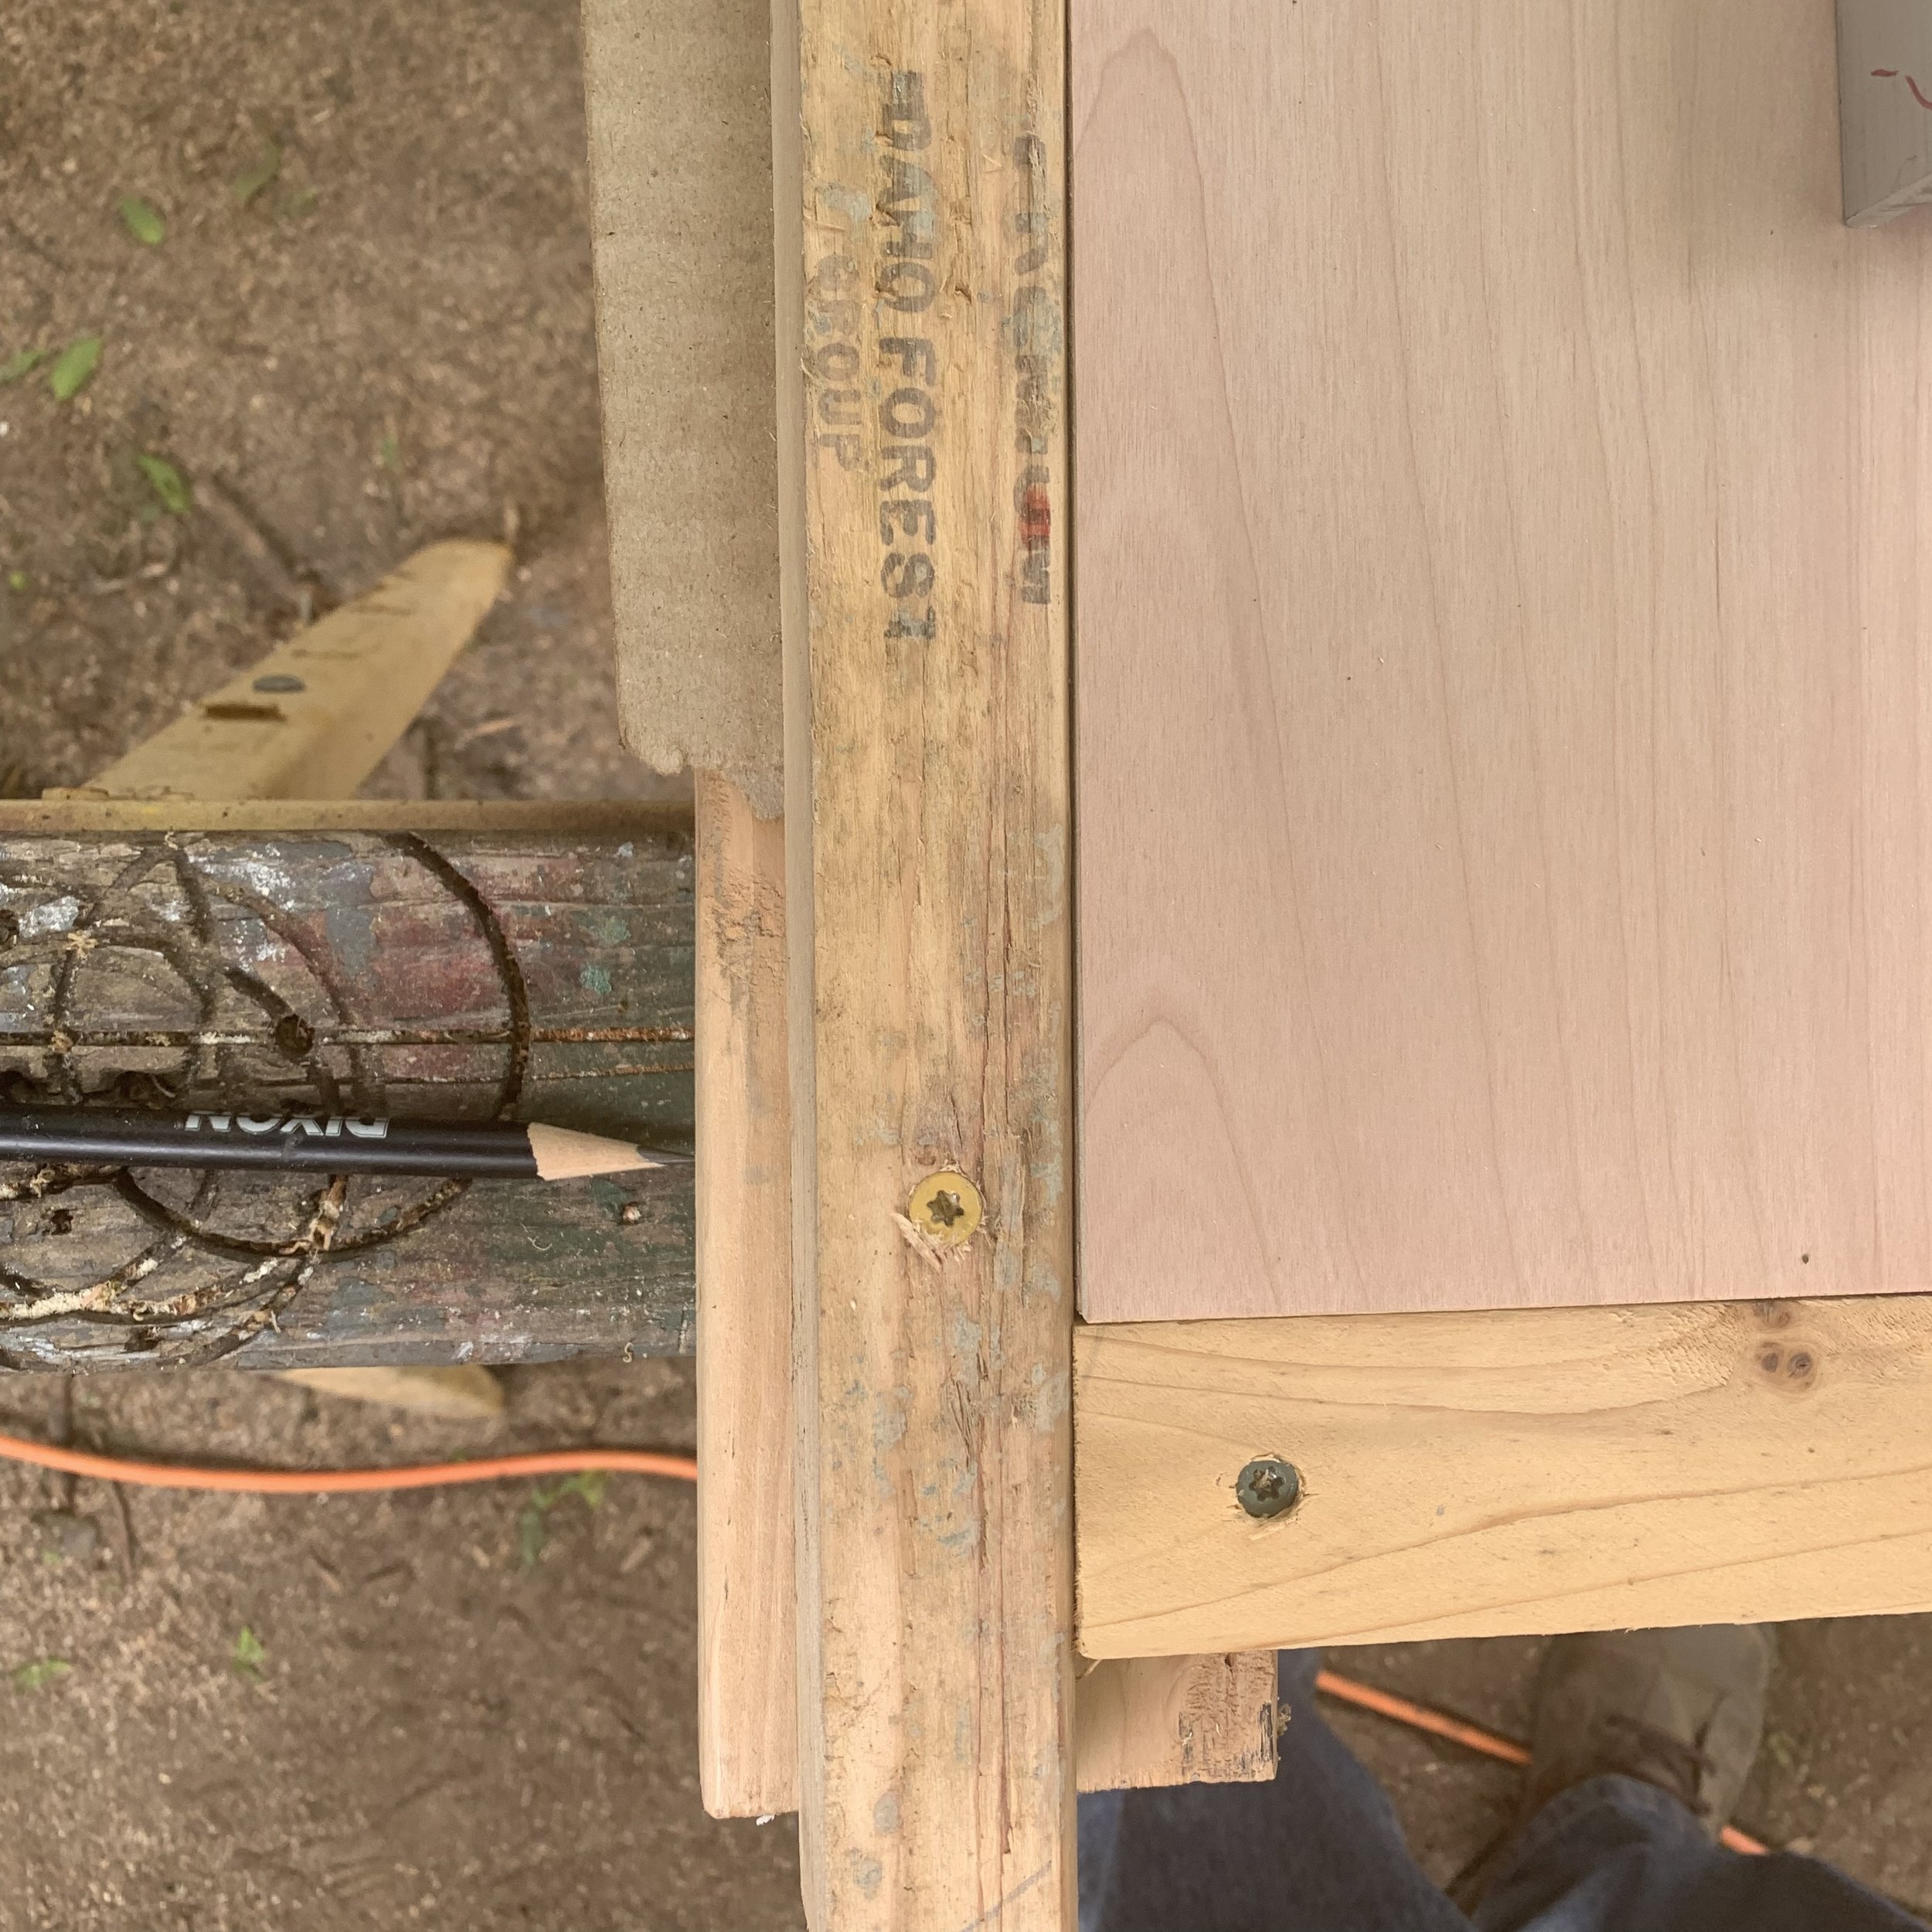
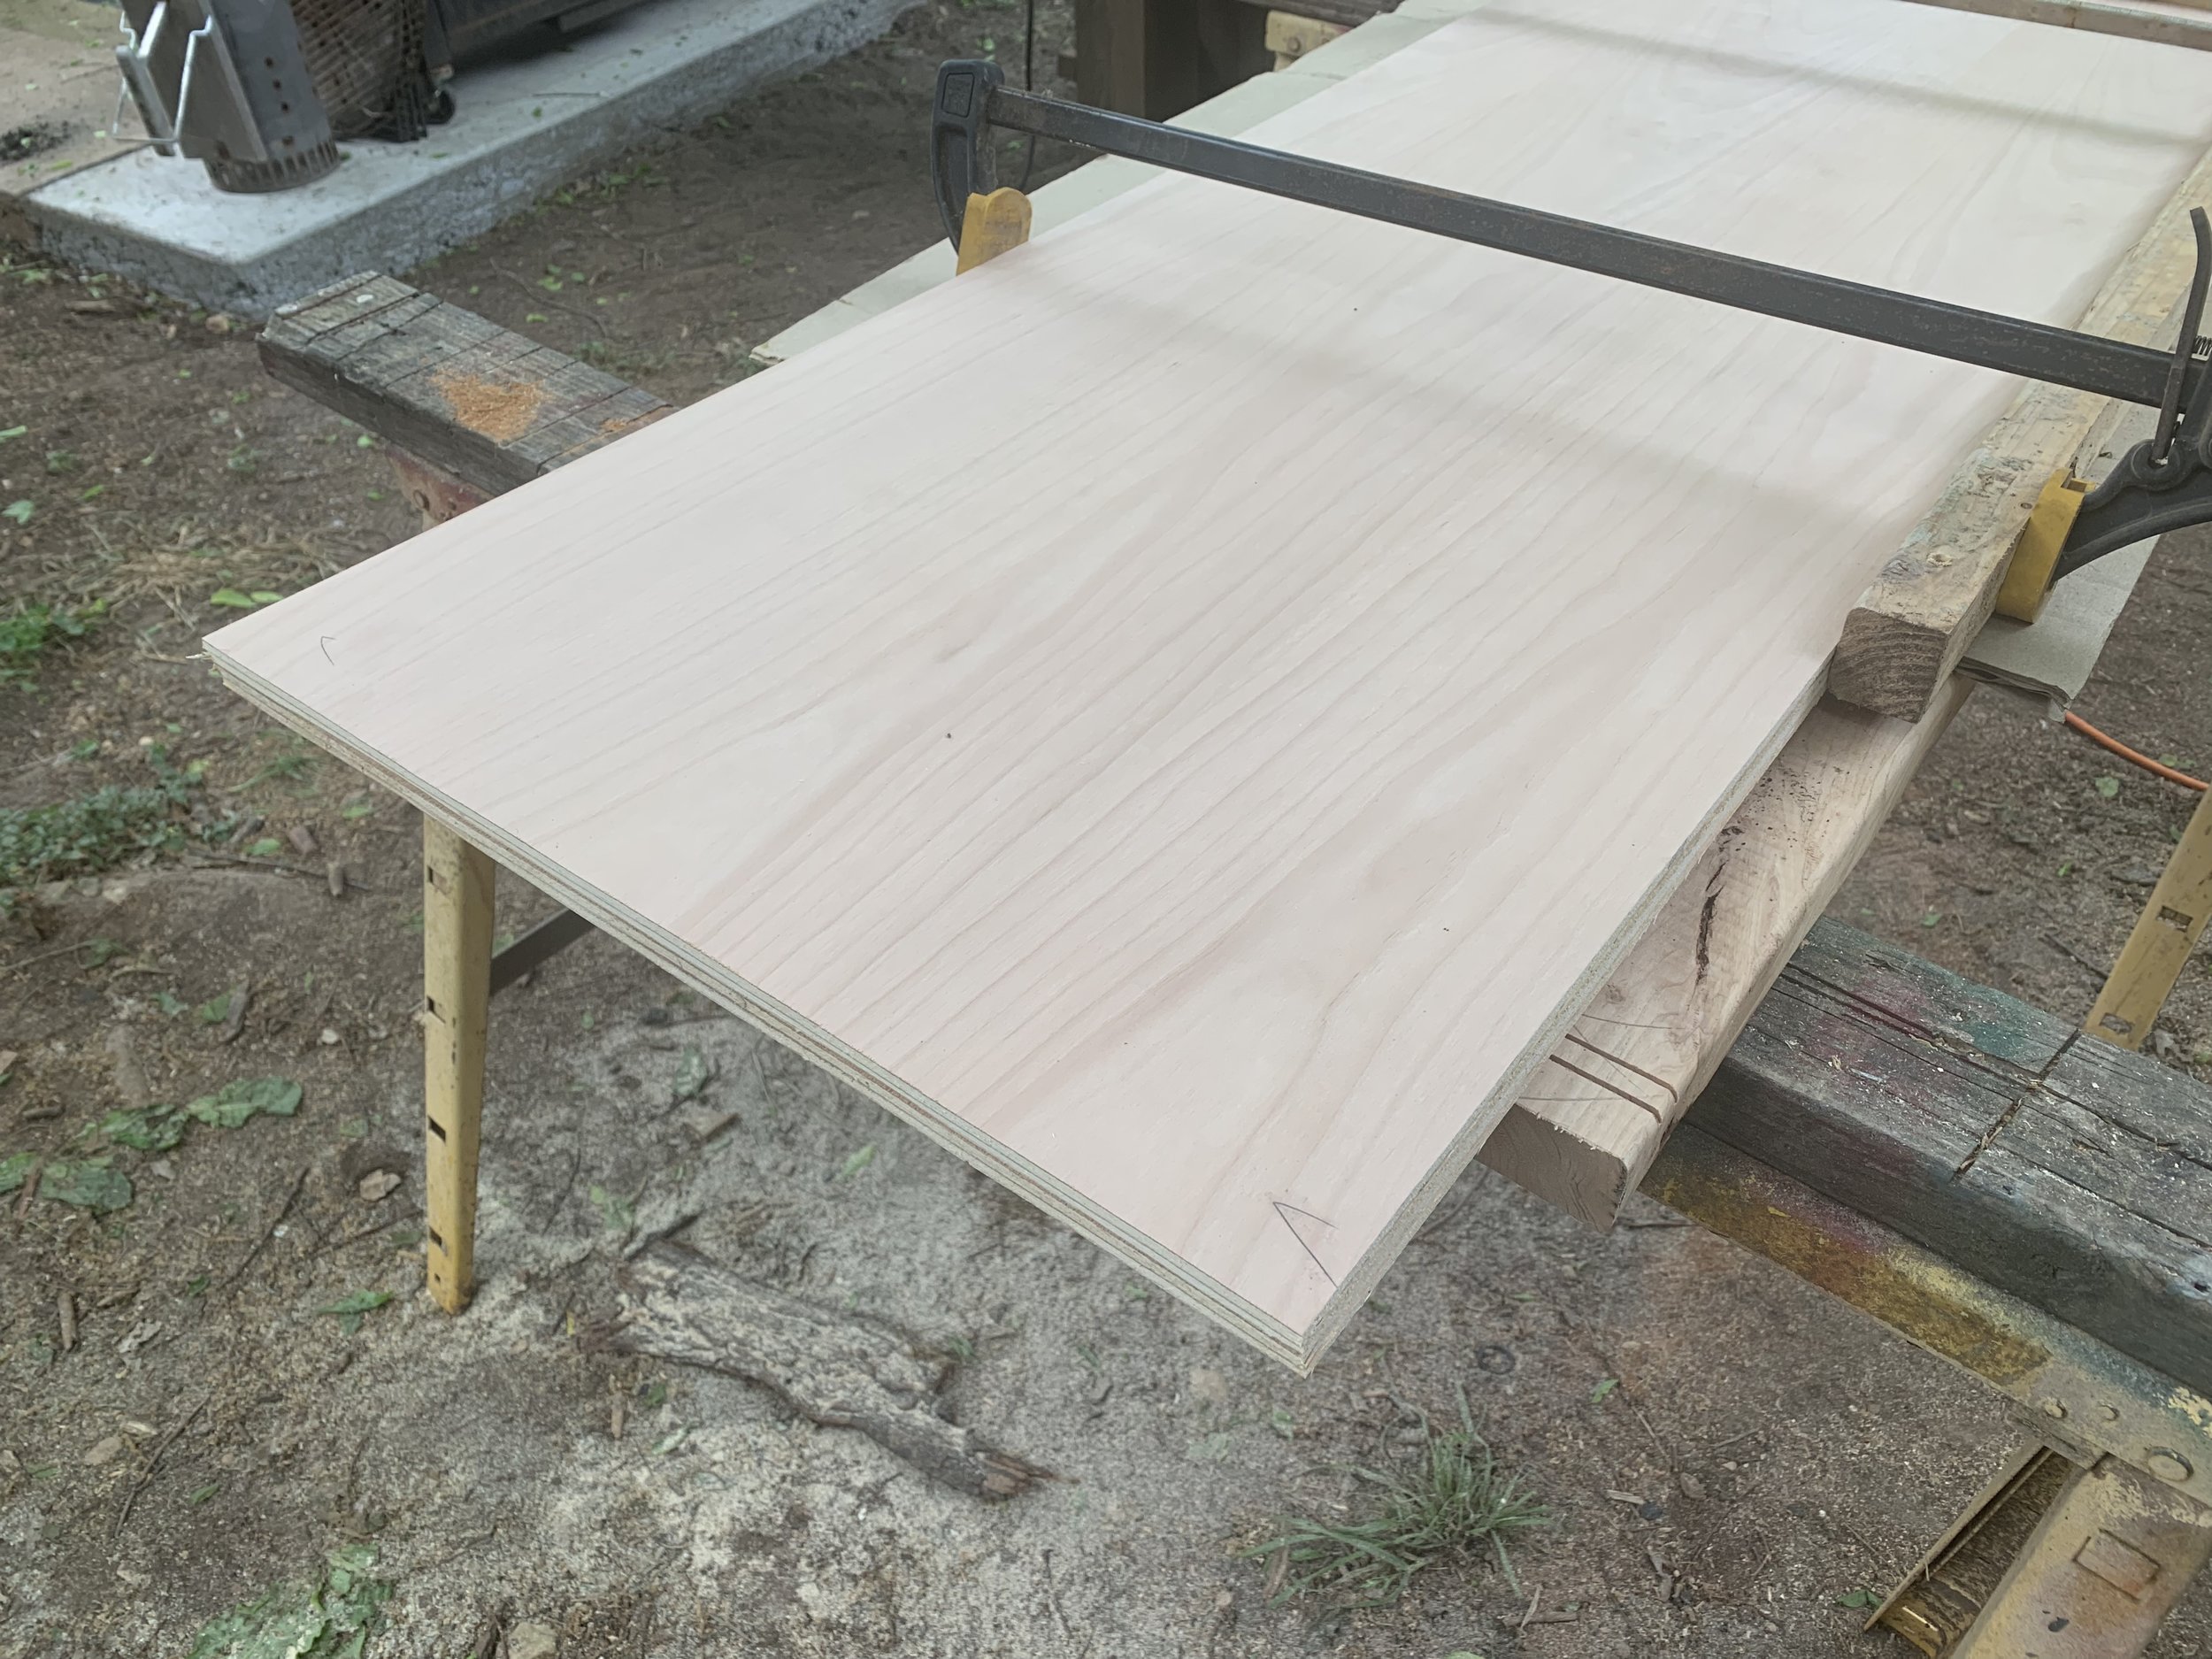
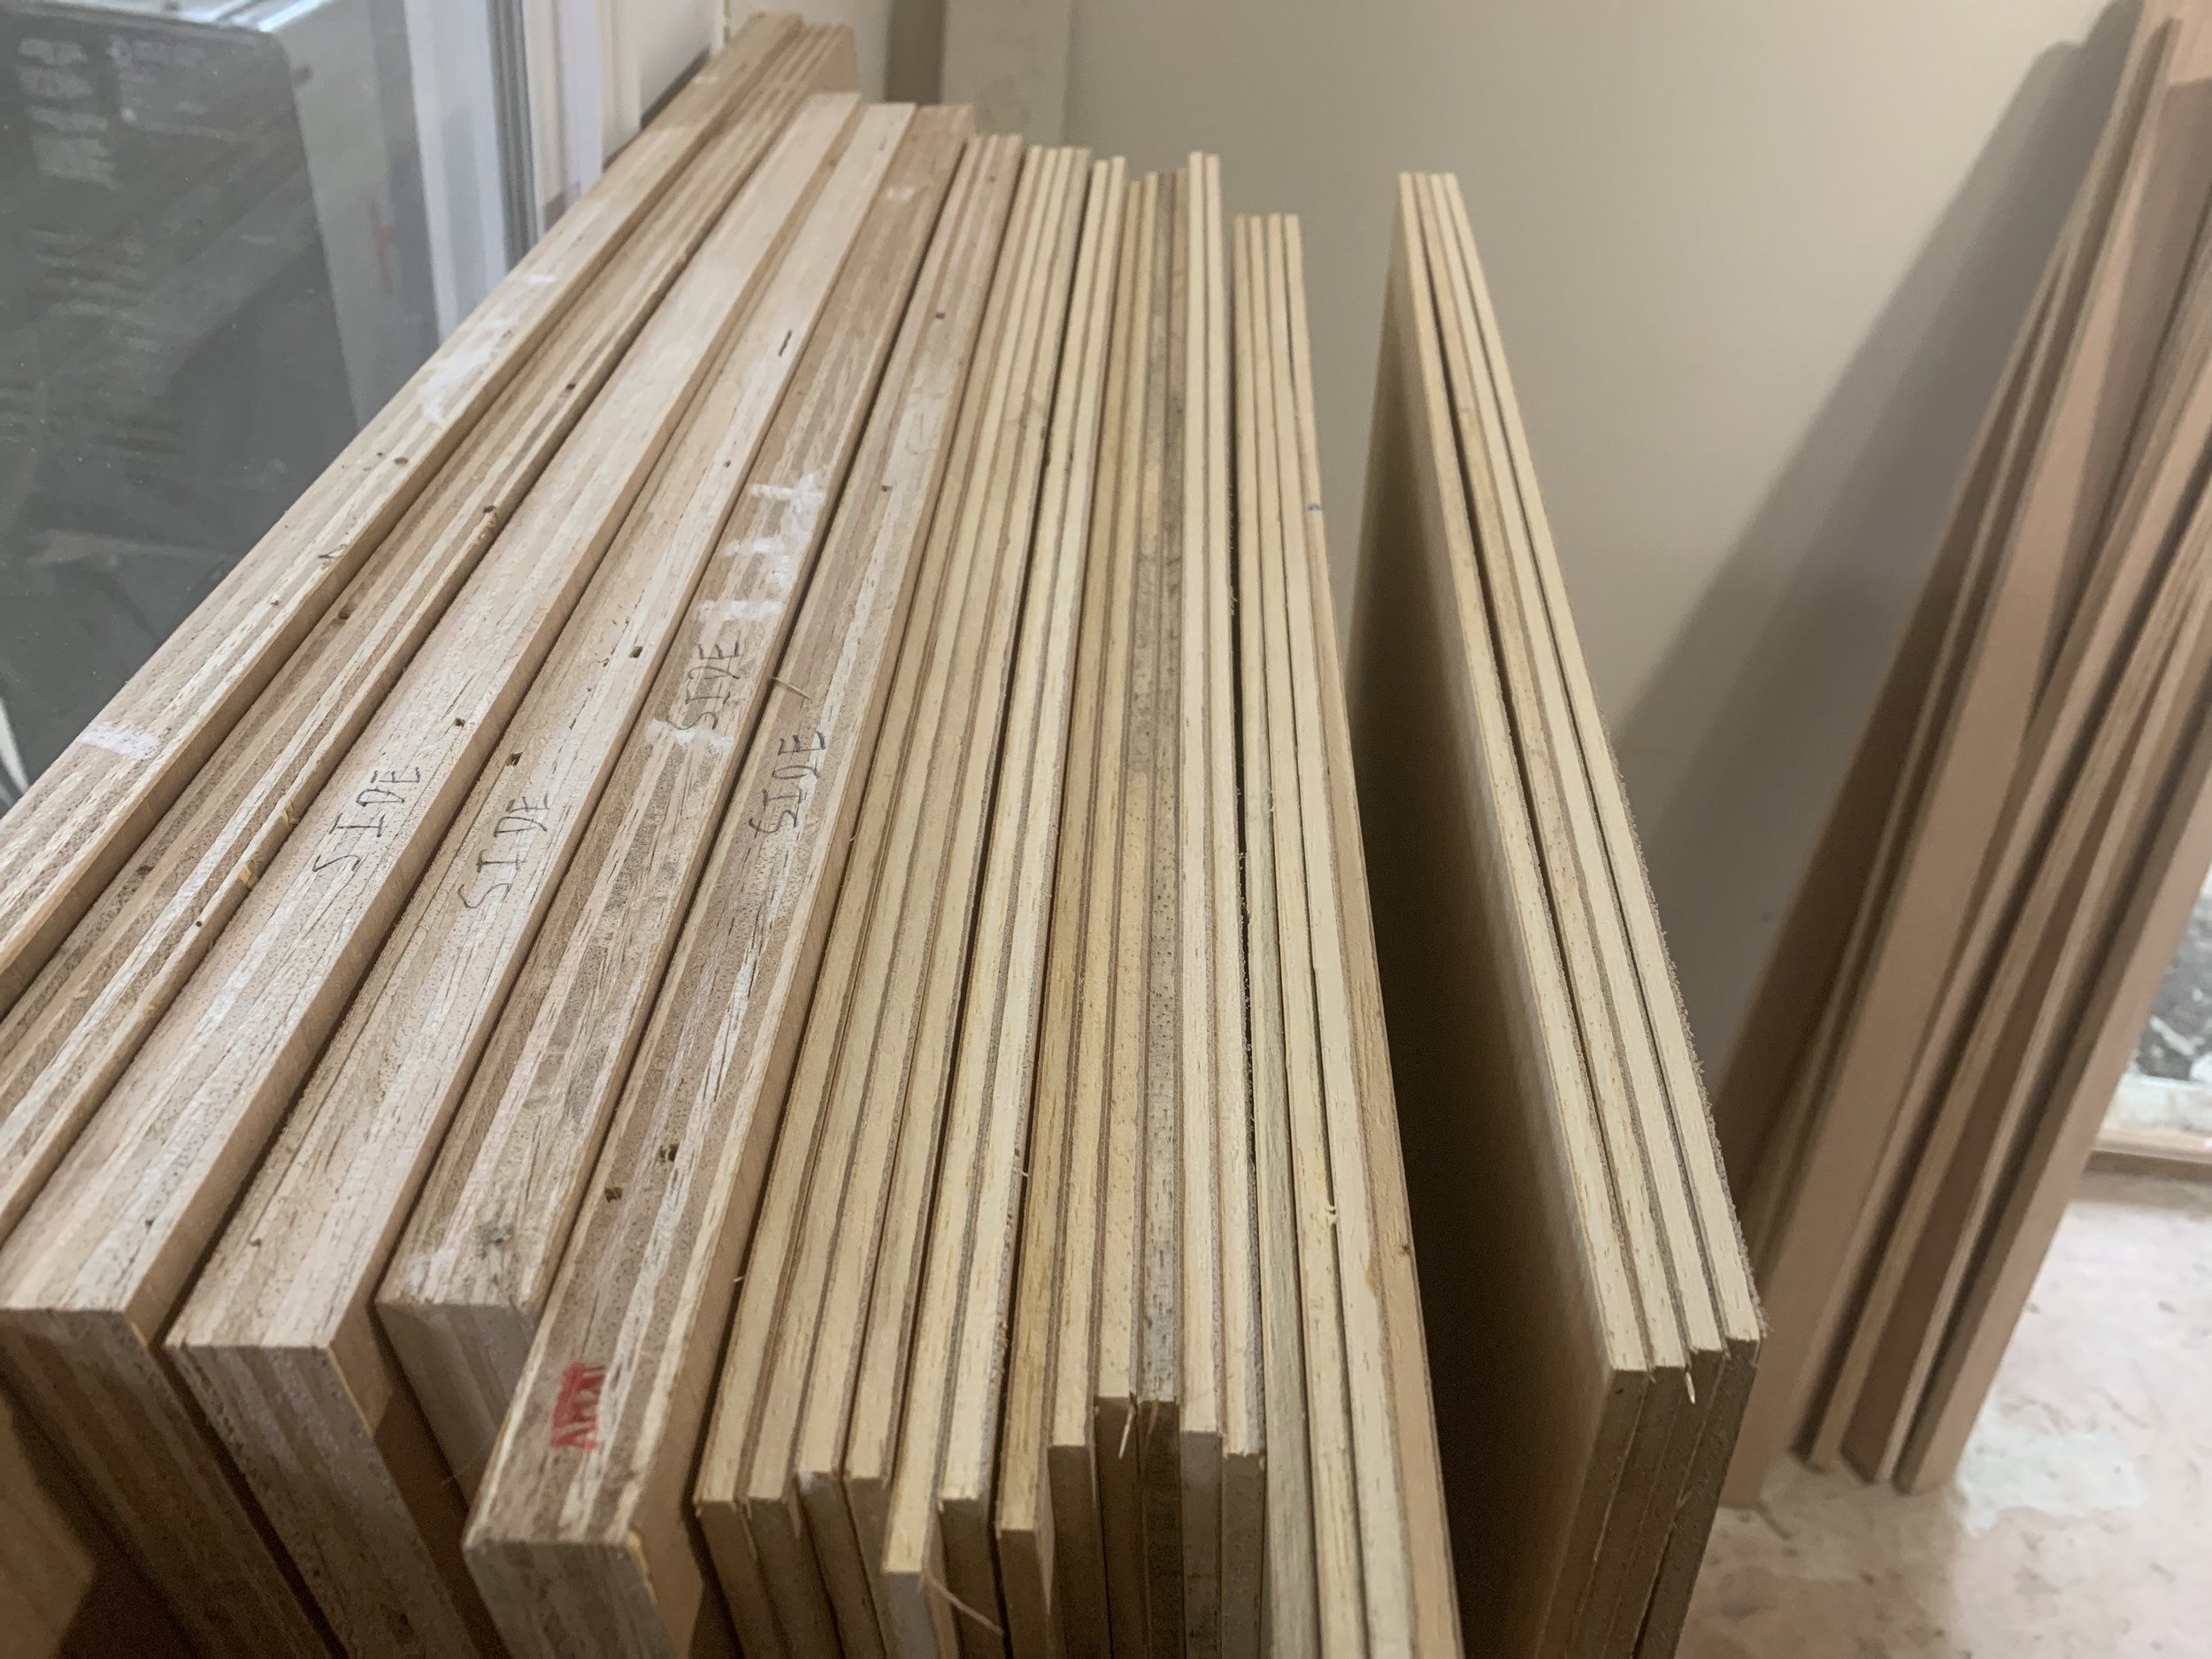
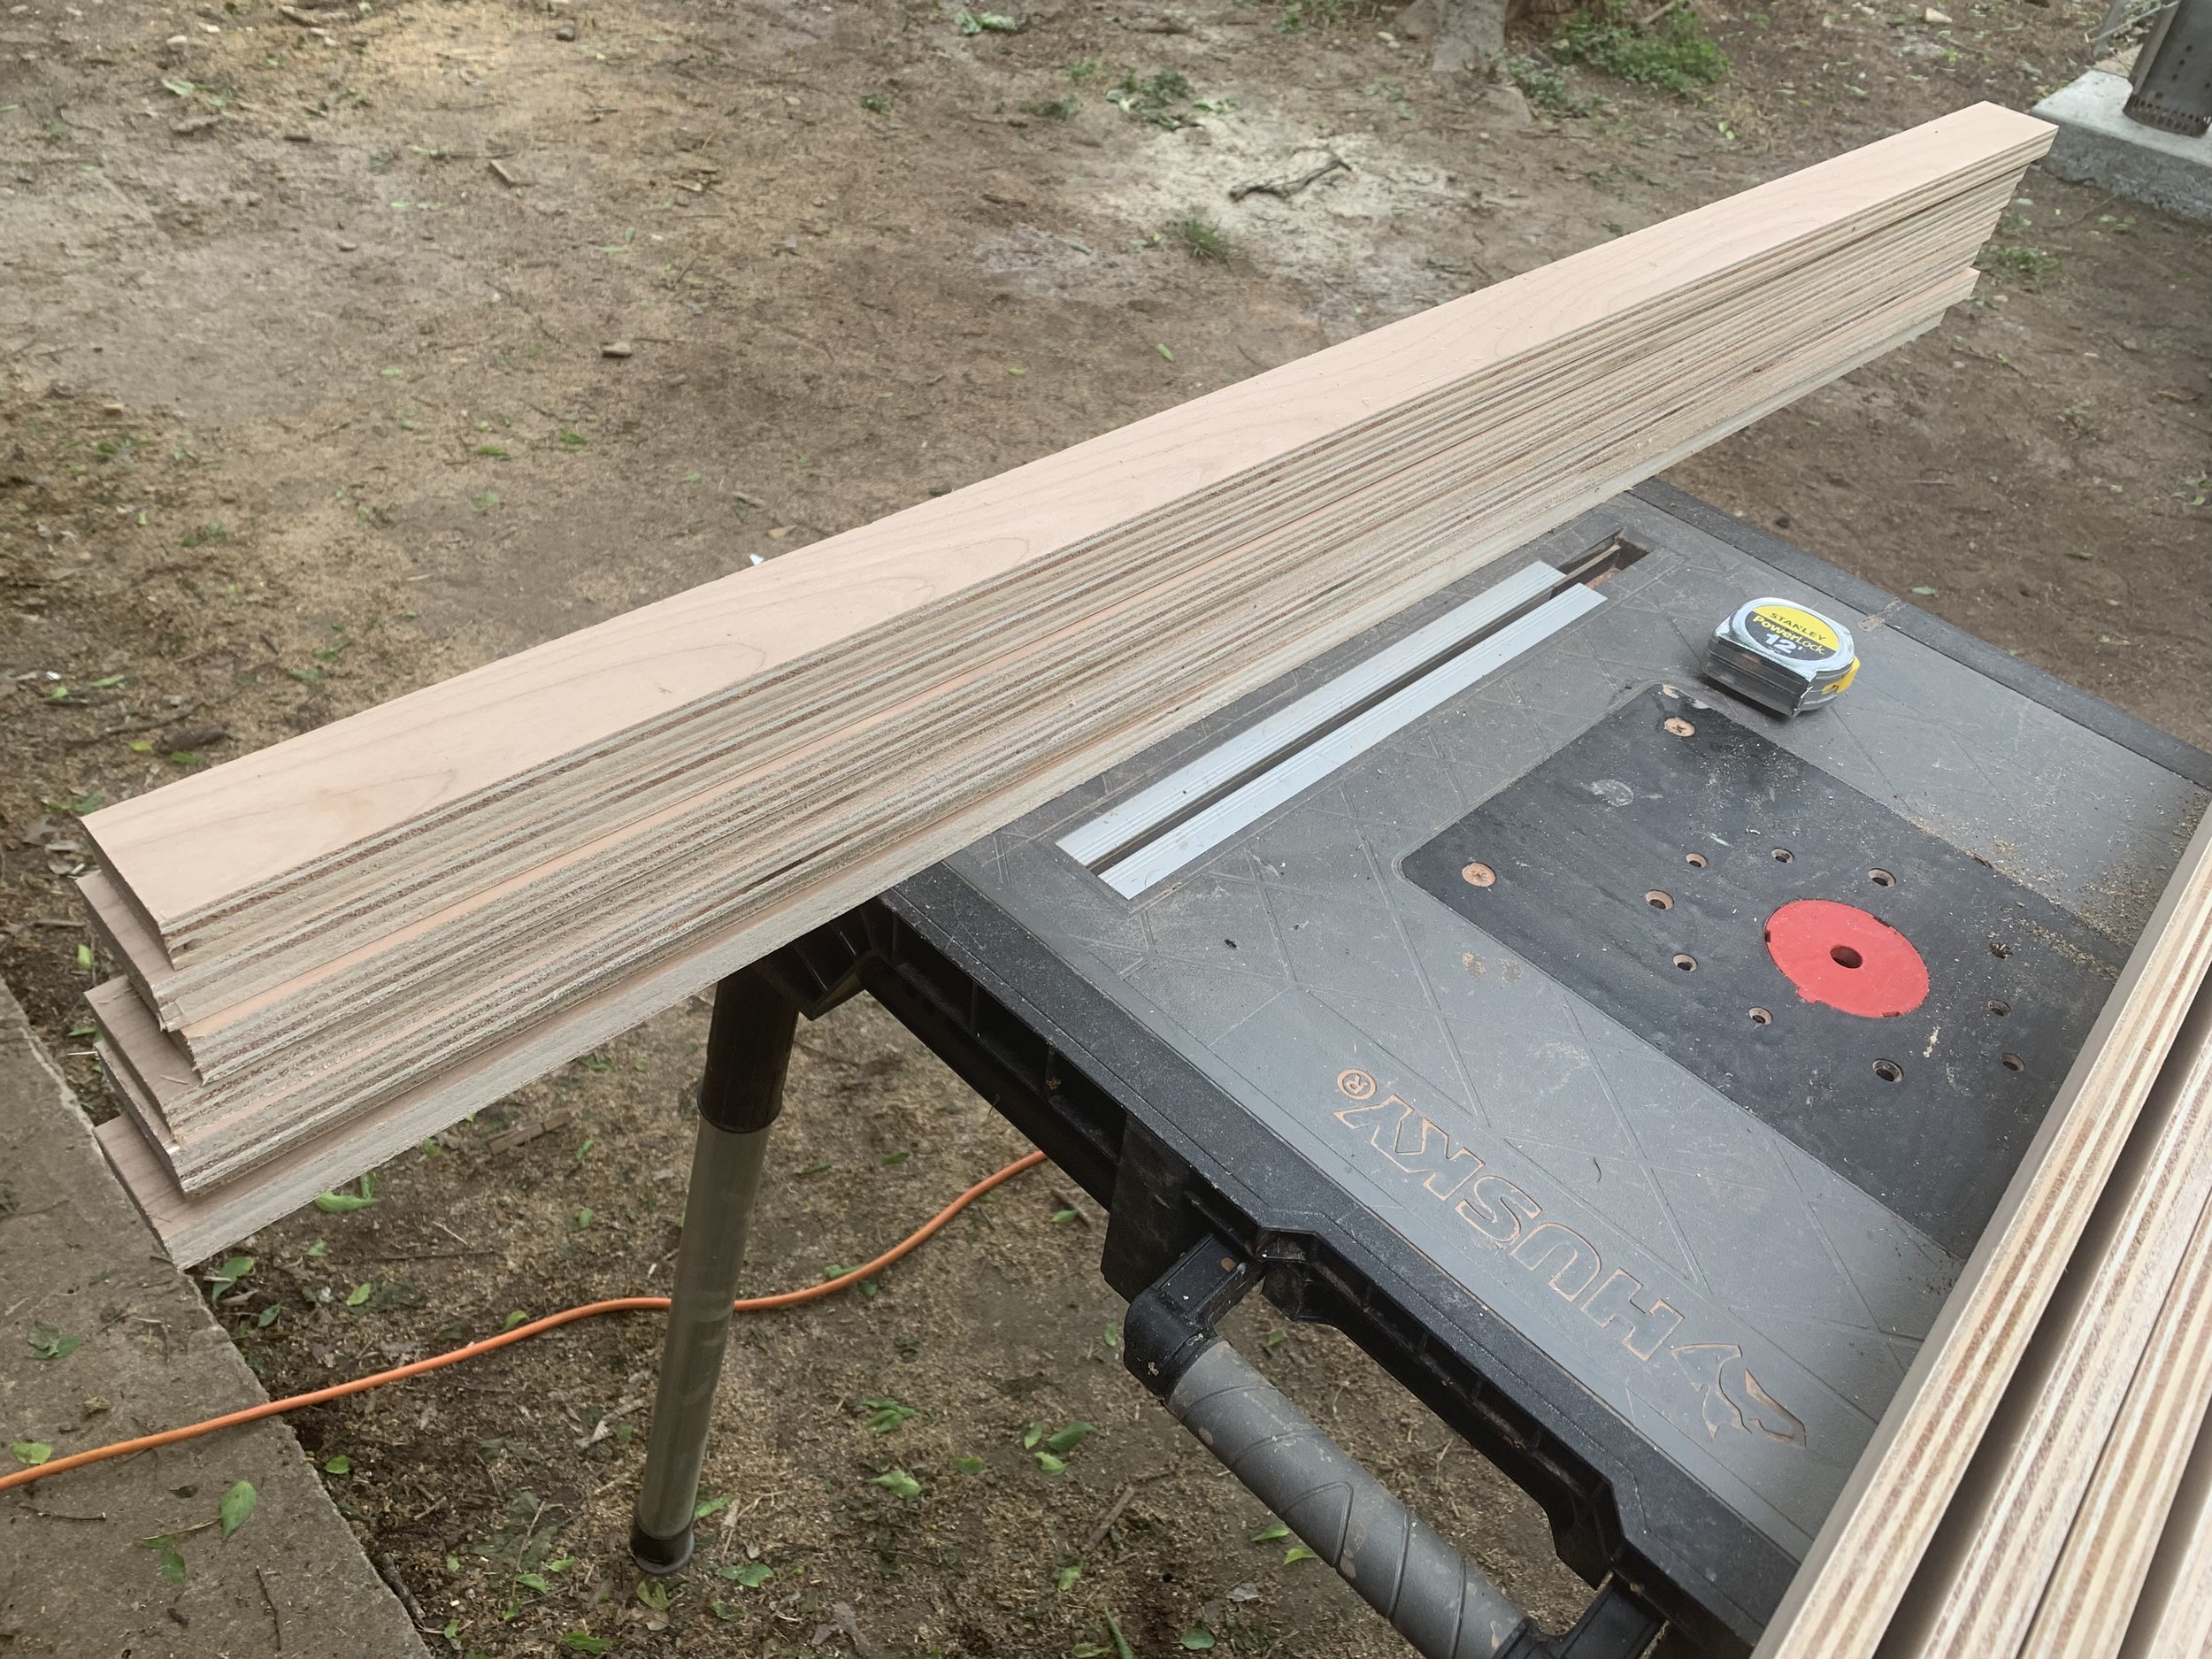
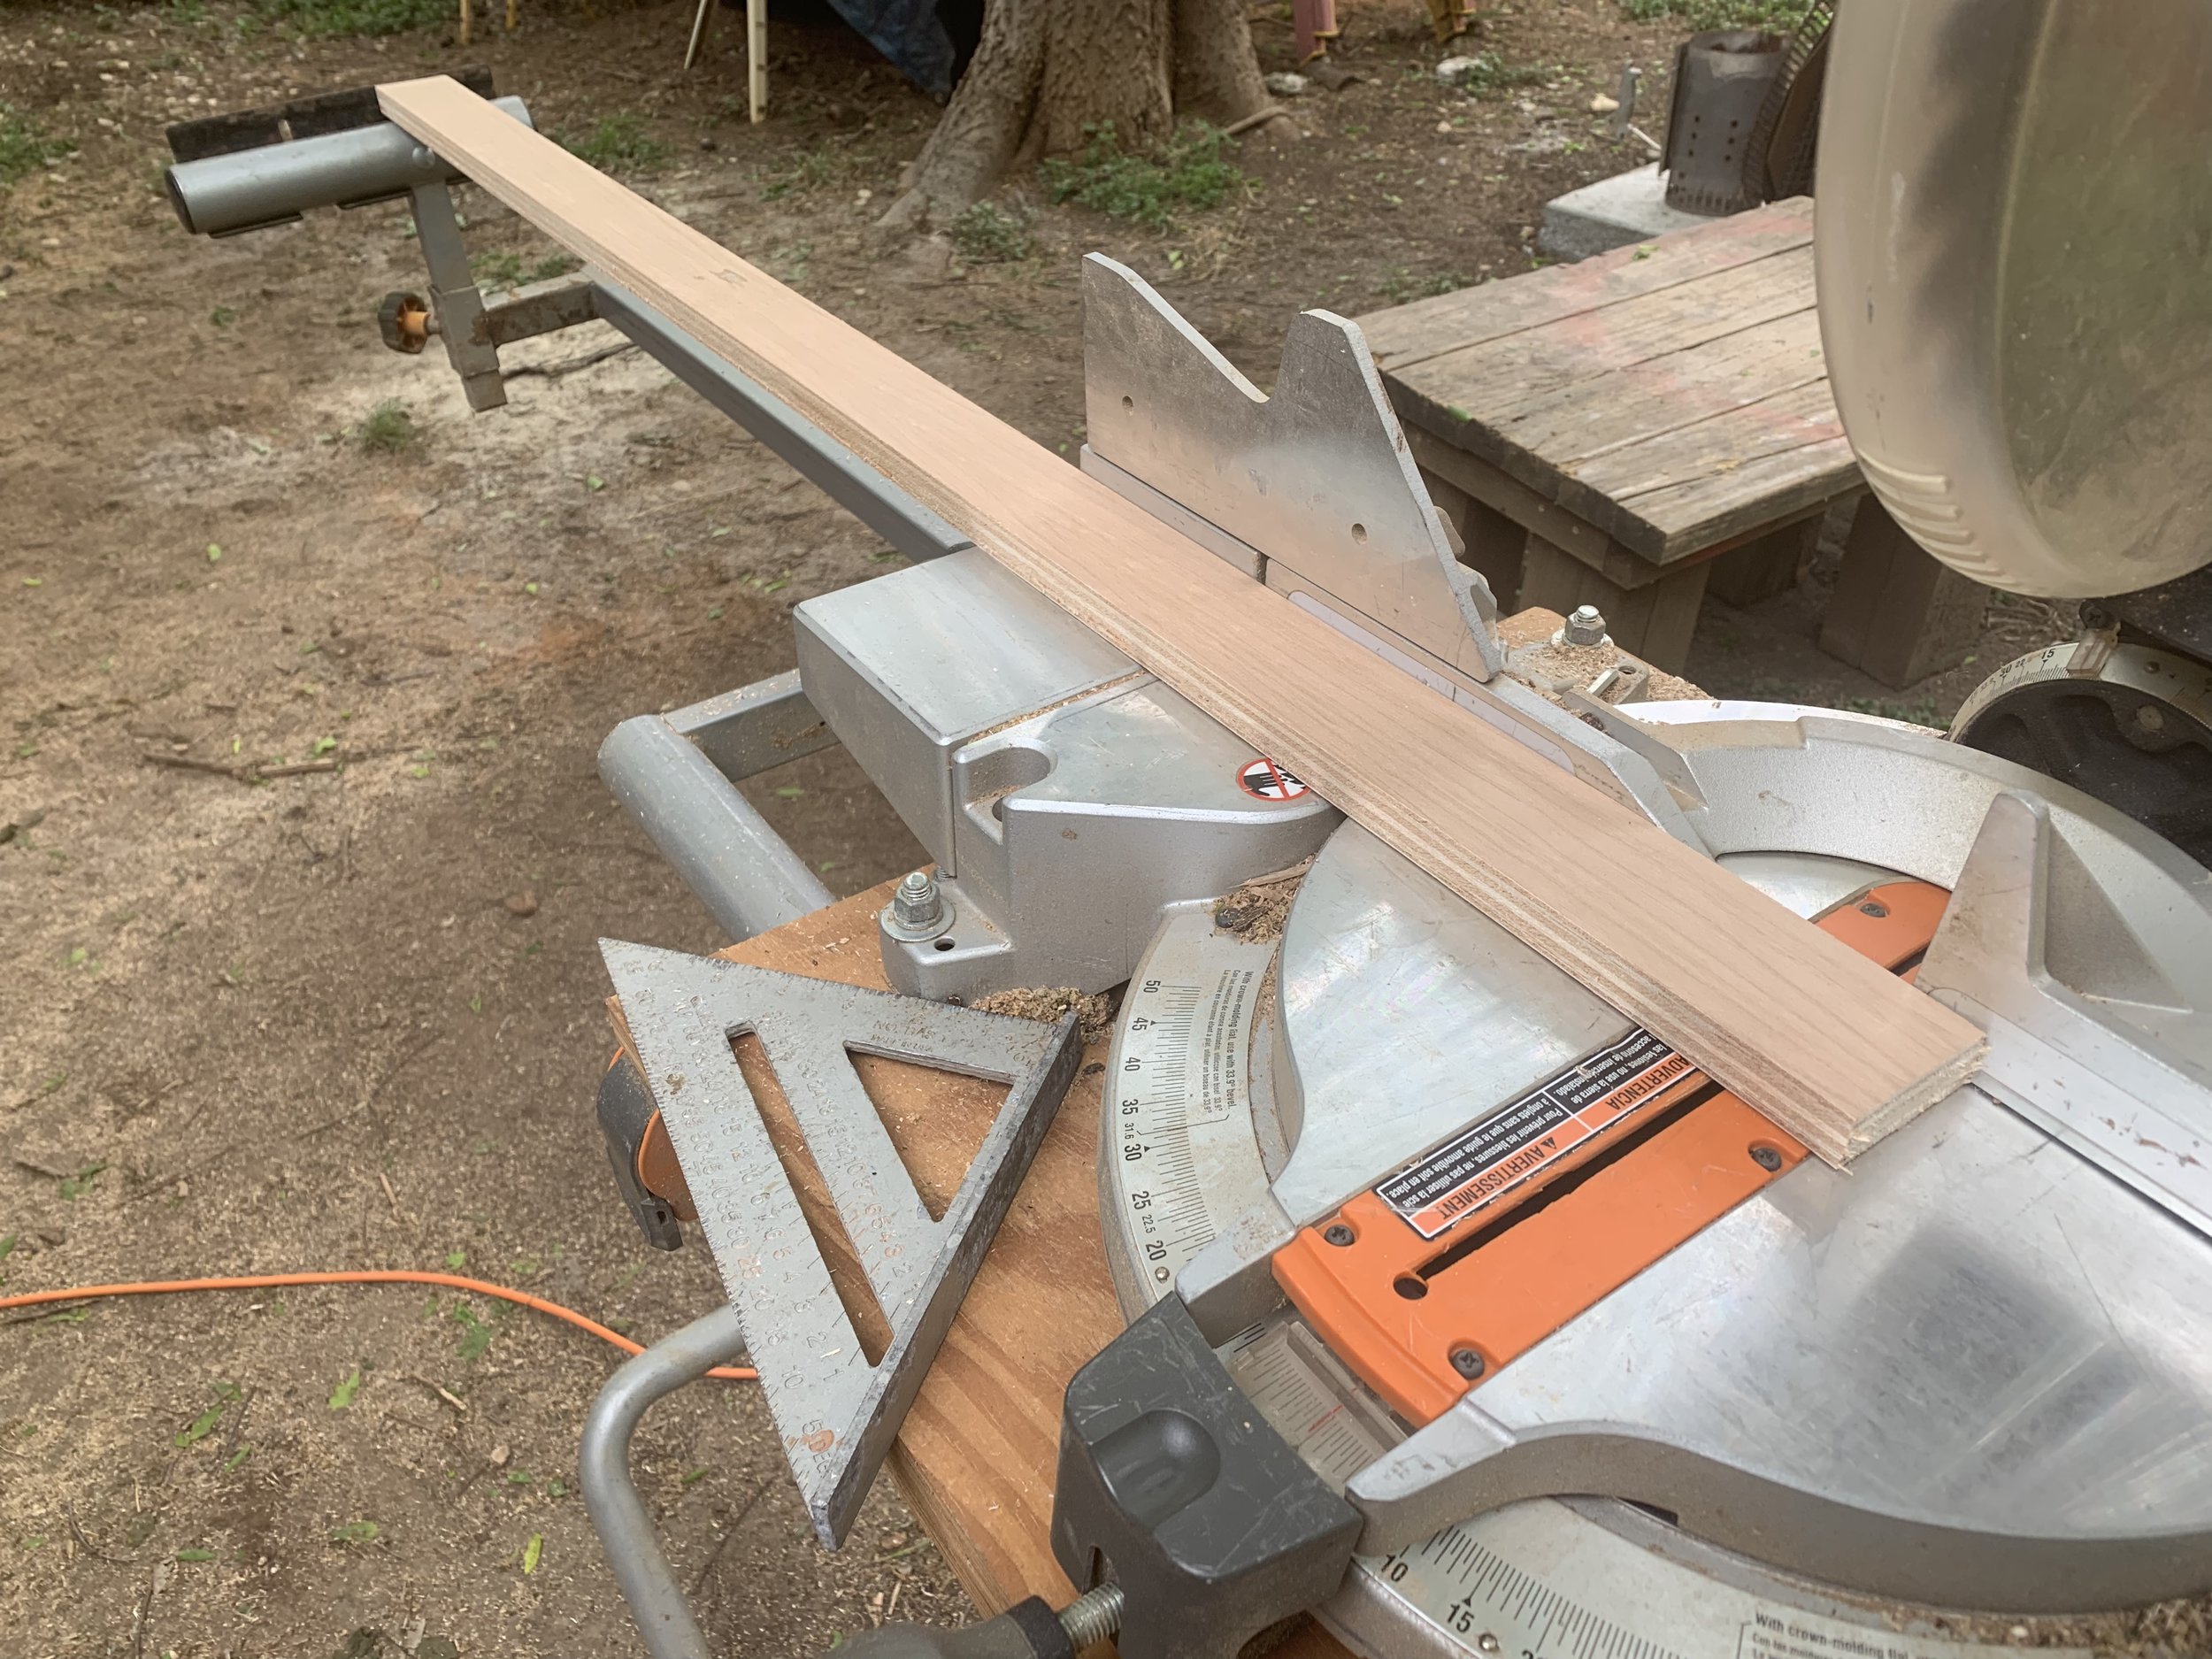
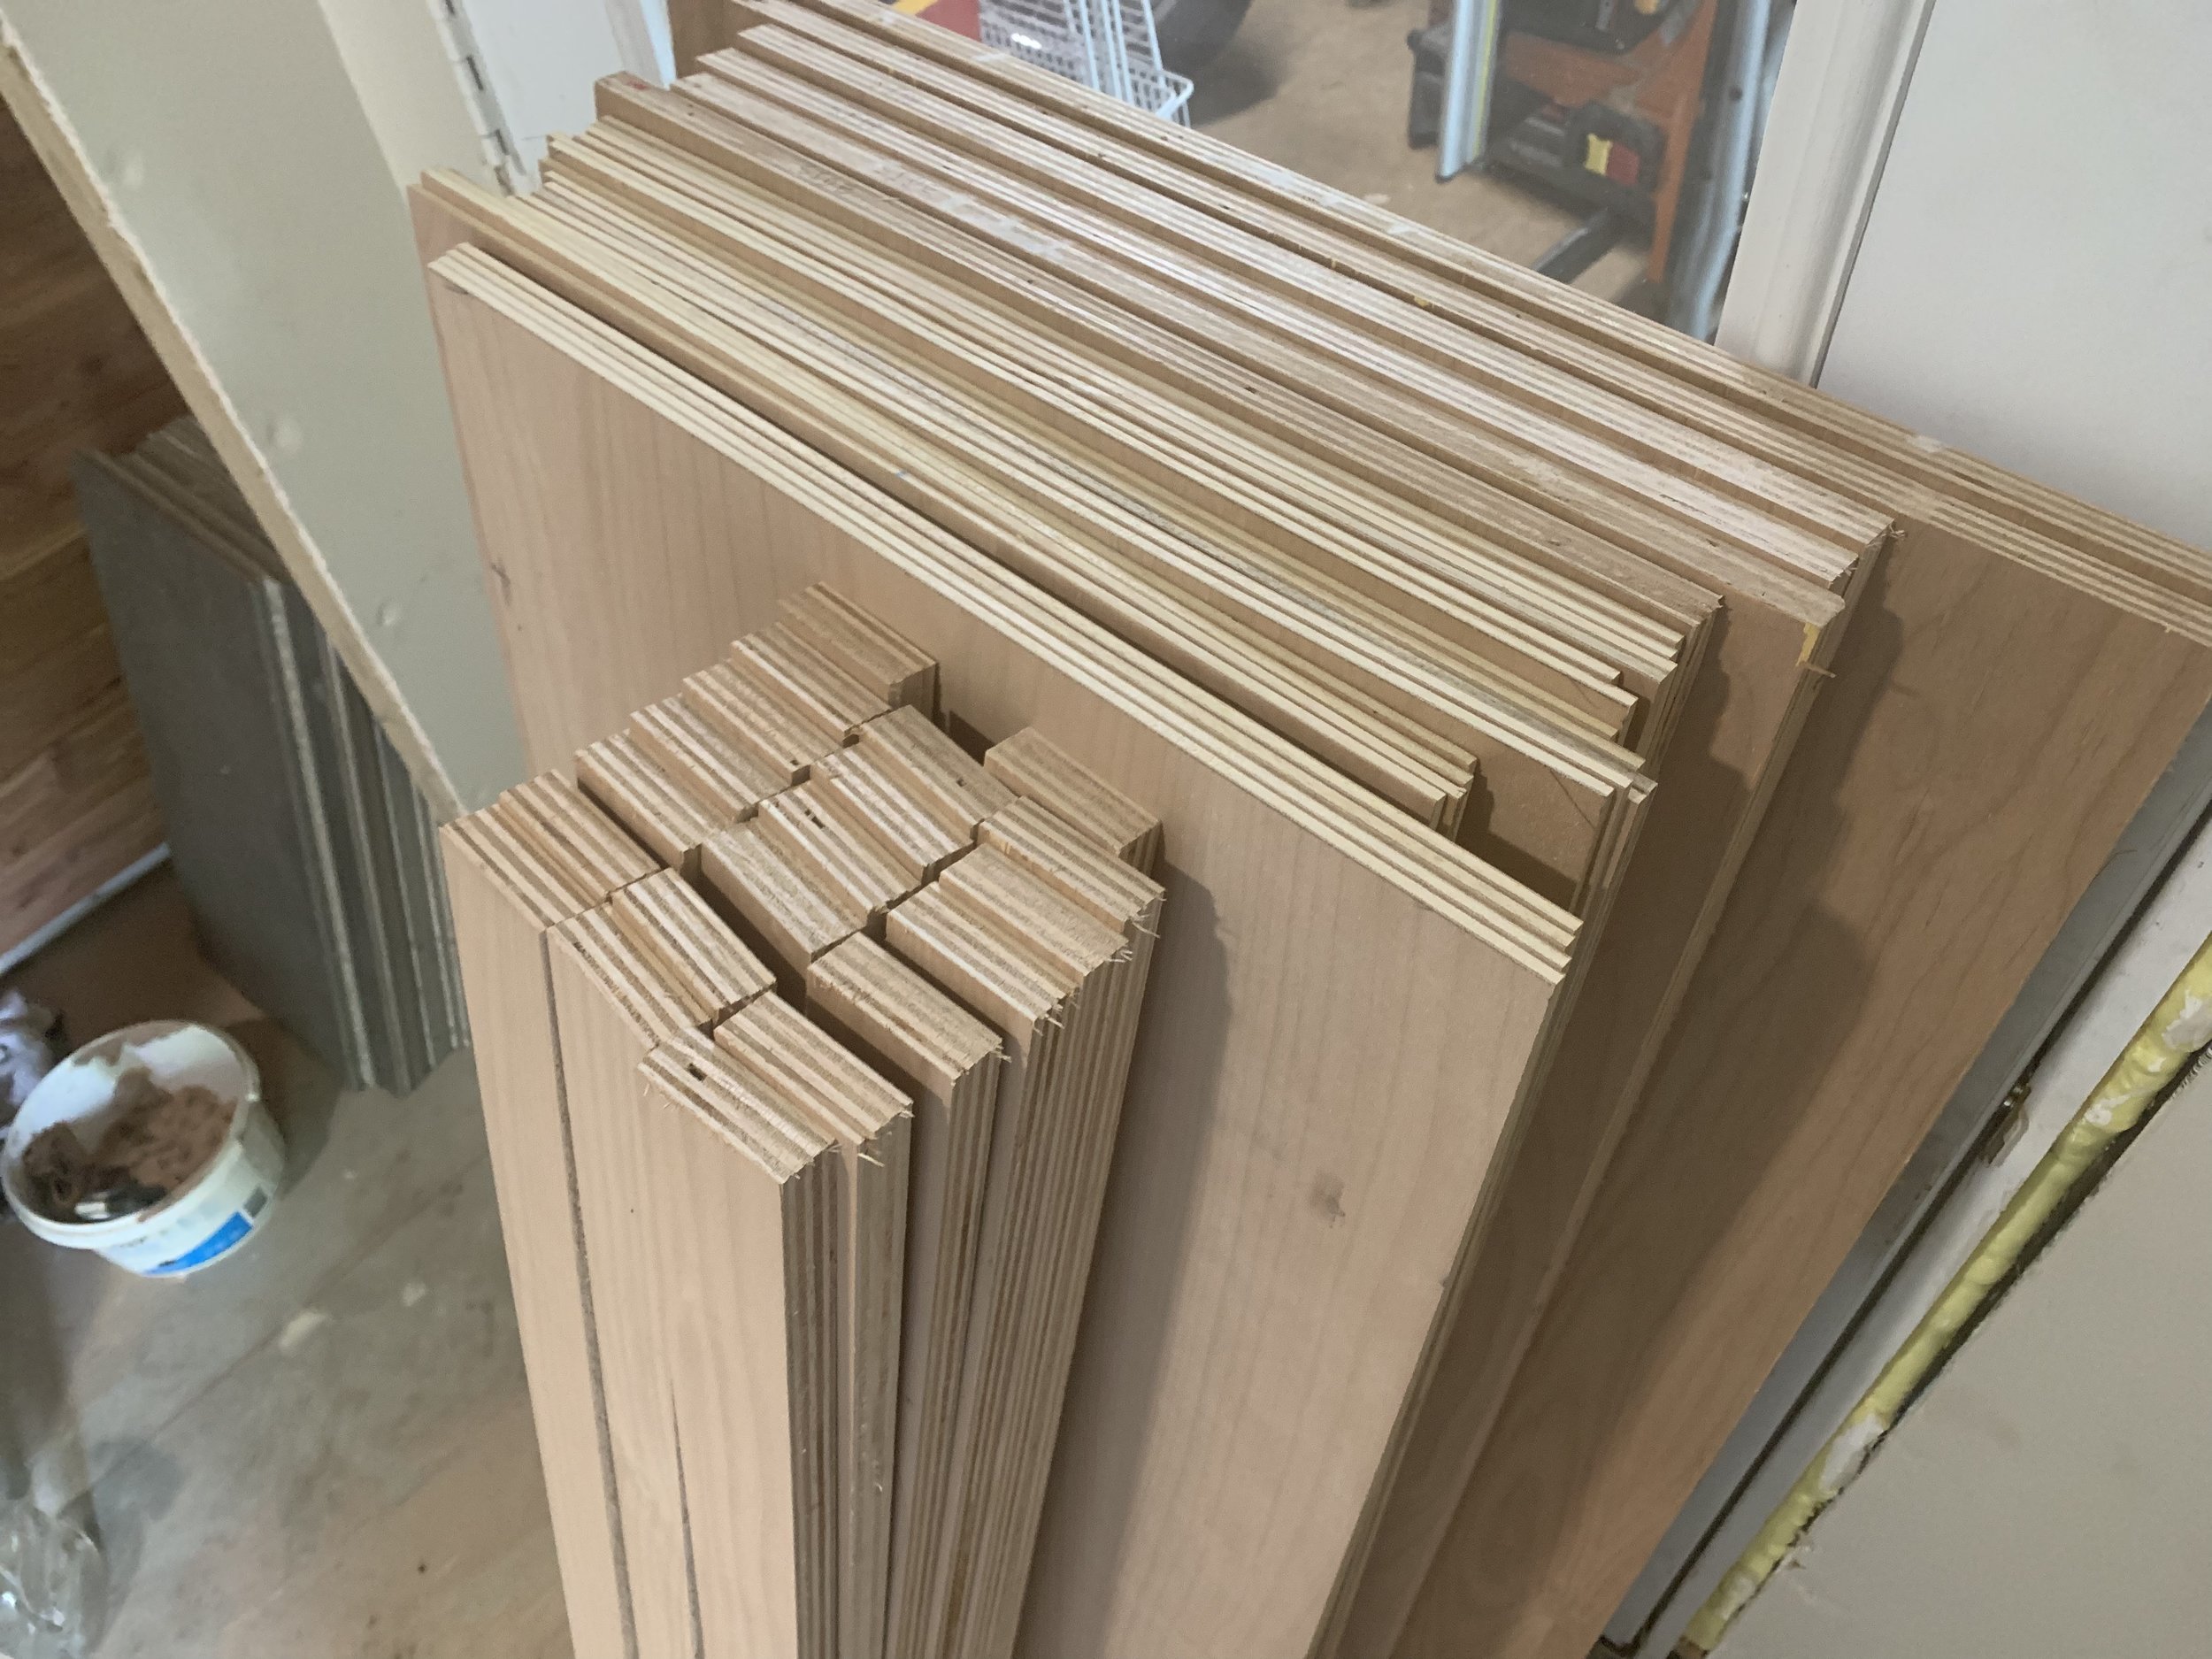
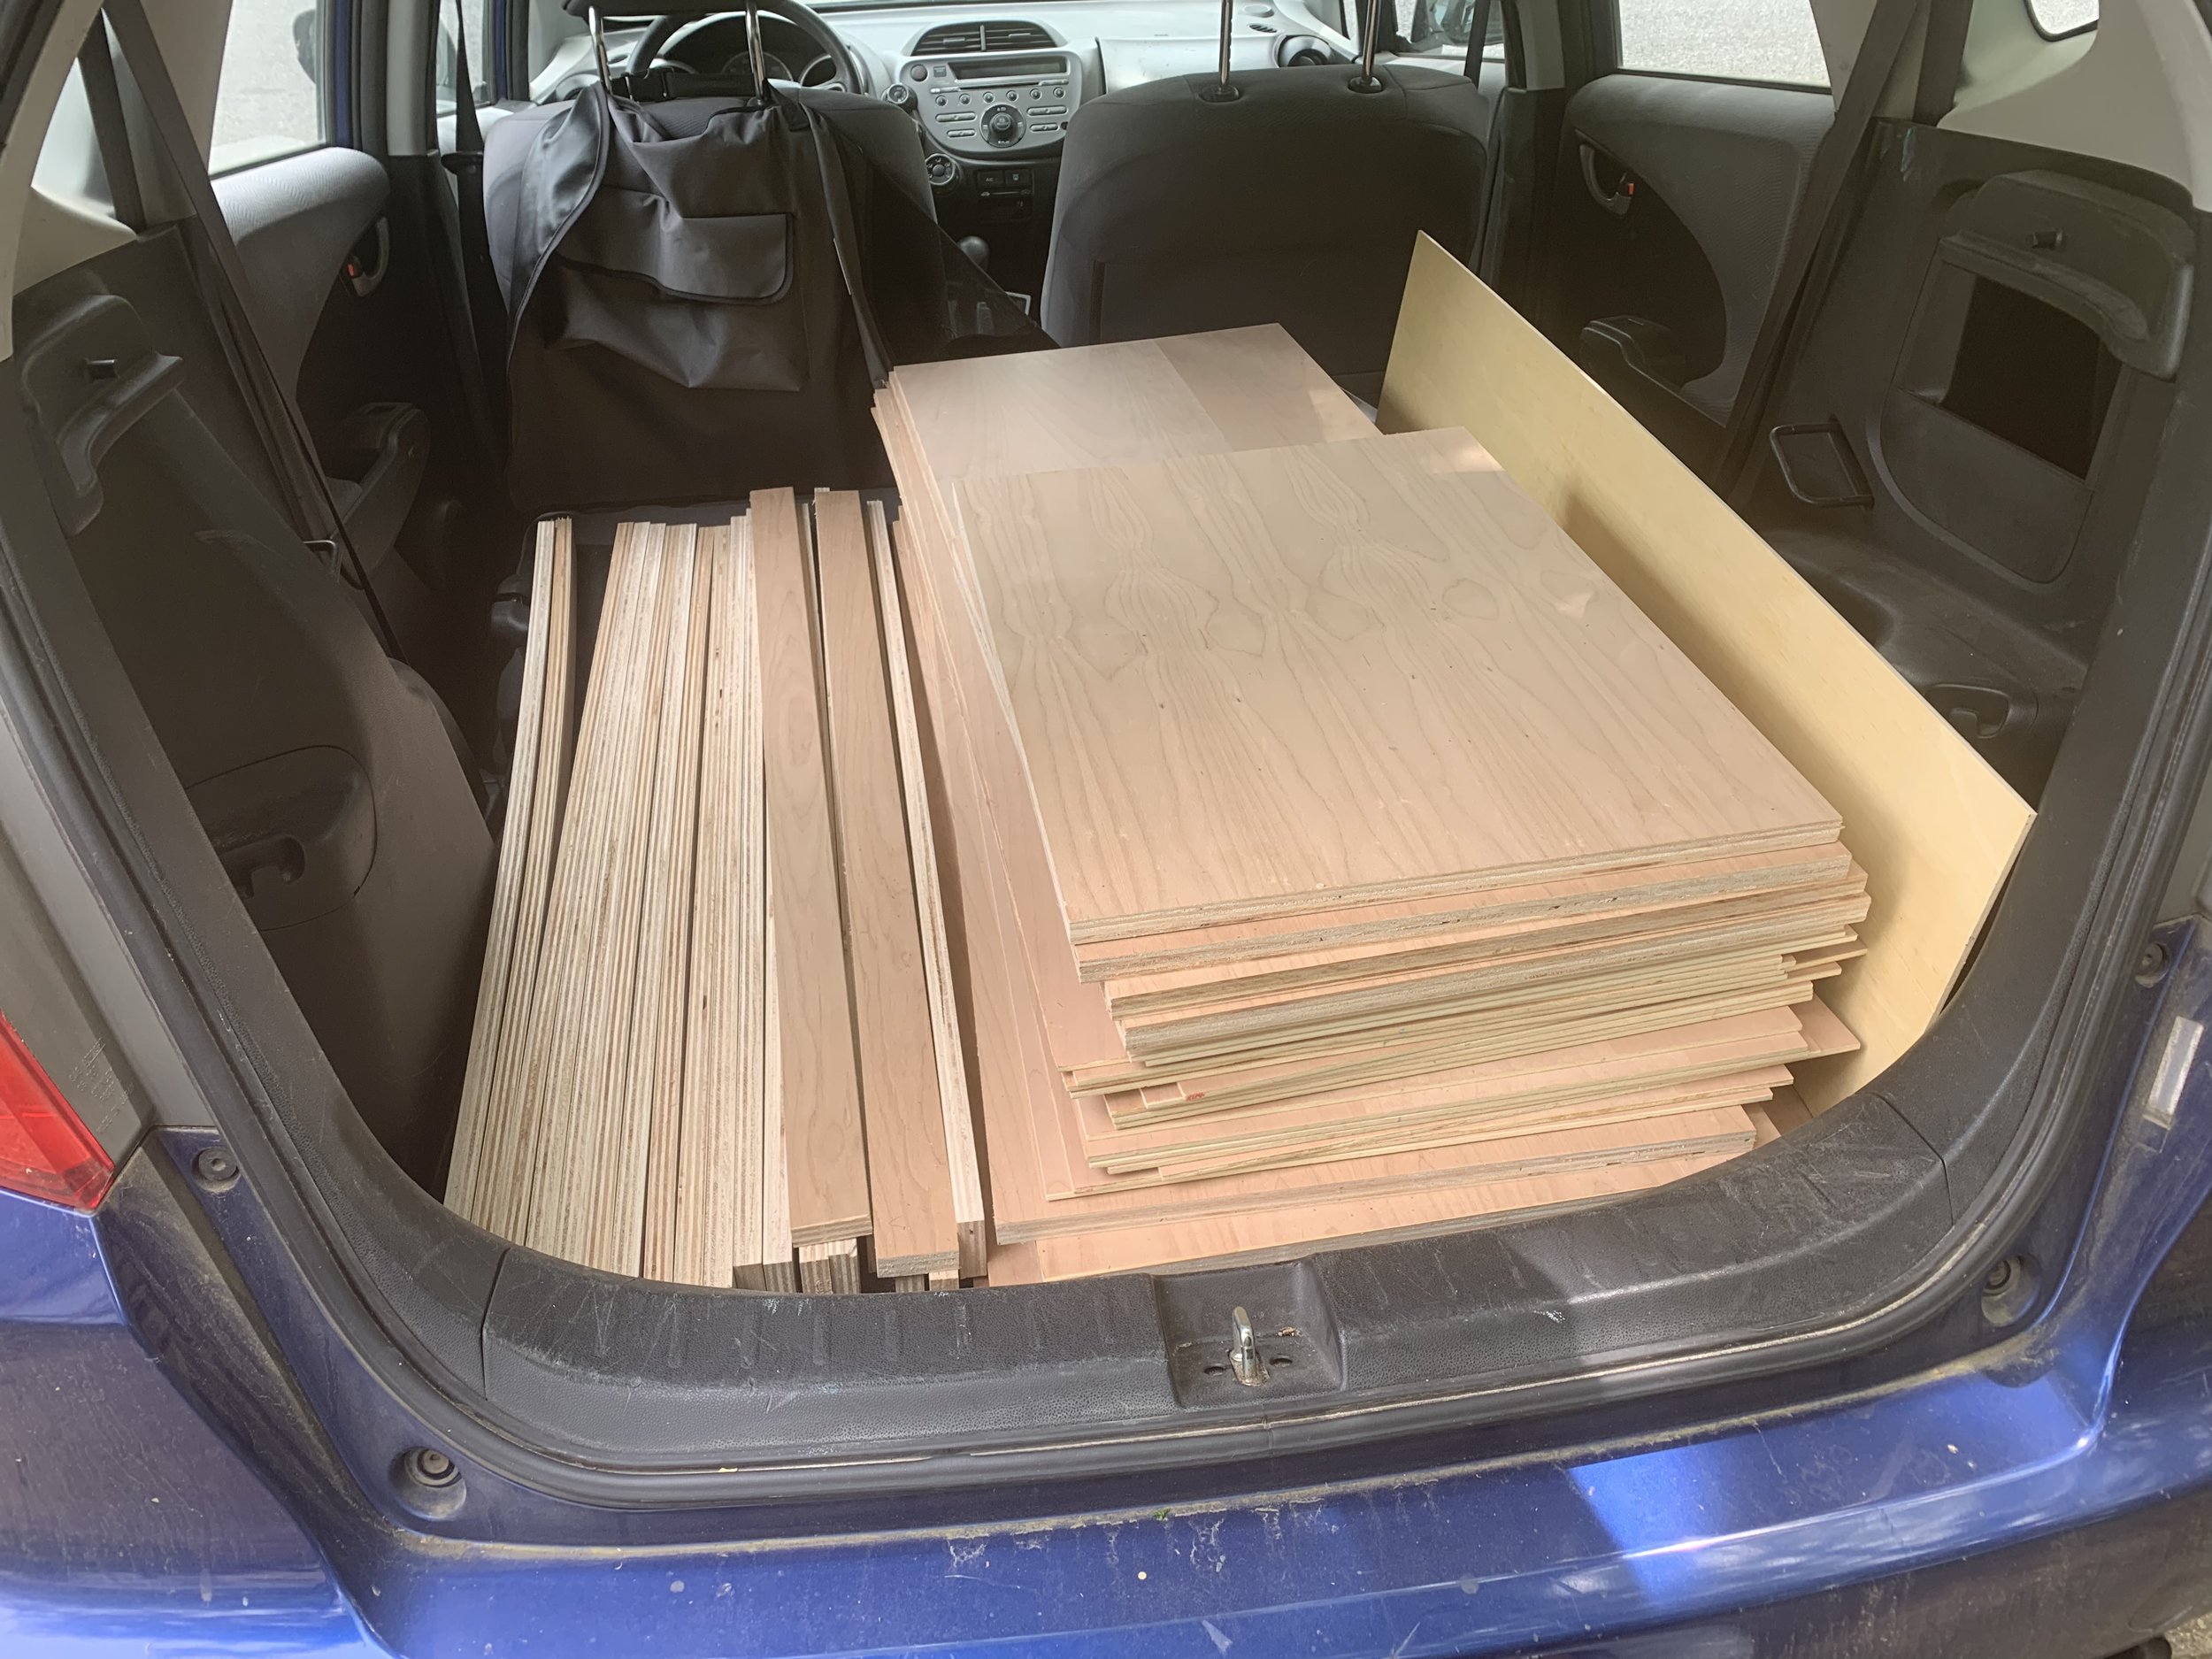
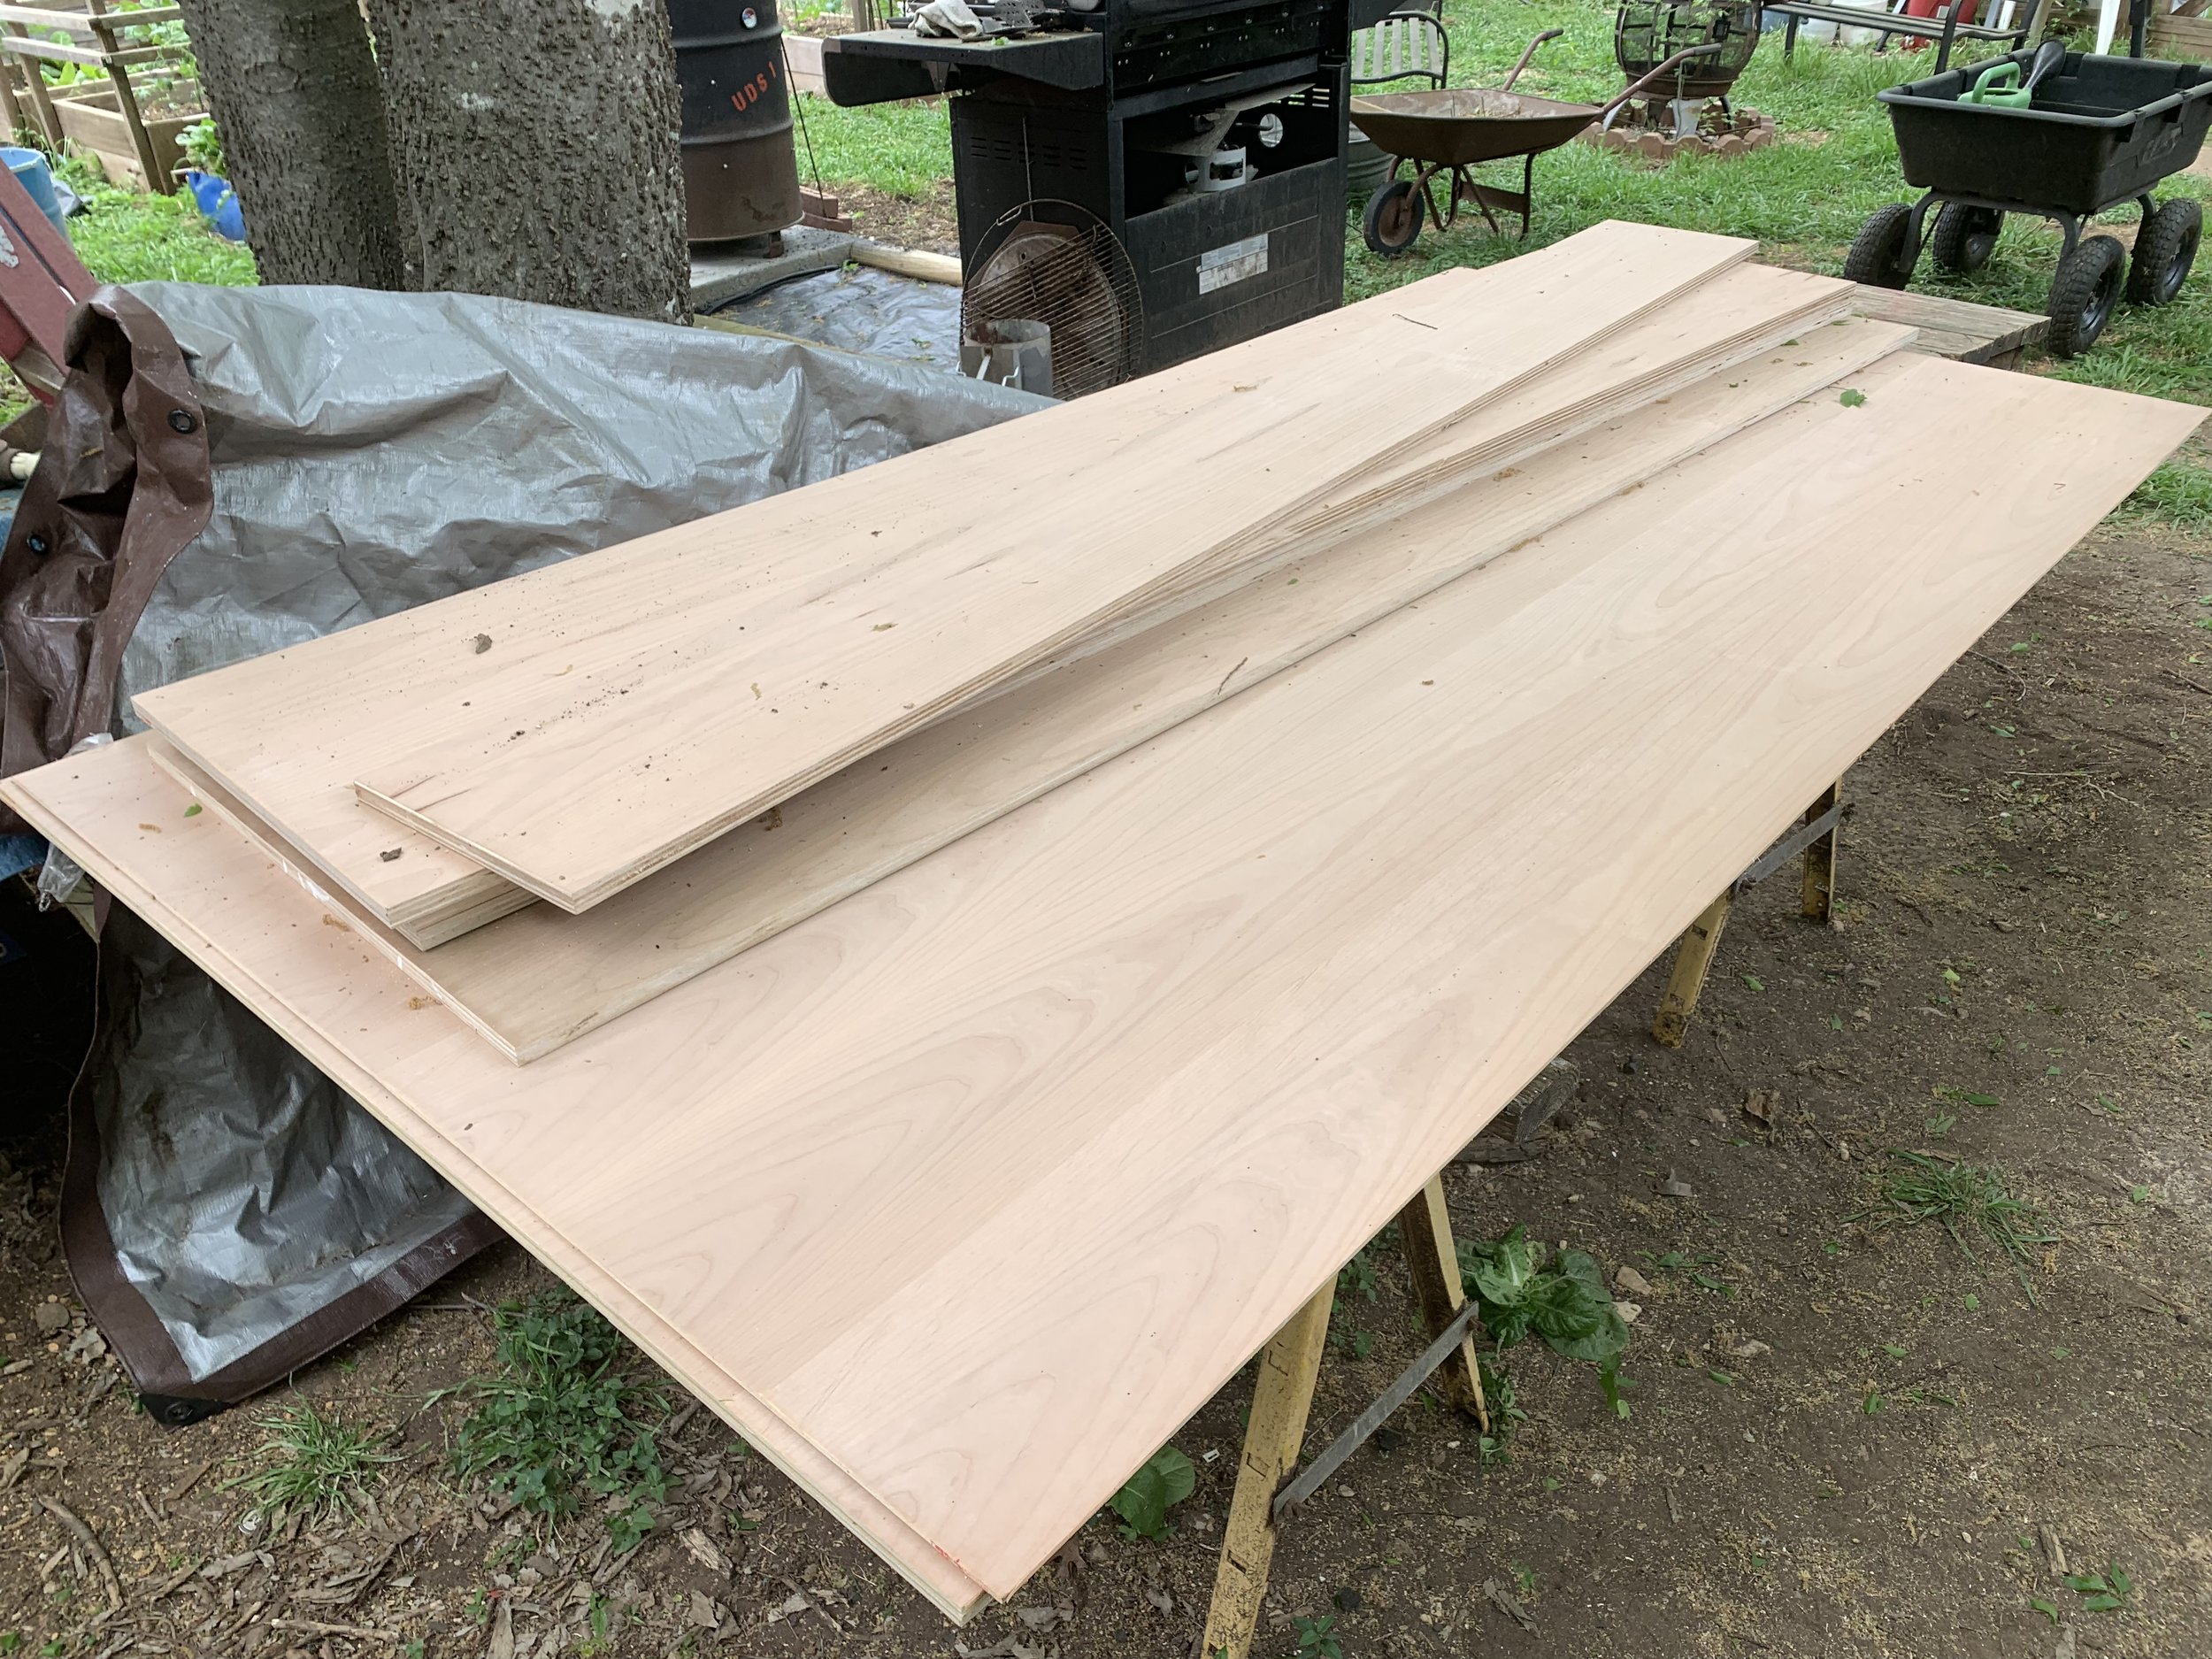
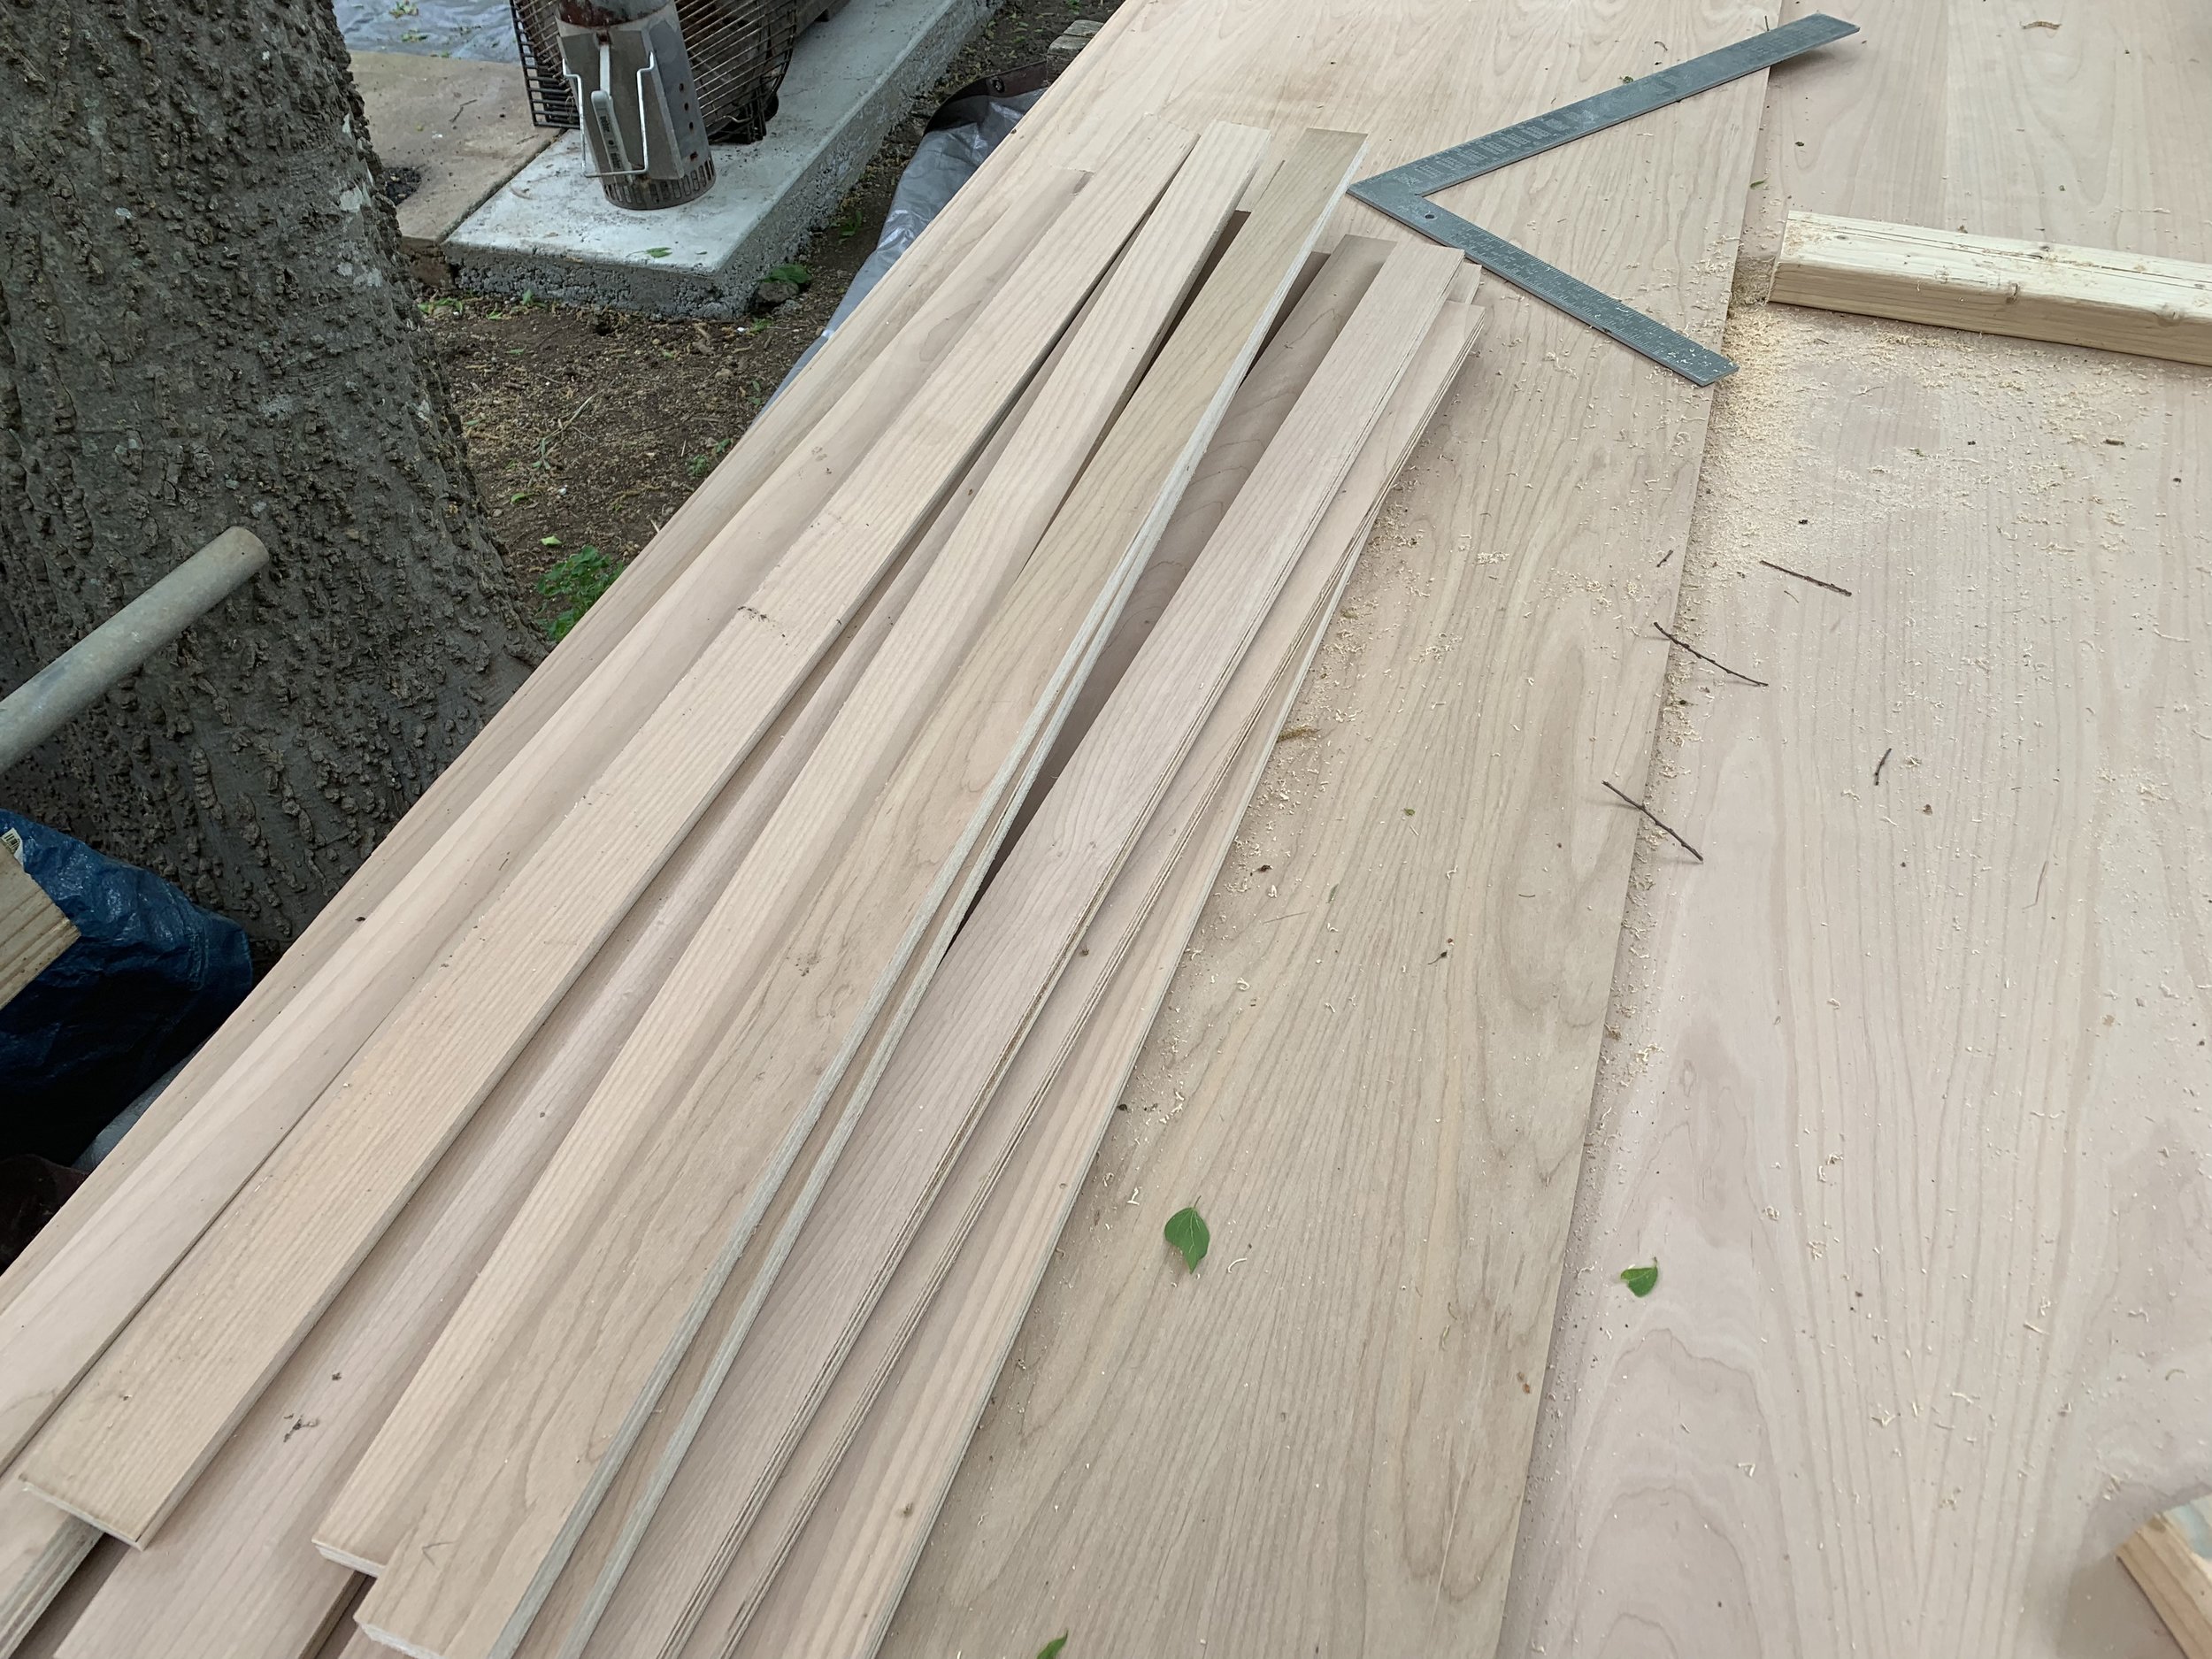
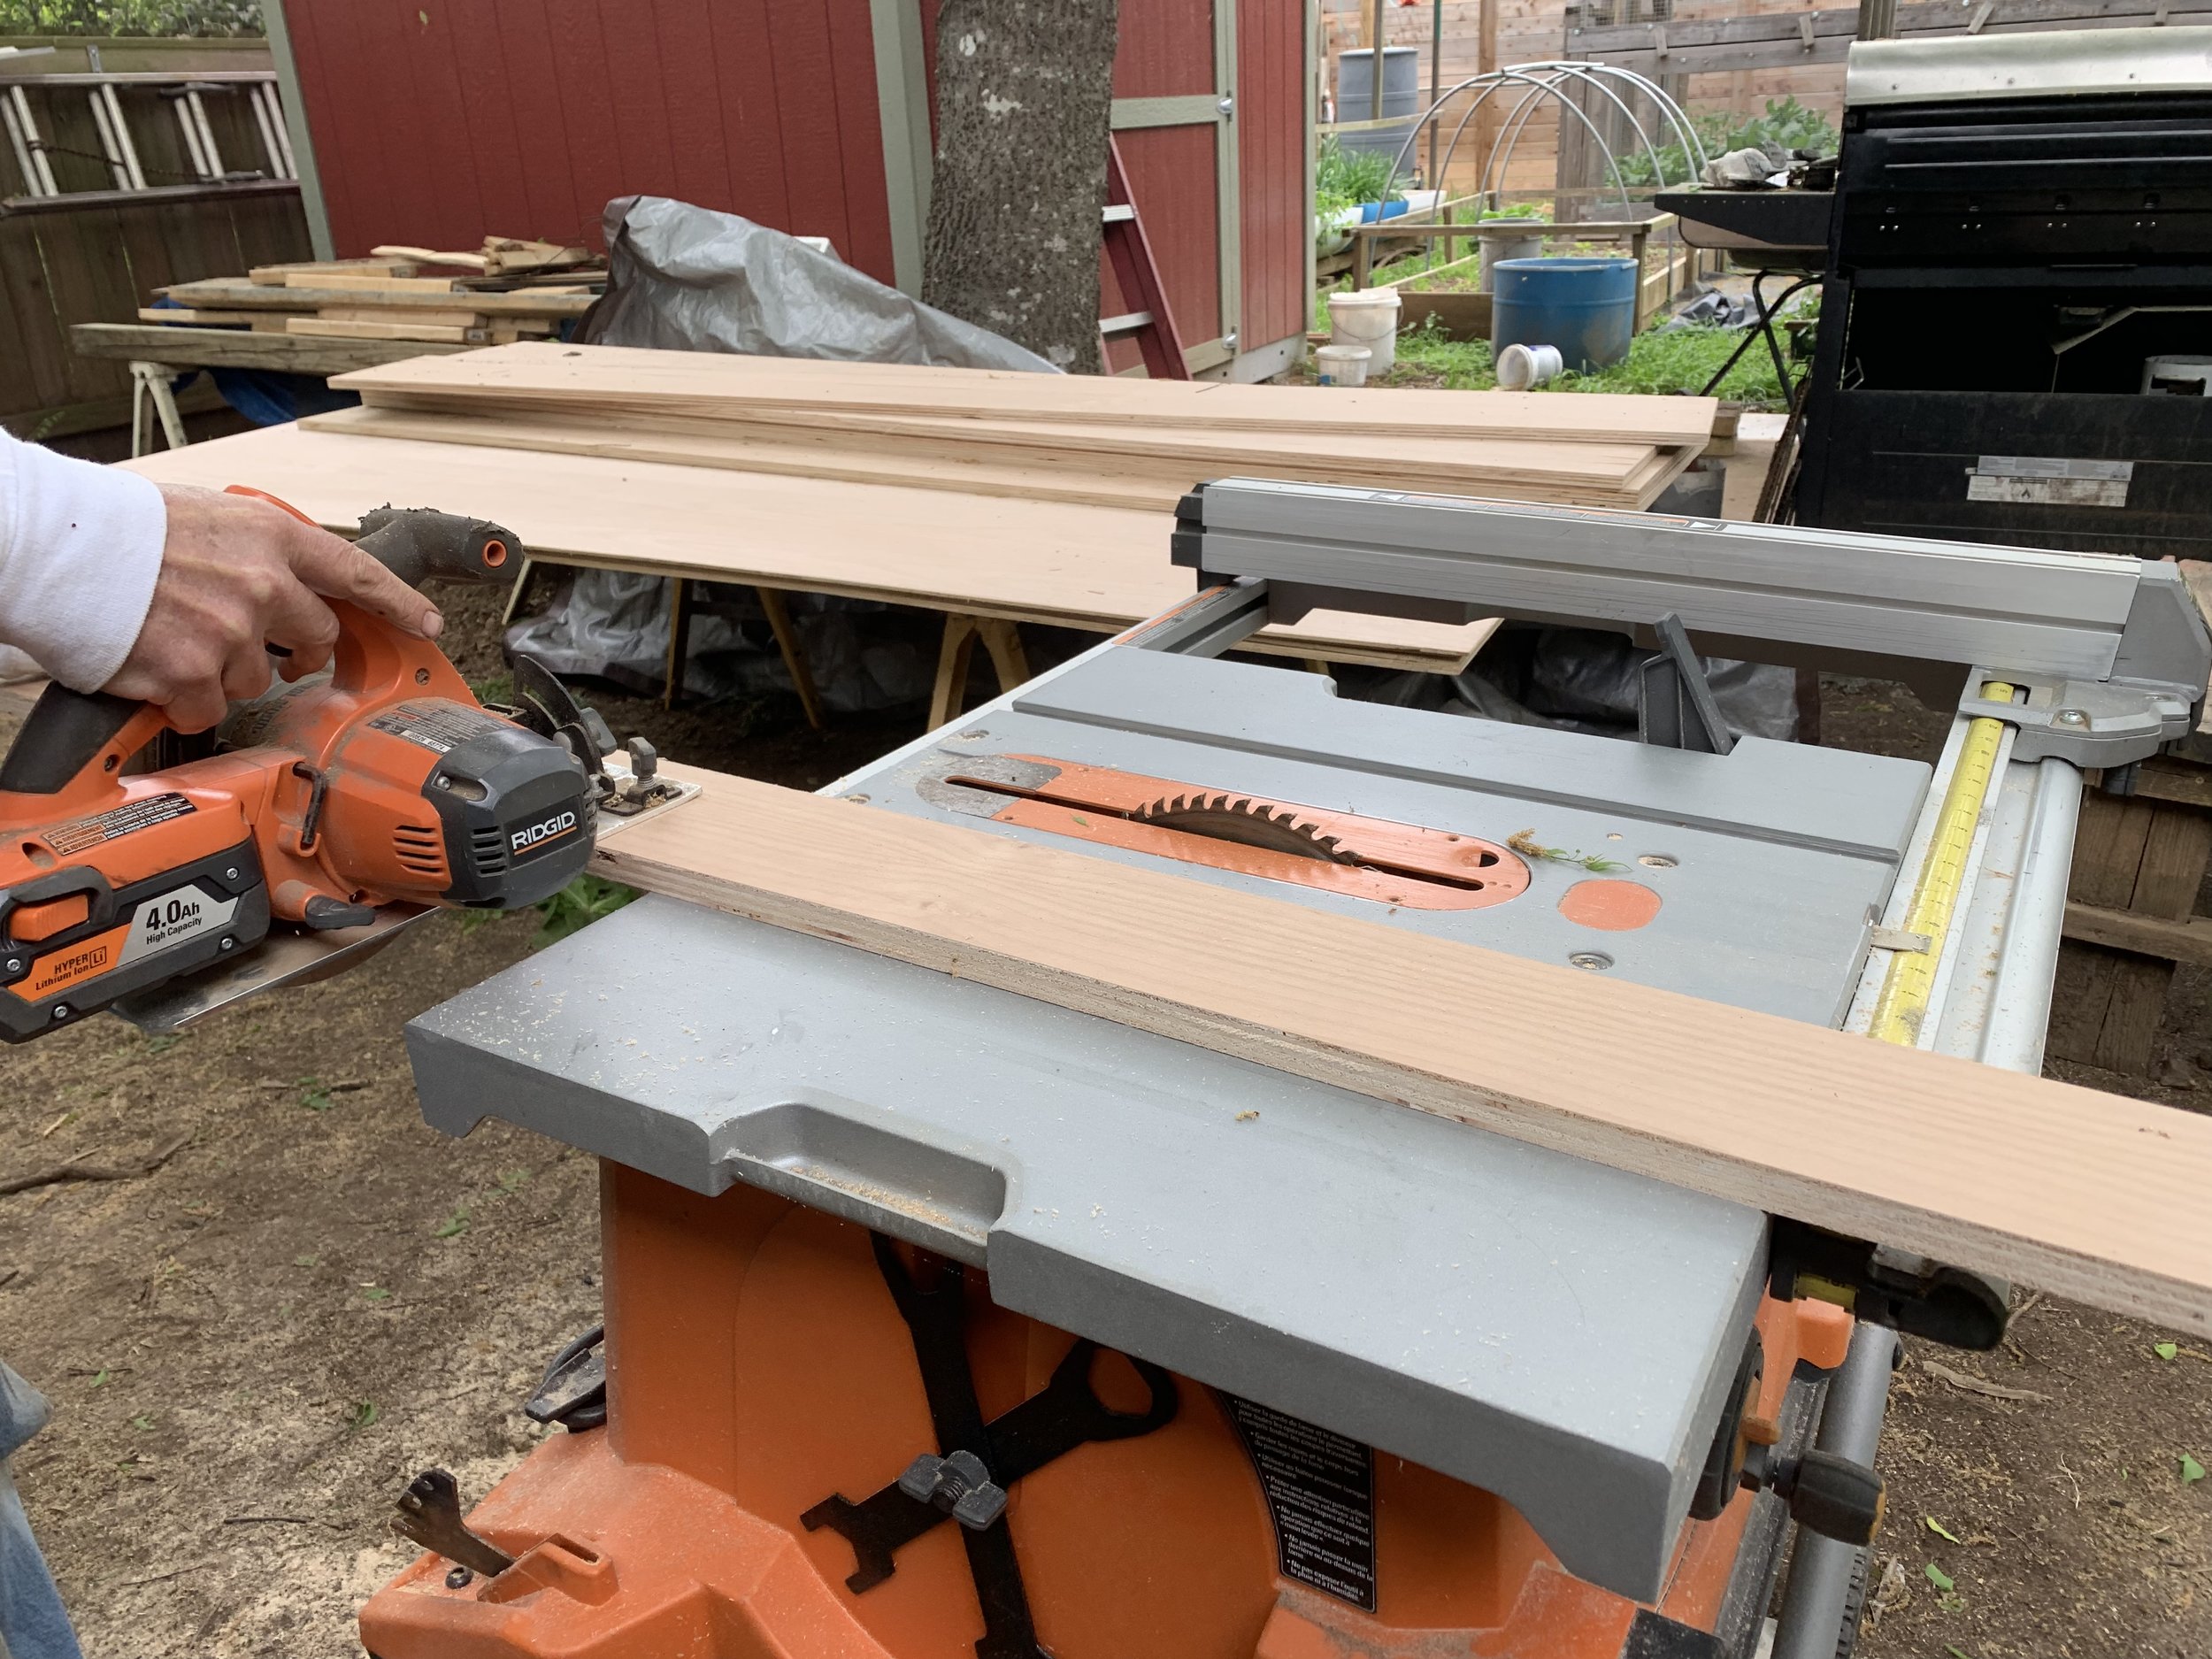
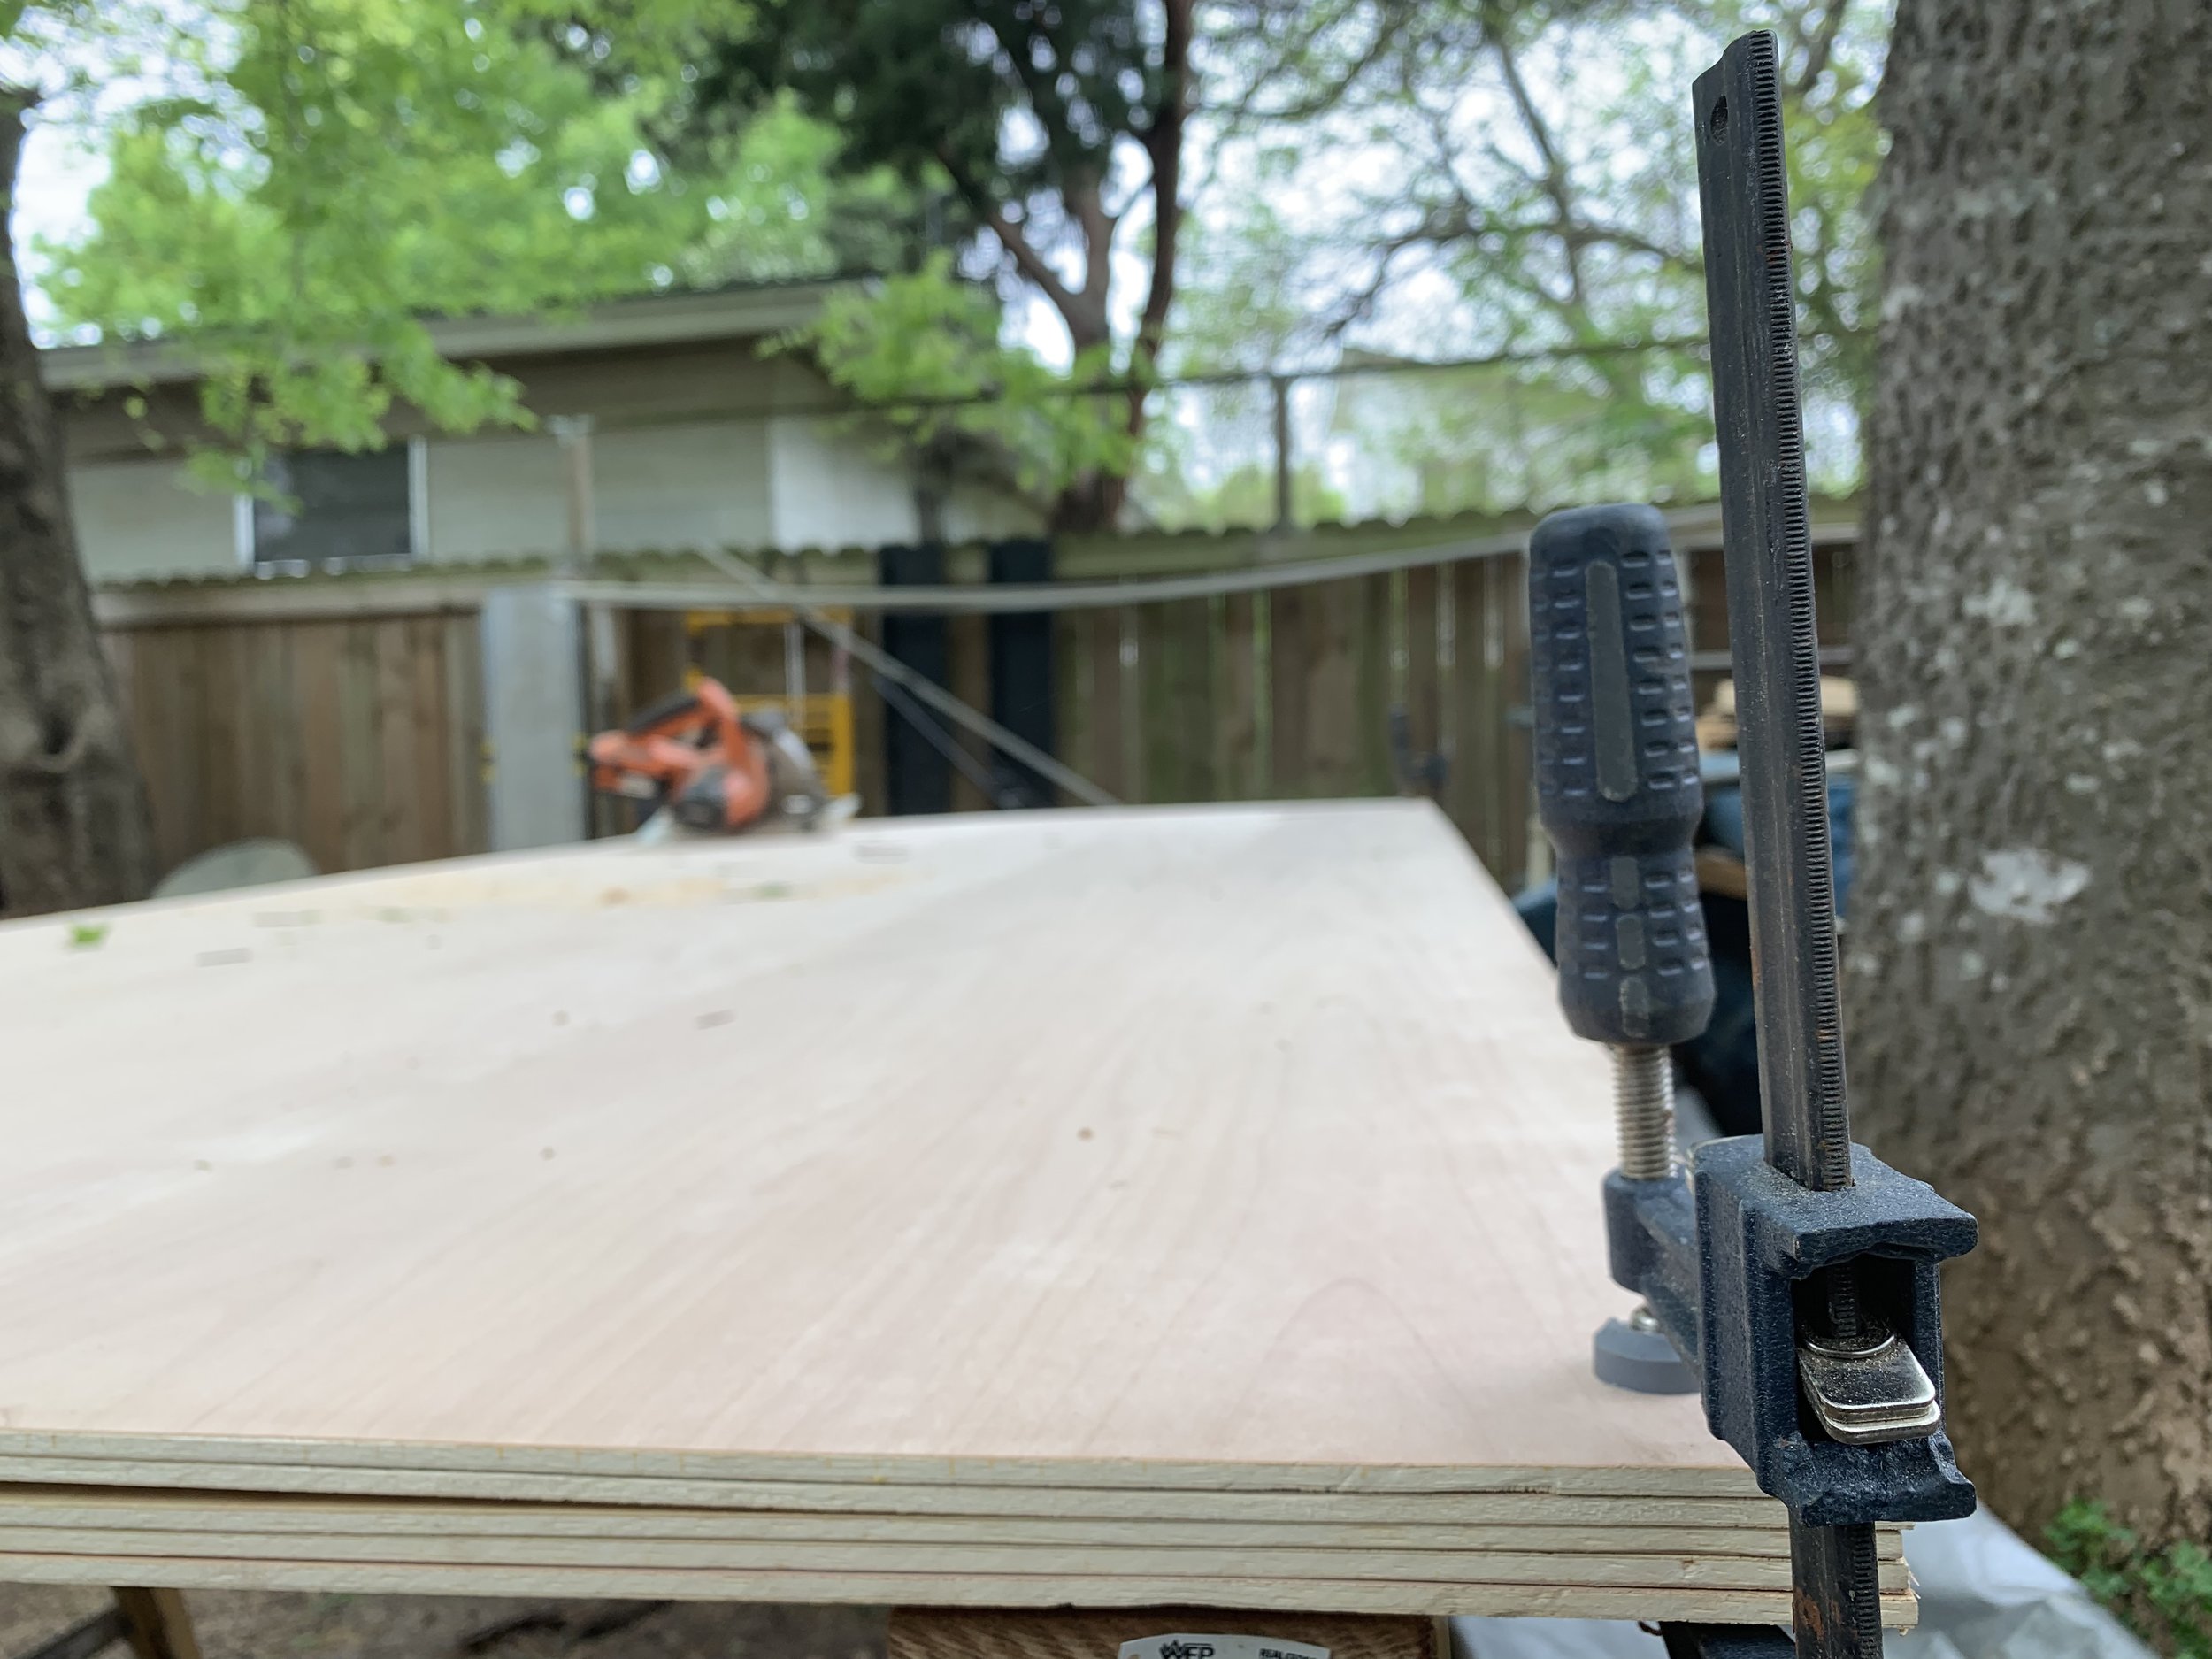
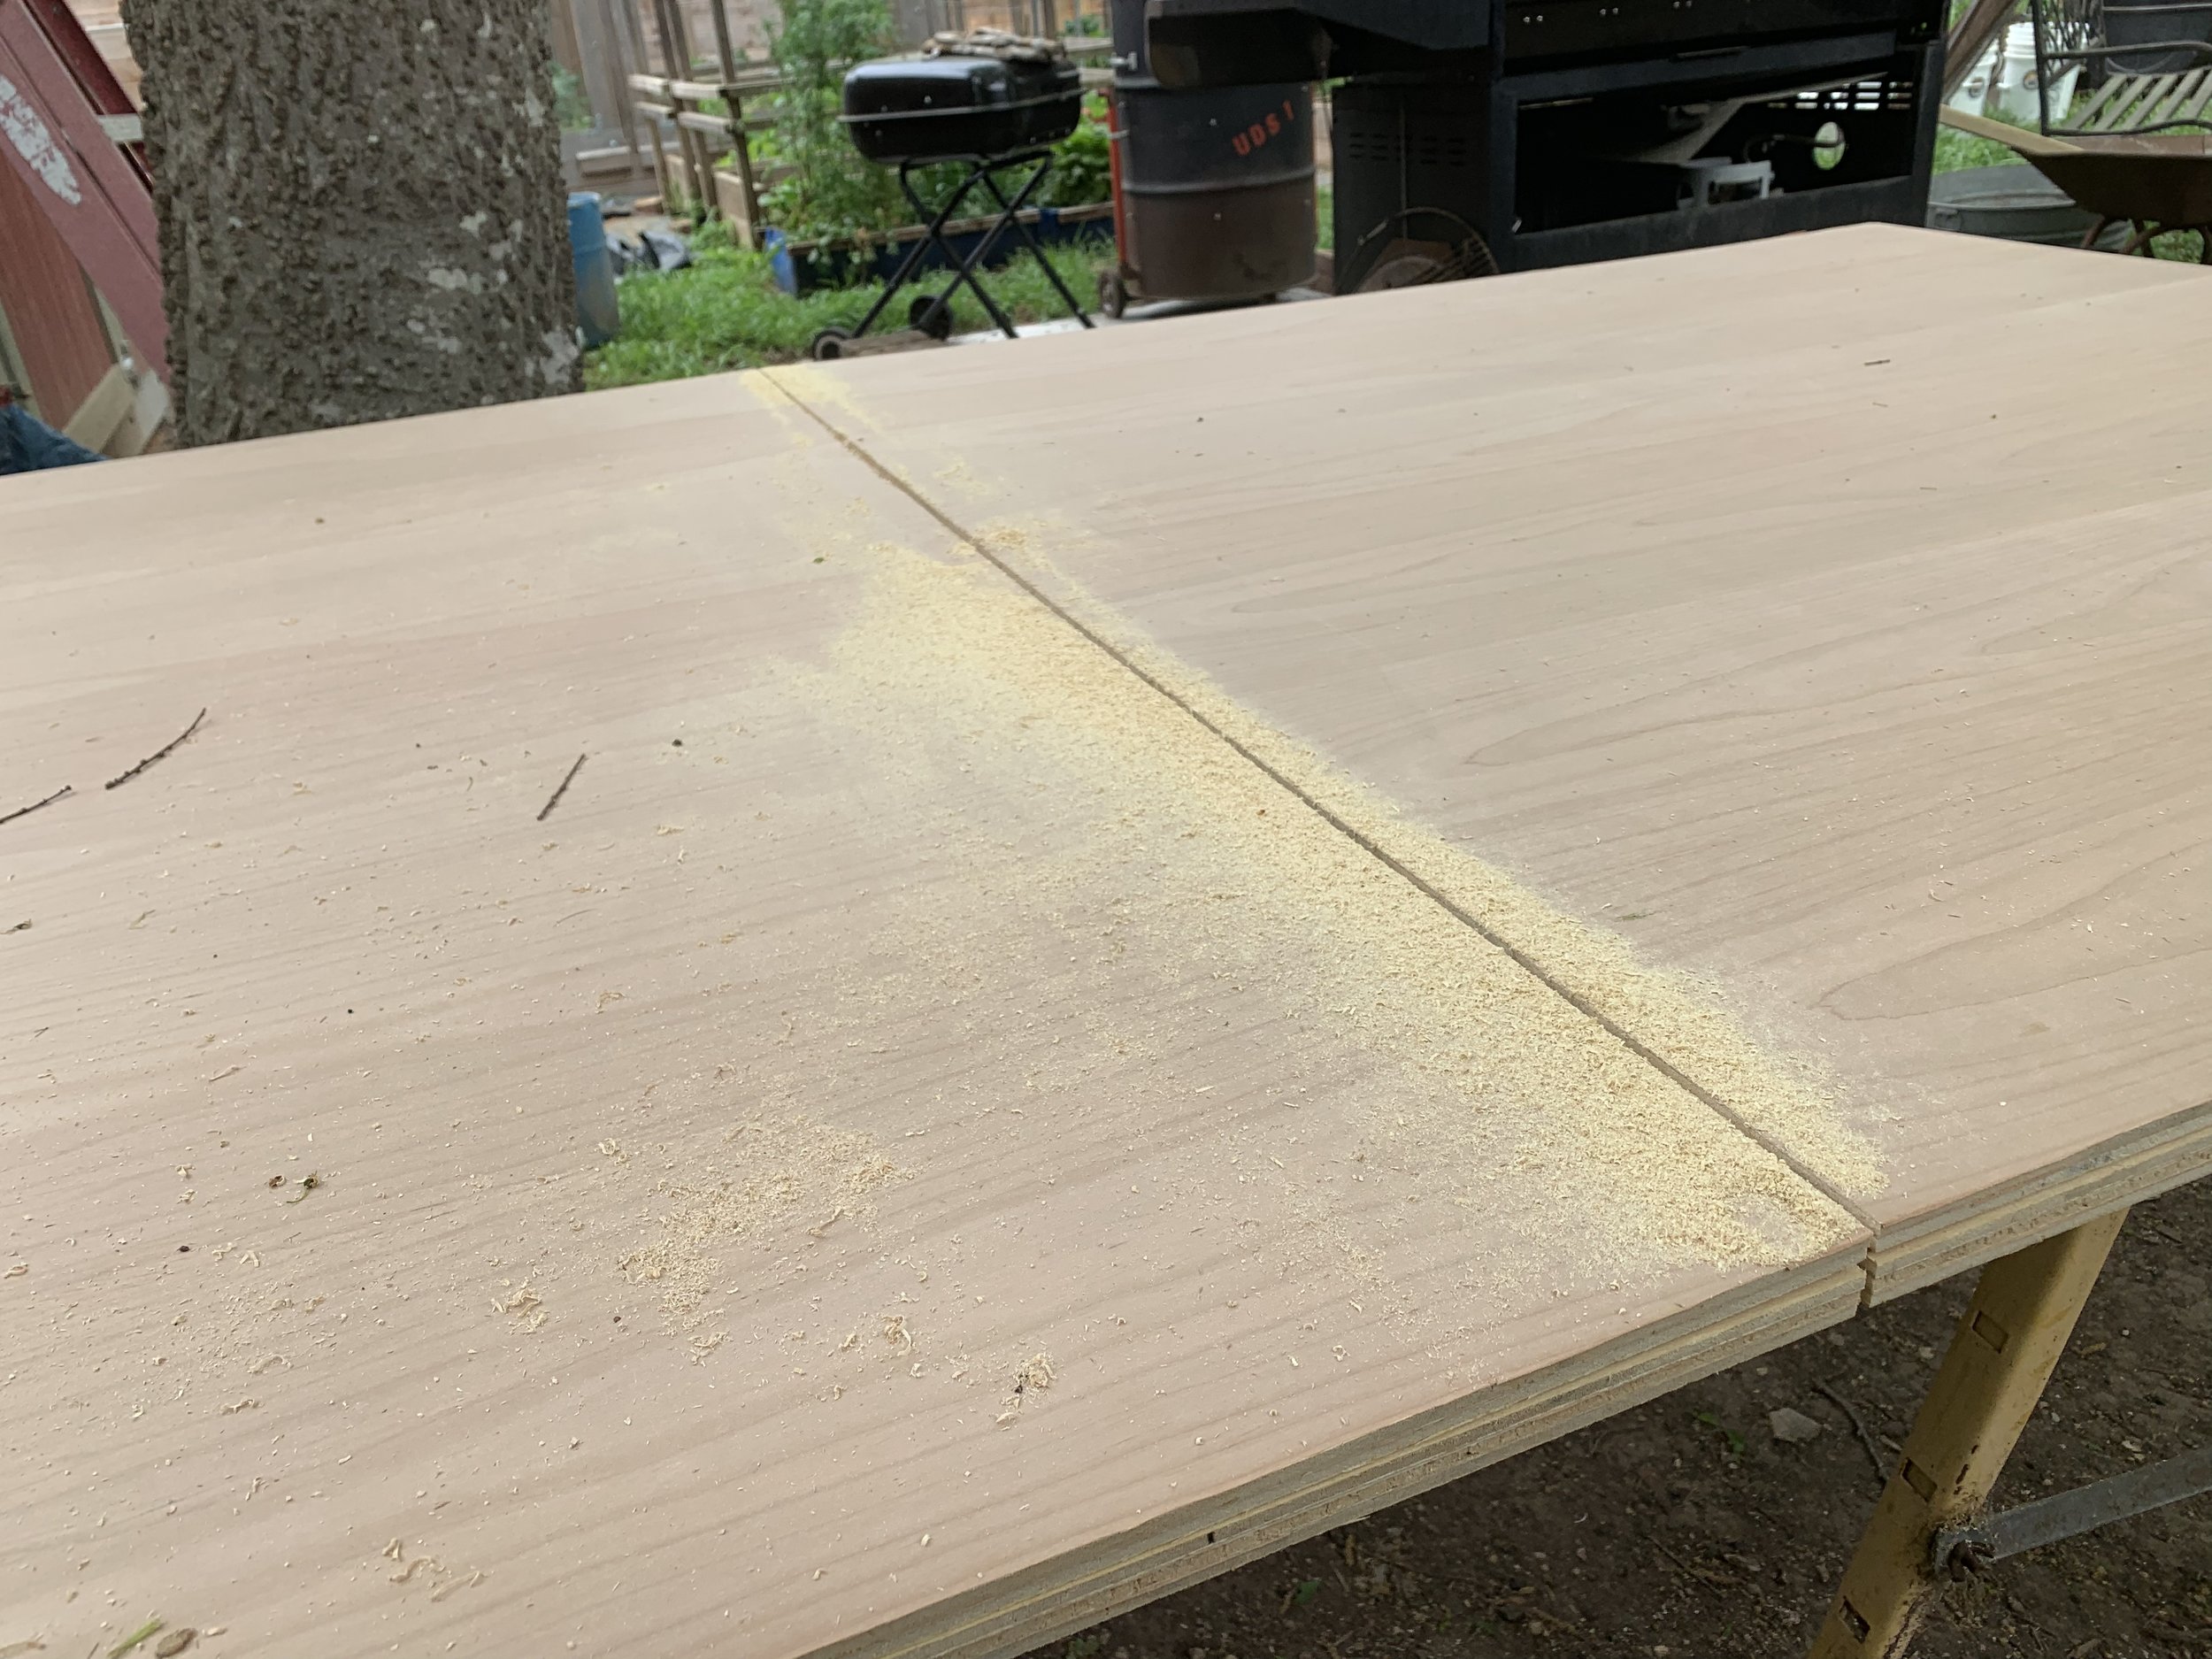
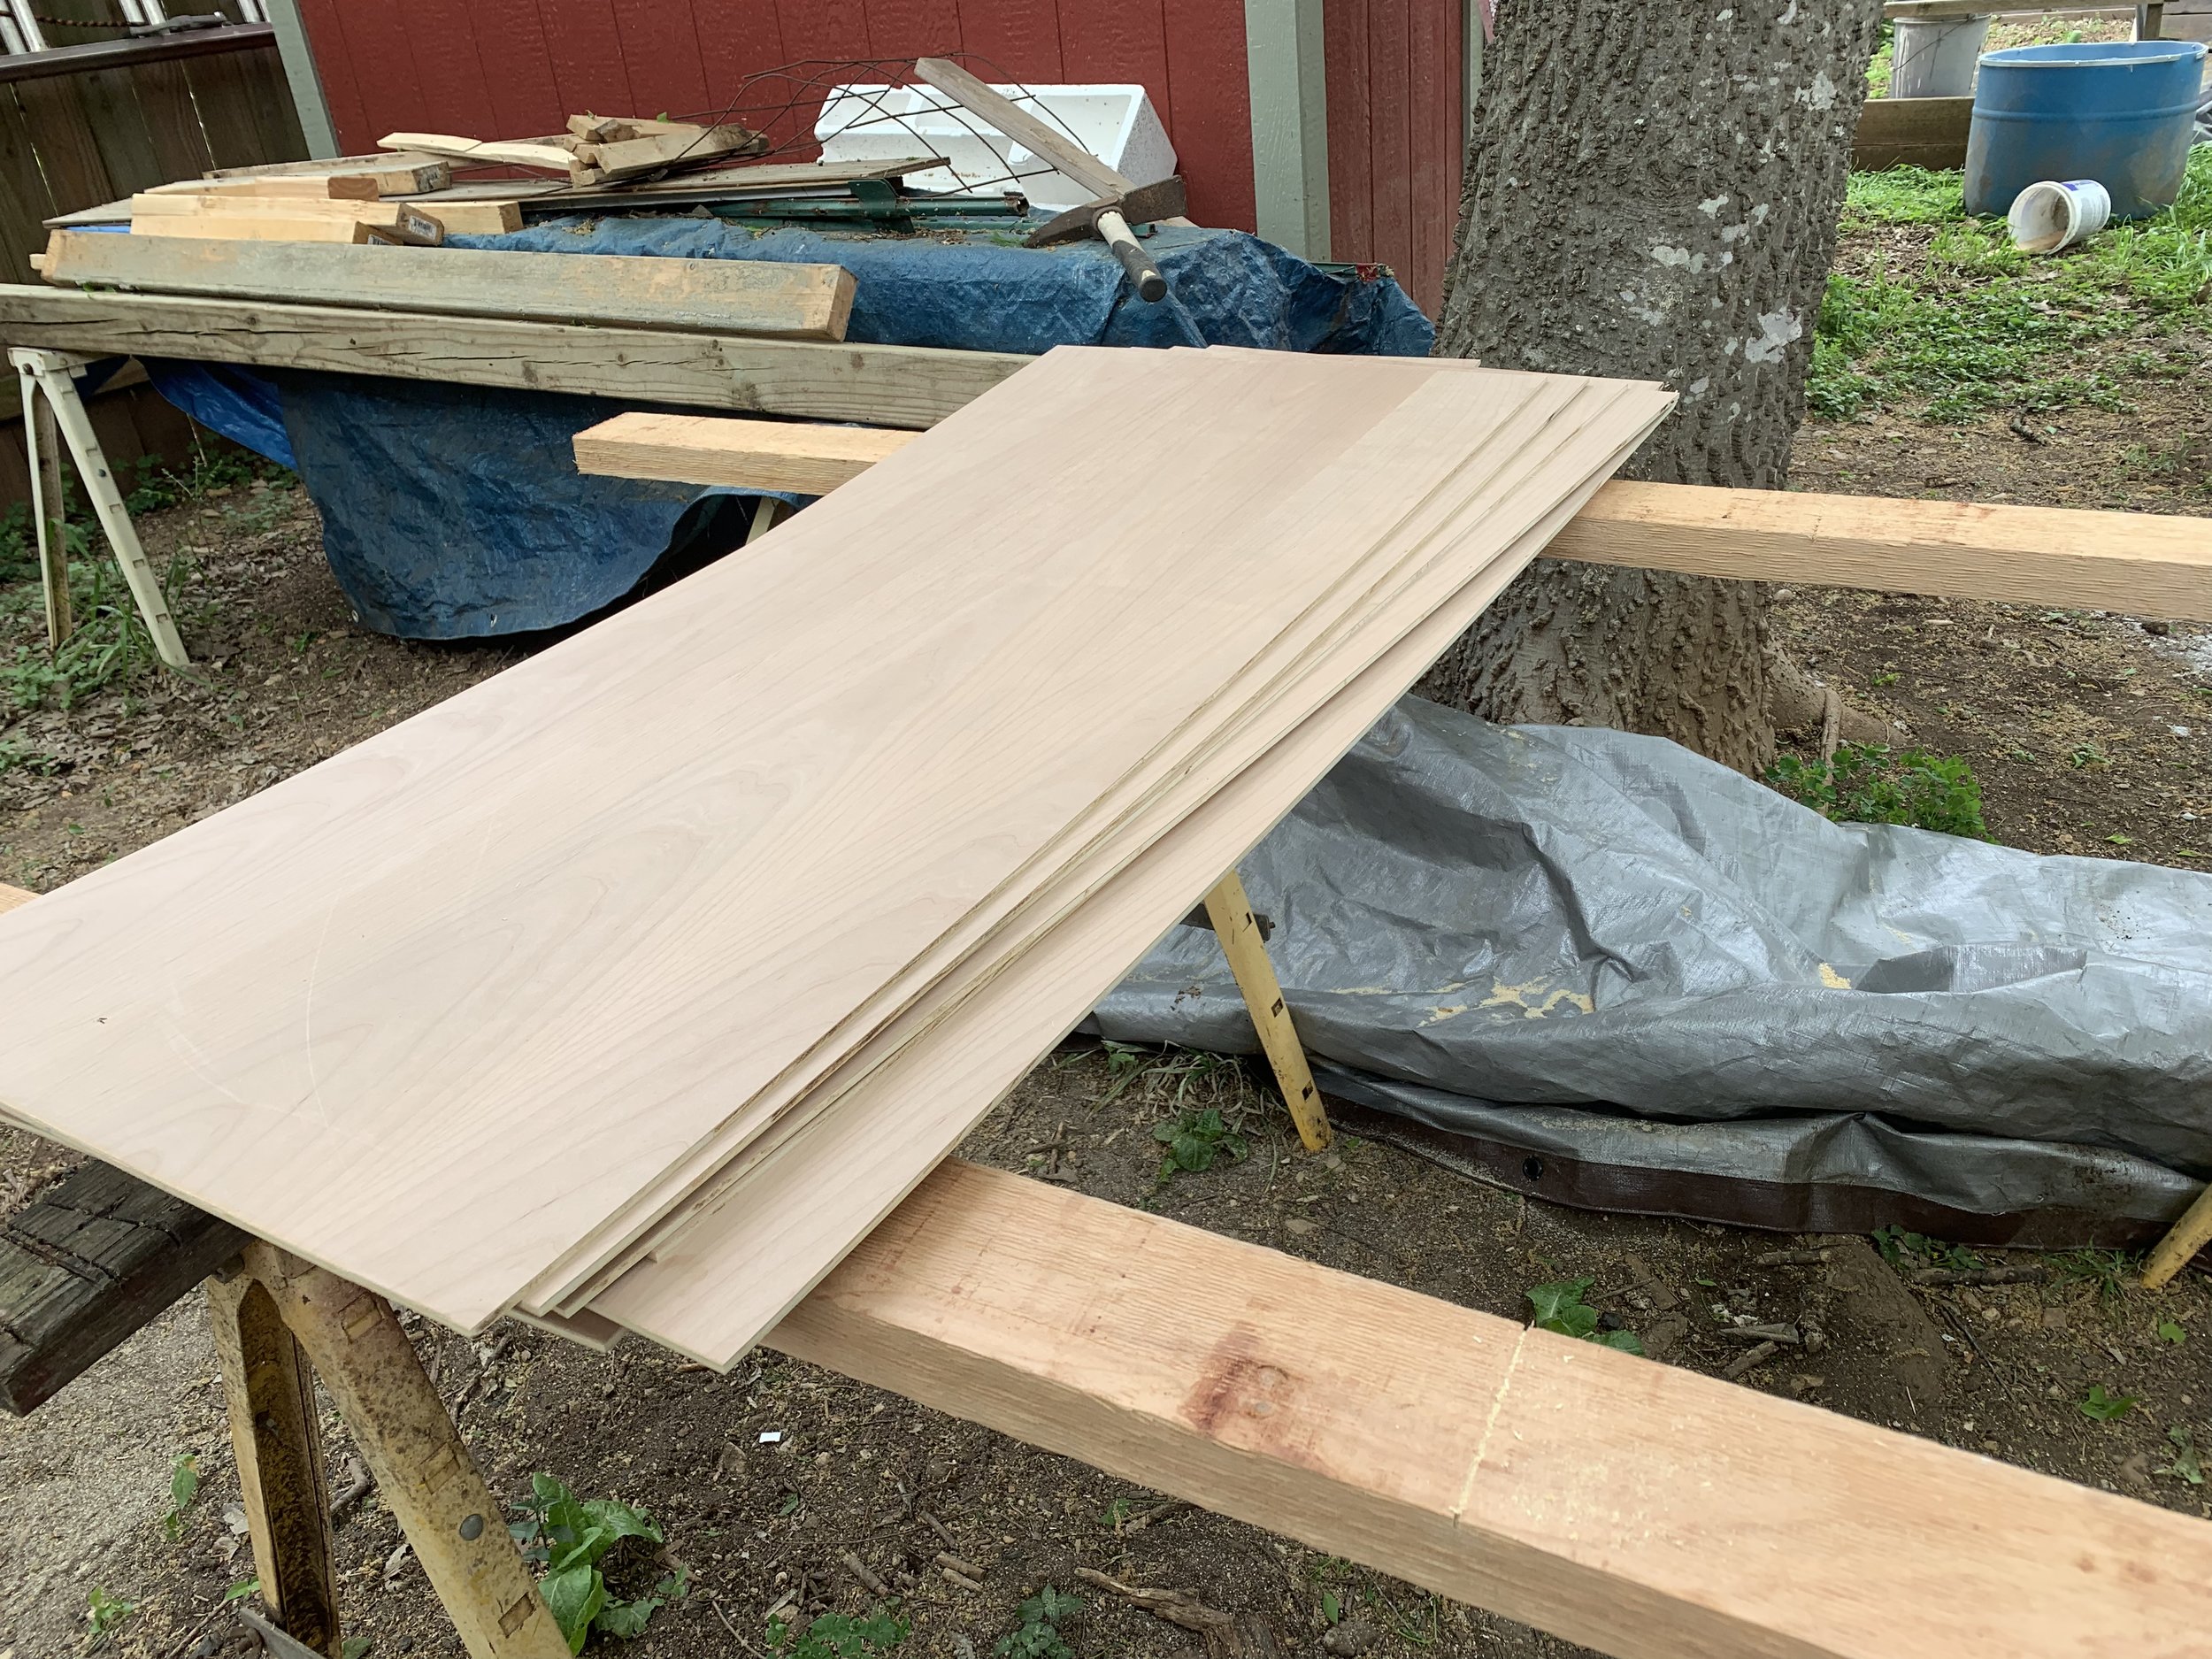
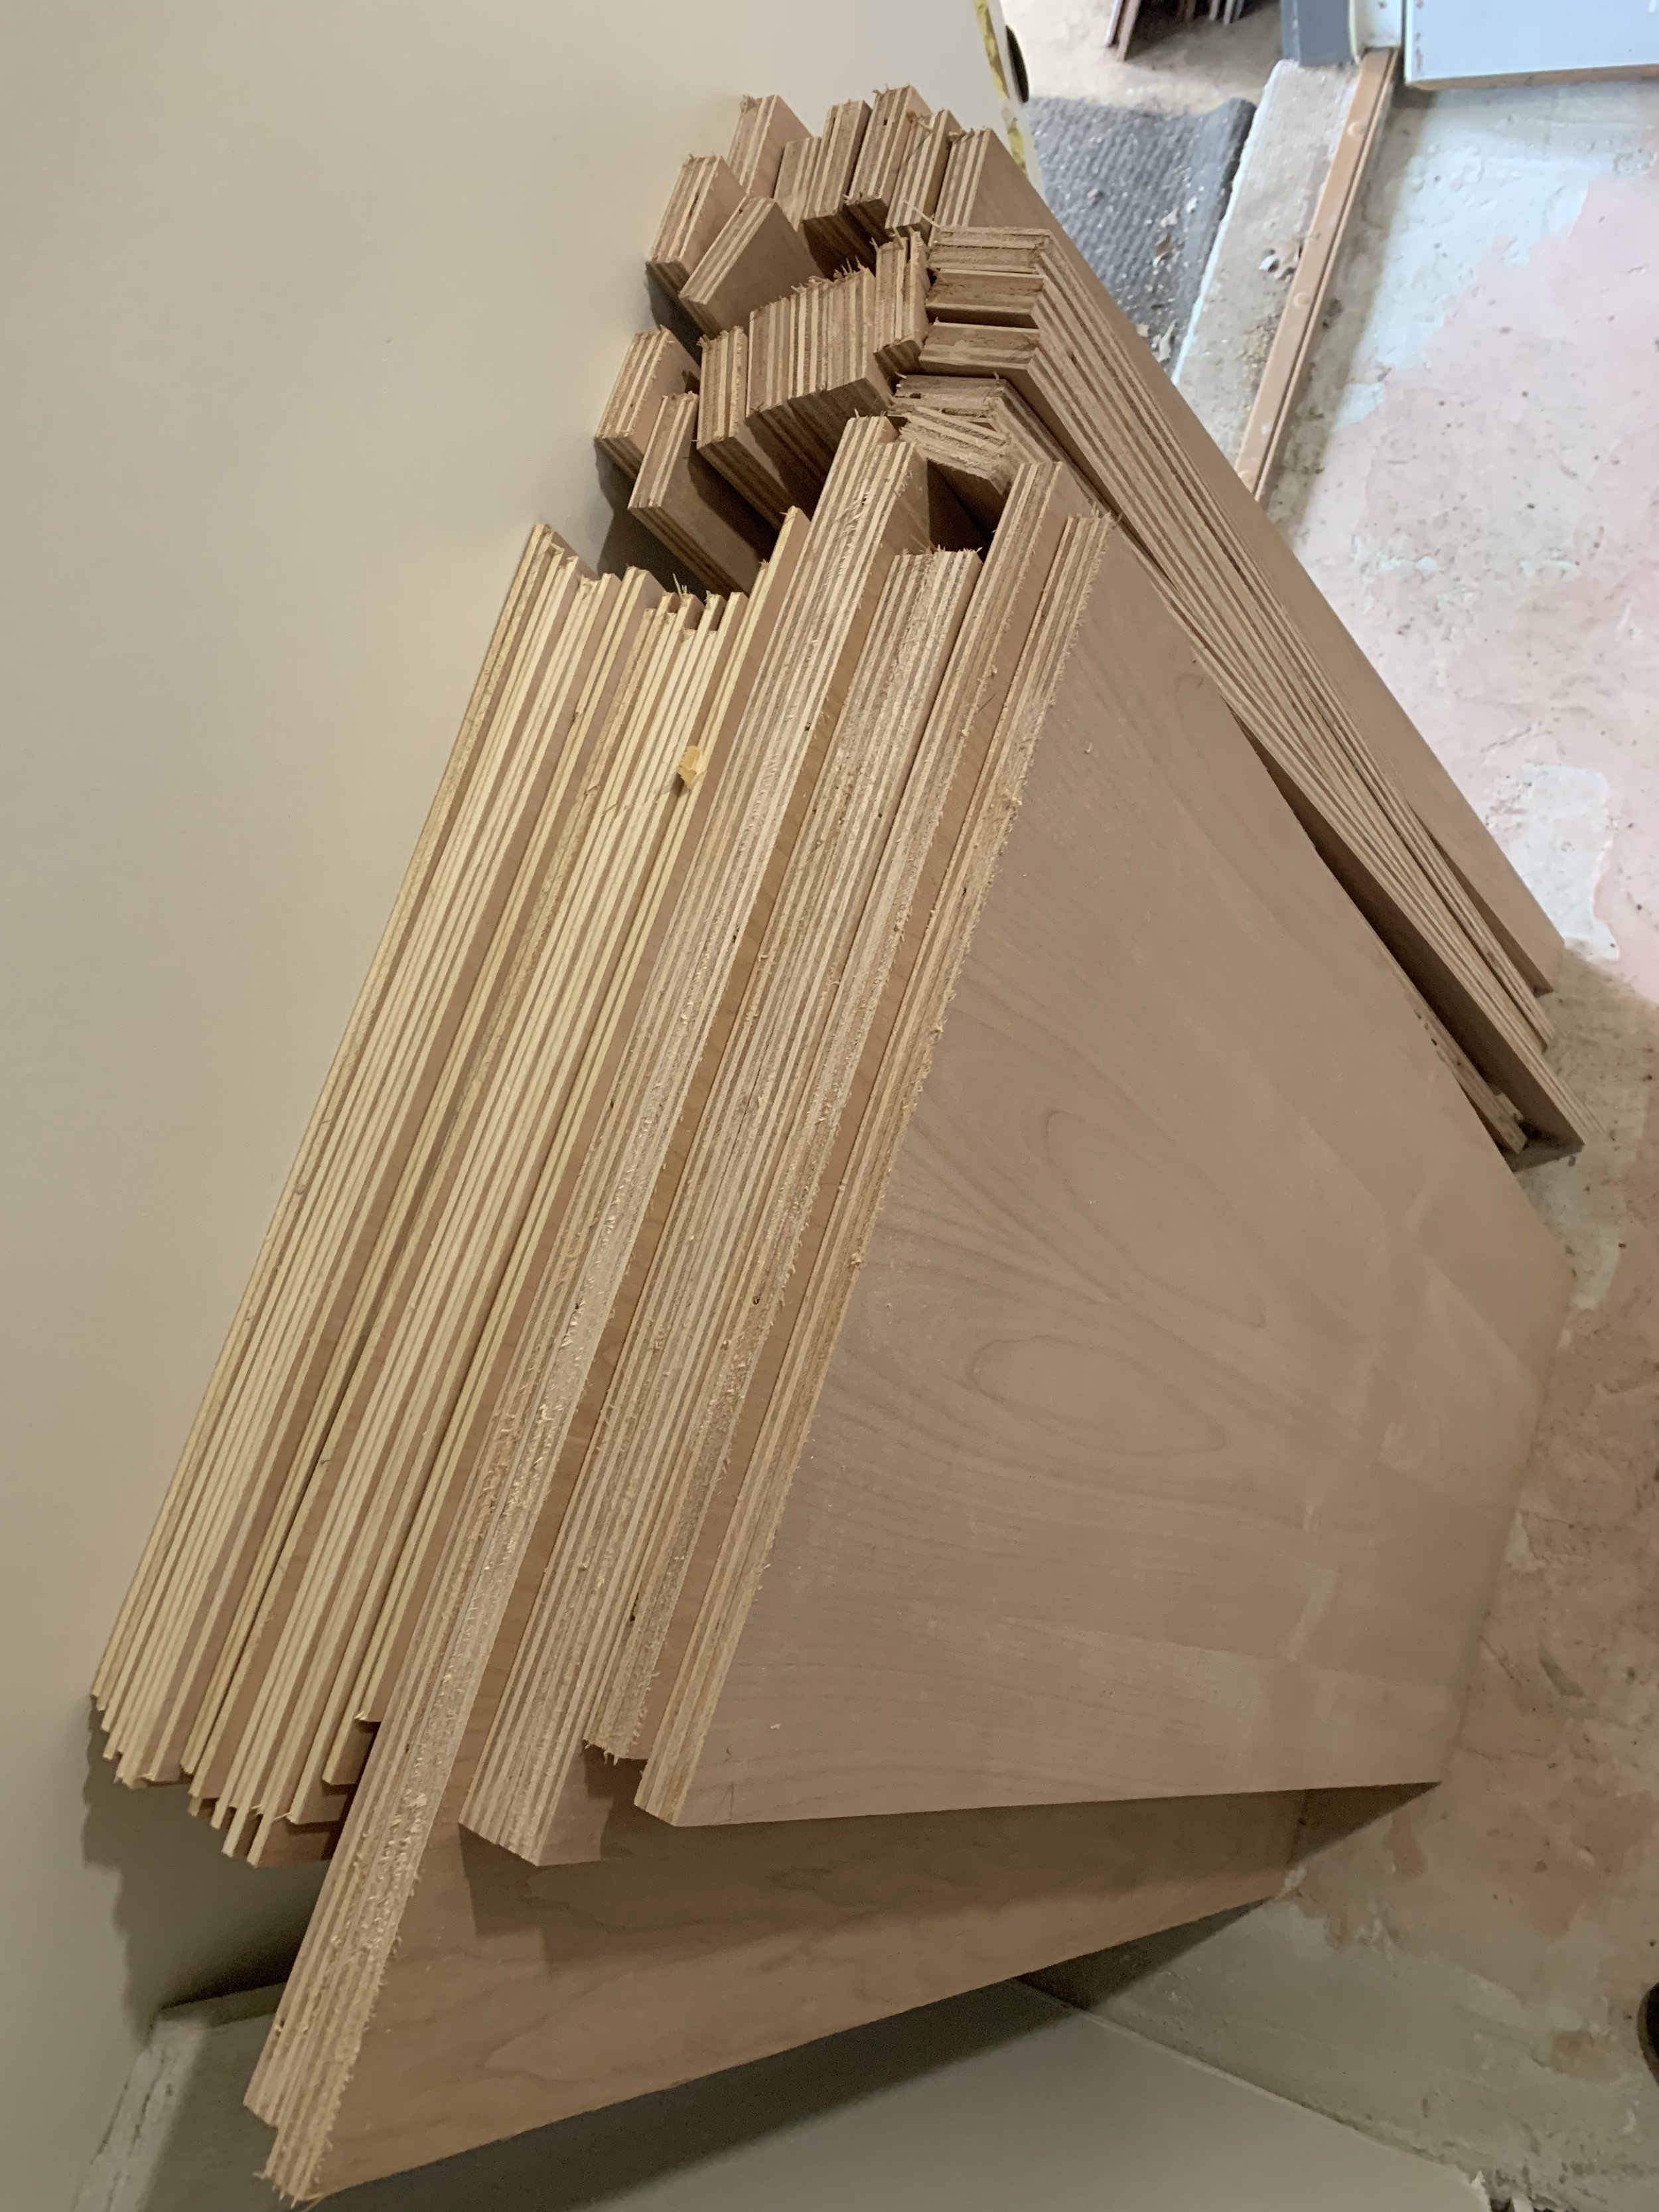
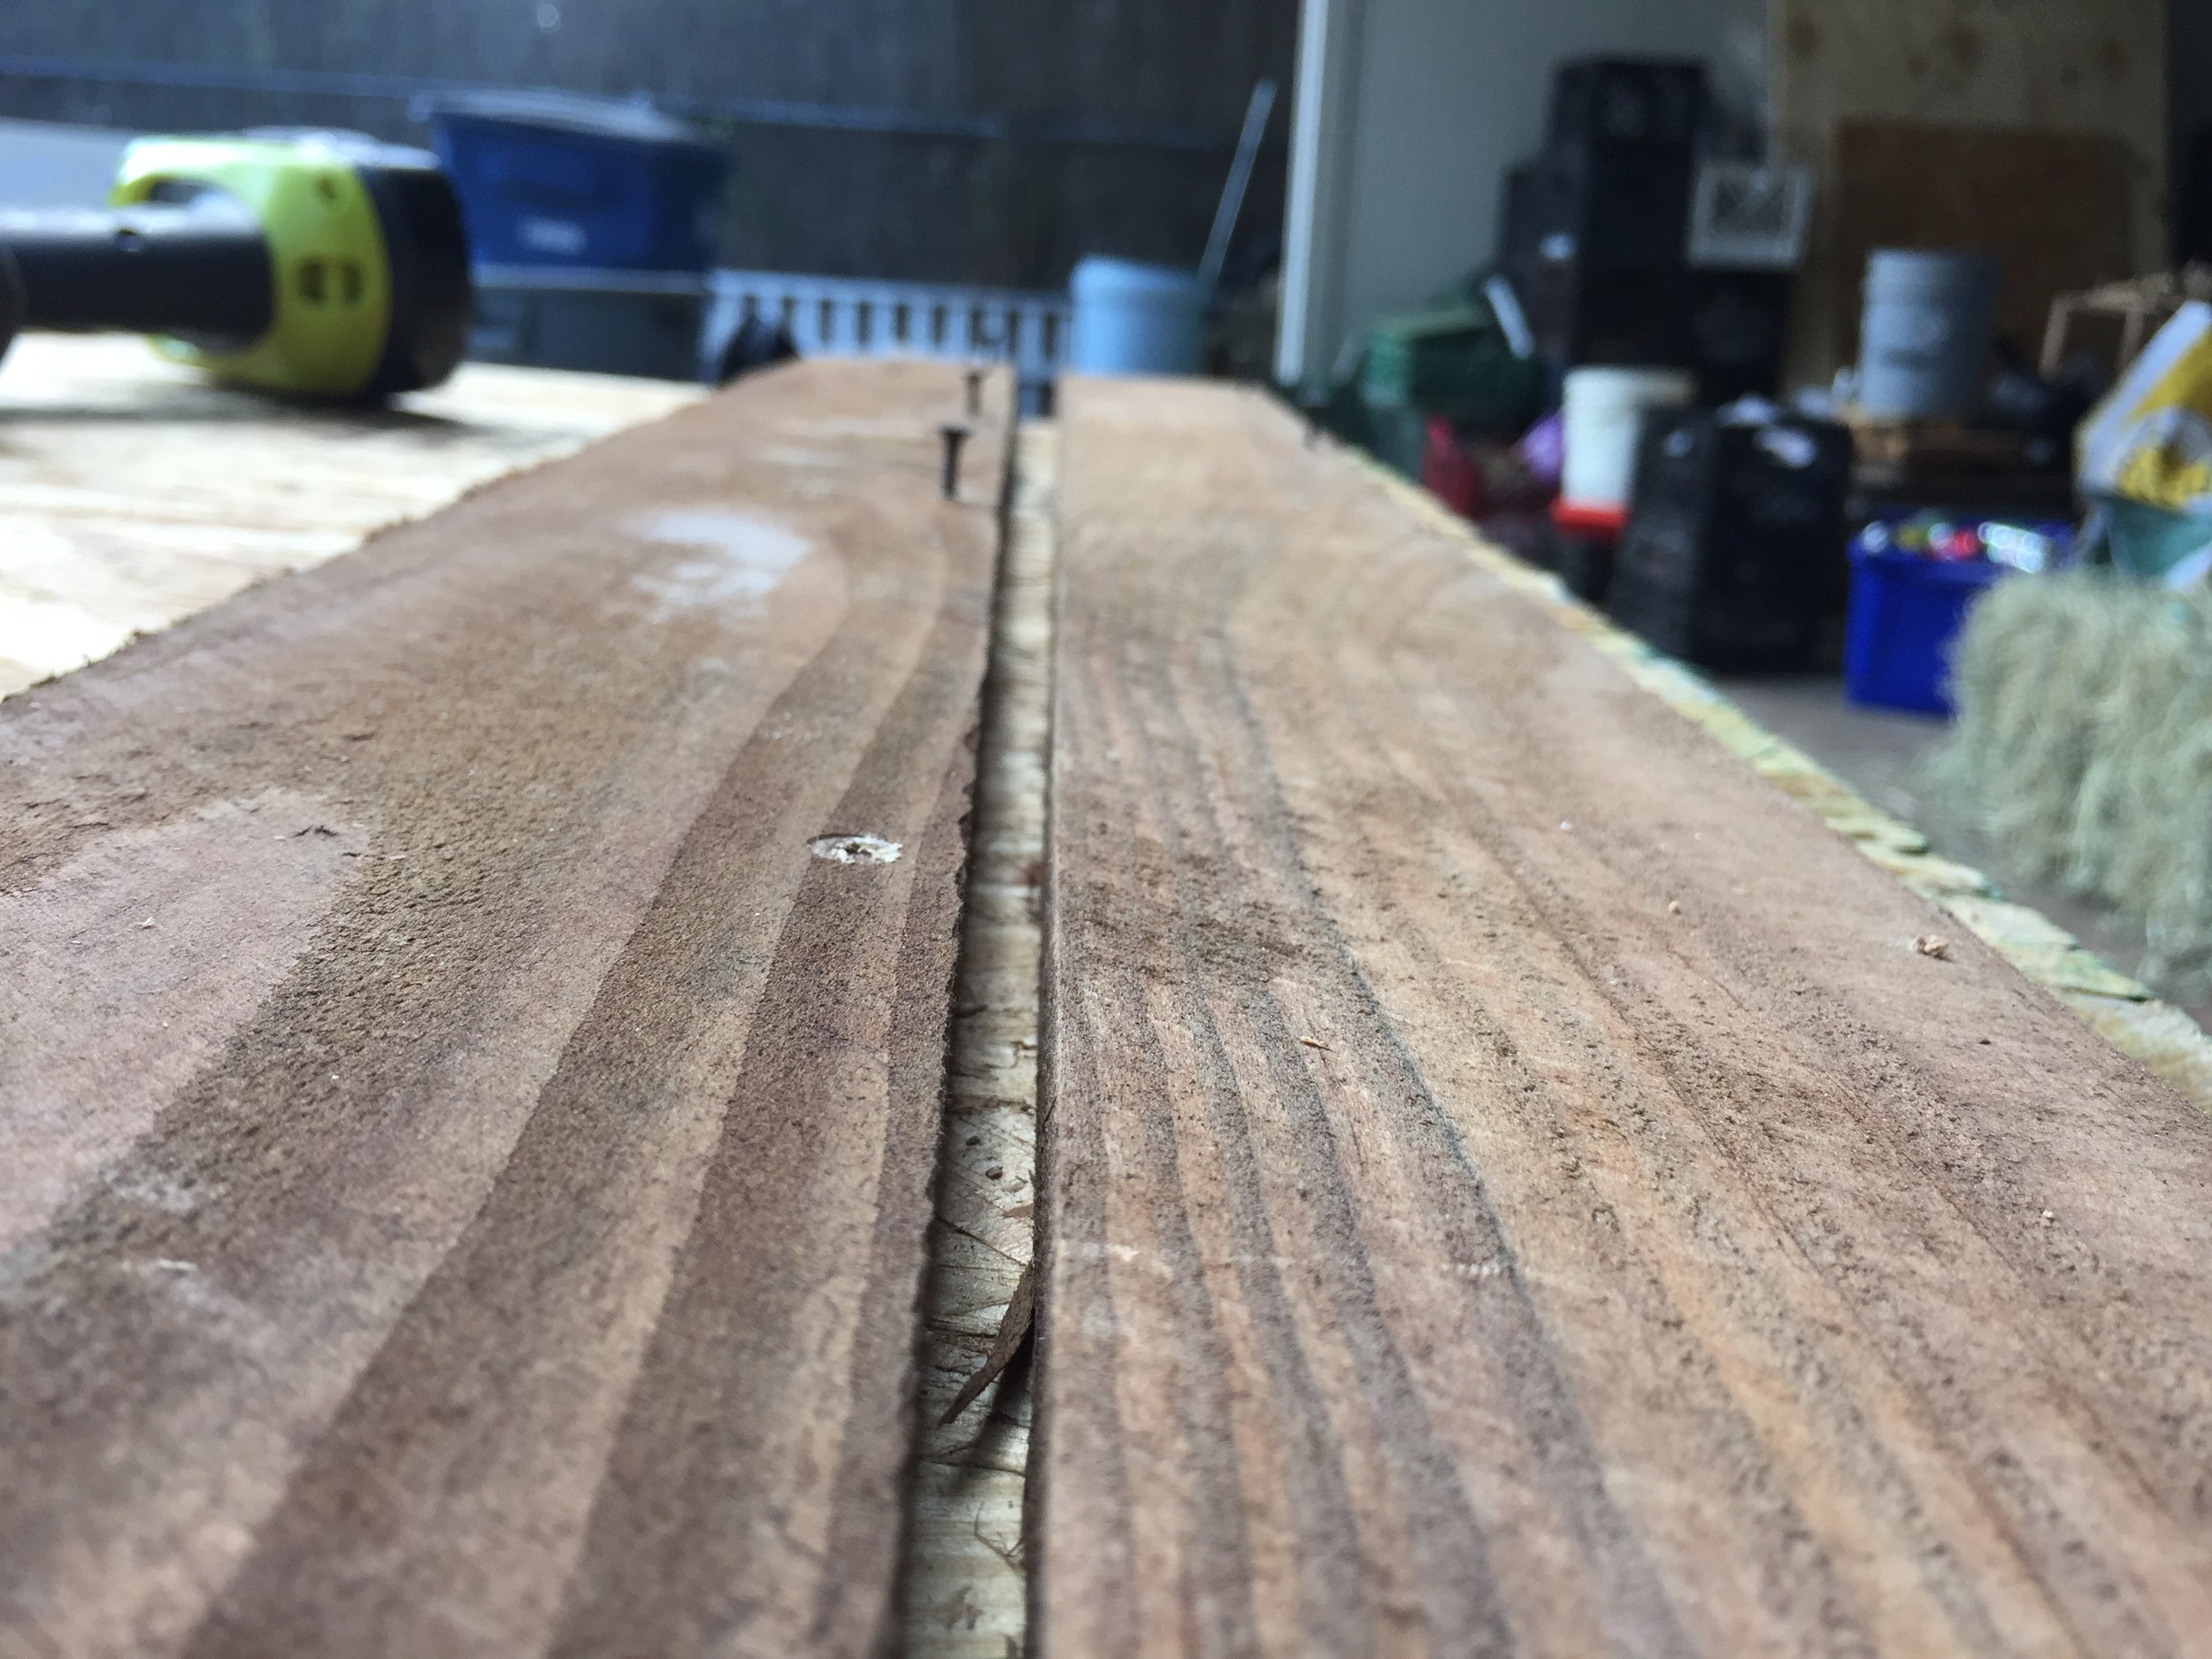
Slowly but surely, the Acoustic Fields’ QD23 is coming closer to completion. While our job before was to create rough and therefore imprecise cuts, today’s work was centered around cutting the wood exactly to fit. If there’s one thing I can say about this process, I’ve got mad respect for both professional and amateur woodworkers. The precision, the craft, the dedication? Upwards.

What’s Next?

Now that all the wood is cut exactly to where we want it to be, I now have to consider staining. It’s looking like it’ll be a bit rainy for the next couple of days, so I’m refusing to think about it for now. However, I’m going to have that done hopefully at some point soon.

After the staining, we’ll cut each dado, and then assemble this wonderful diffuser.

Stay tuned for more details…

Dave WirthAcoustics, DiY
Day 1: Quadratic Residue Diffuser Build

I have long wished to build my own quadratic residue diffuser for my humble studio. Today was the first day of the process! I’ll be posting more details as things progress.

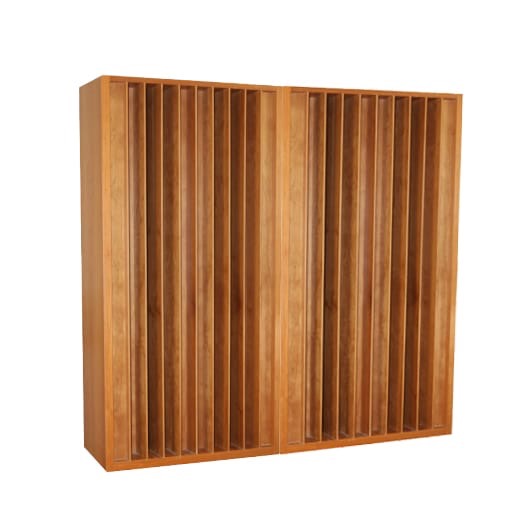
A big concern of mine is bang for the buck. More than anything, I wanted to find a design that was put through a battery of scientific tests before I shelled out my money on it. I’m very suspicious of anyone writing a review on just about any acoustic product website that says: “it sounds awesome, buy it.” I needed more assurance than that! I wanted a diffuser that the company took the time and tested in an anechoic chamber with well-calibrated equipment and a scientific process. After tons of research on companies that offer acoustic diffusion products, I settled on Acoustic Fields’ QD23:

IMG_0206.JPG

Acoustic Fields can send you a QD23, but if you have a DIY spirit, you can also purchase the build plans on their website and build it yourself. I previously bought some other products from Acoustic Fields, and I can’t say enough positive things about them.

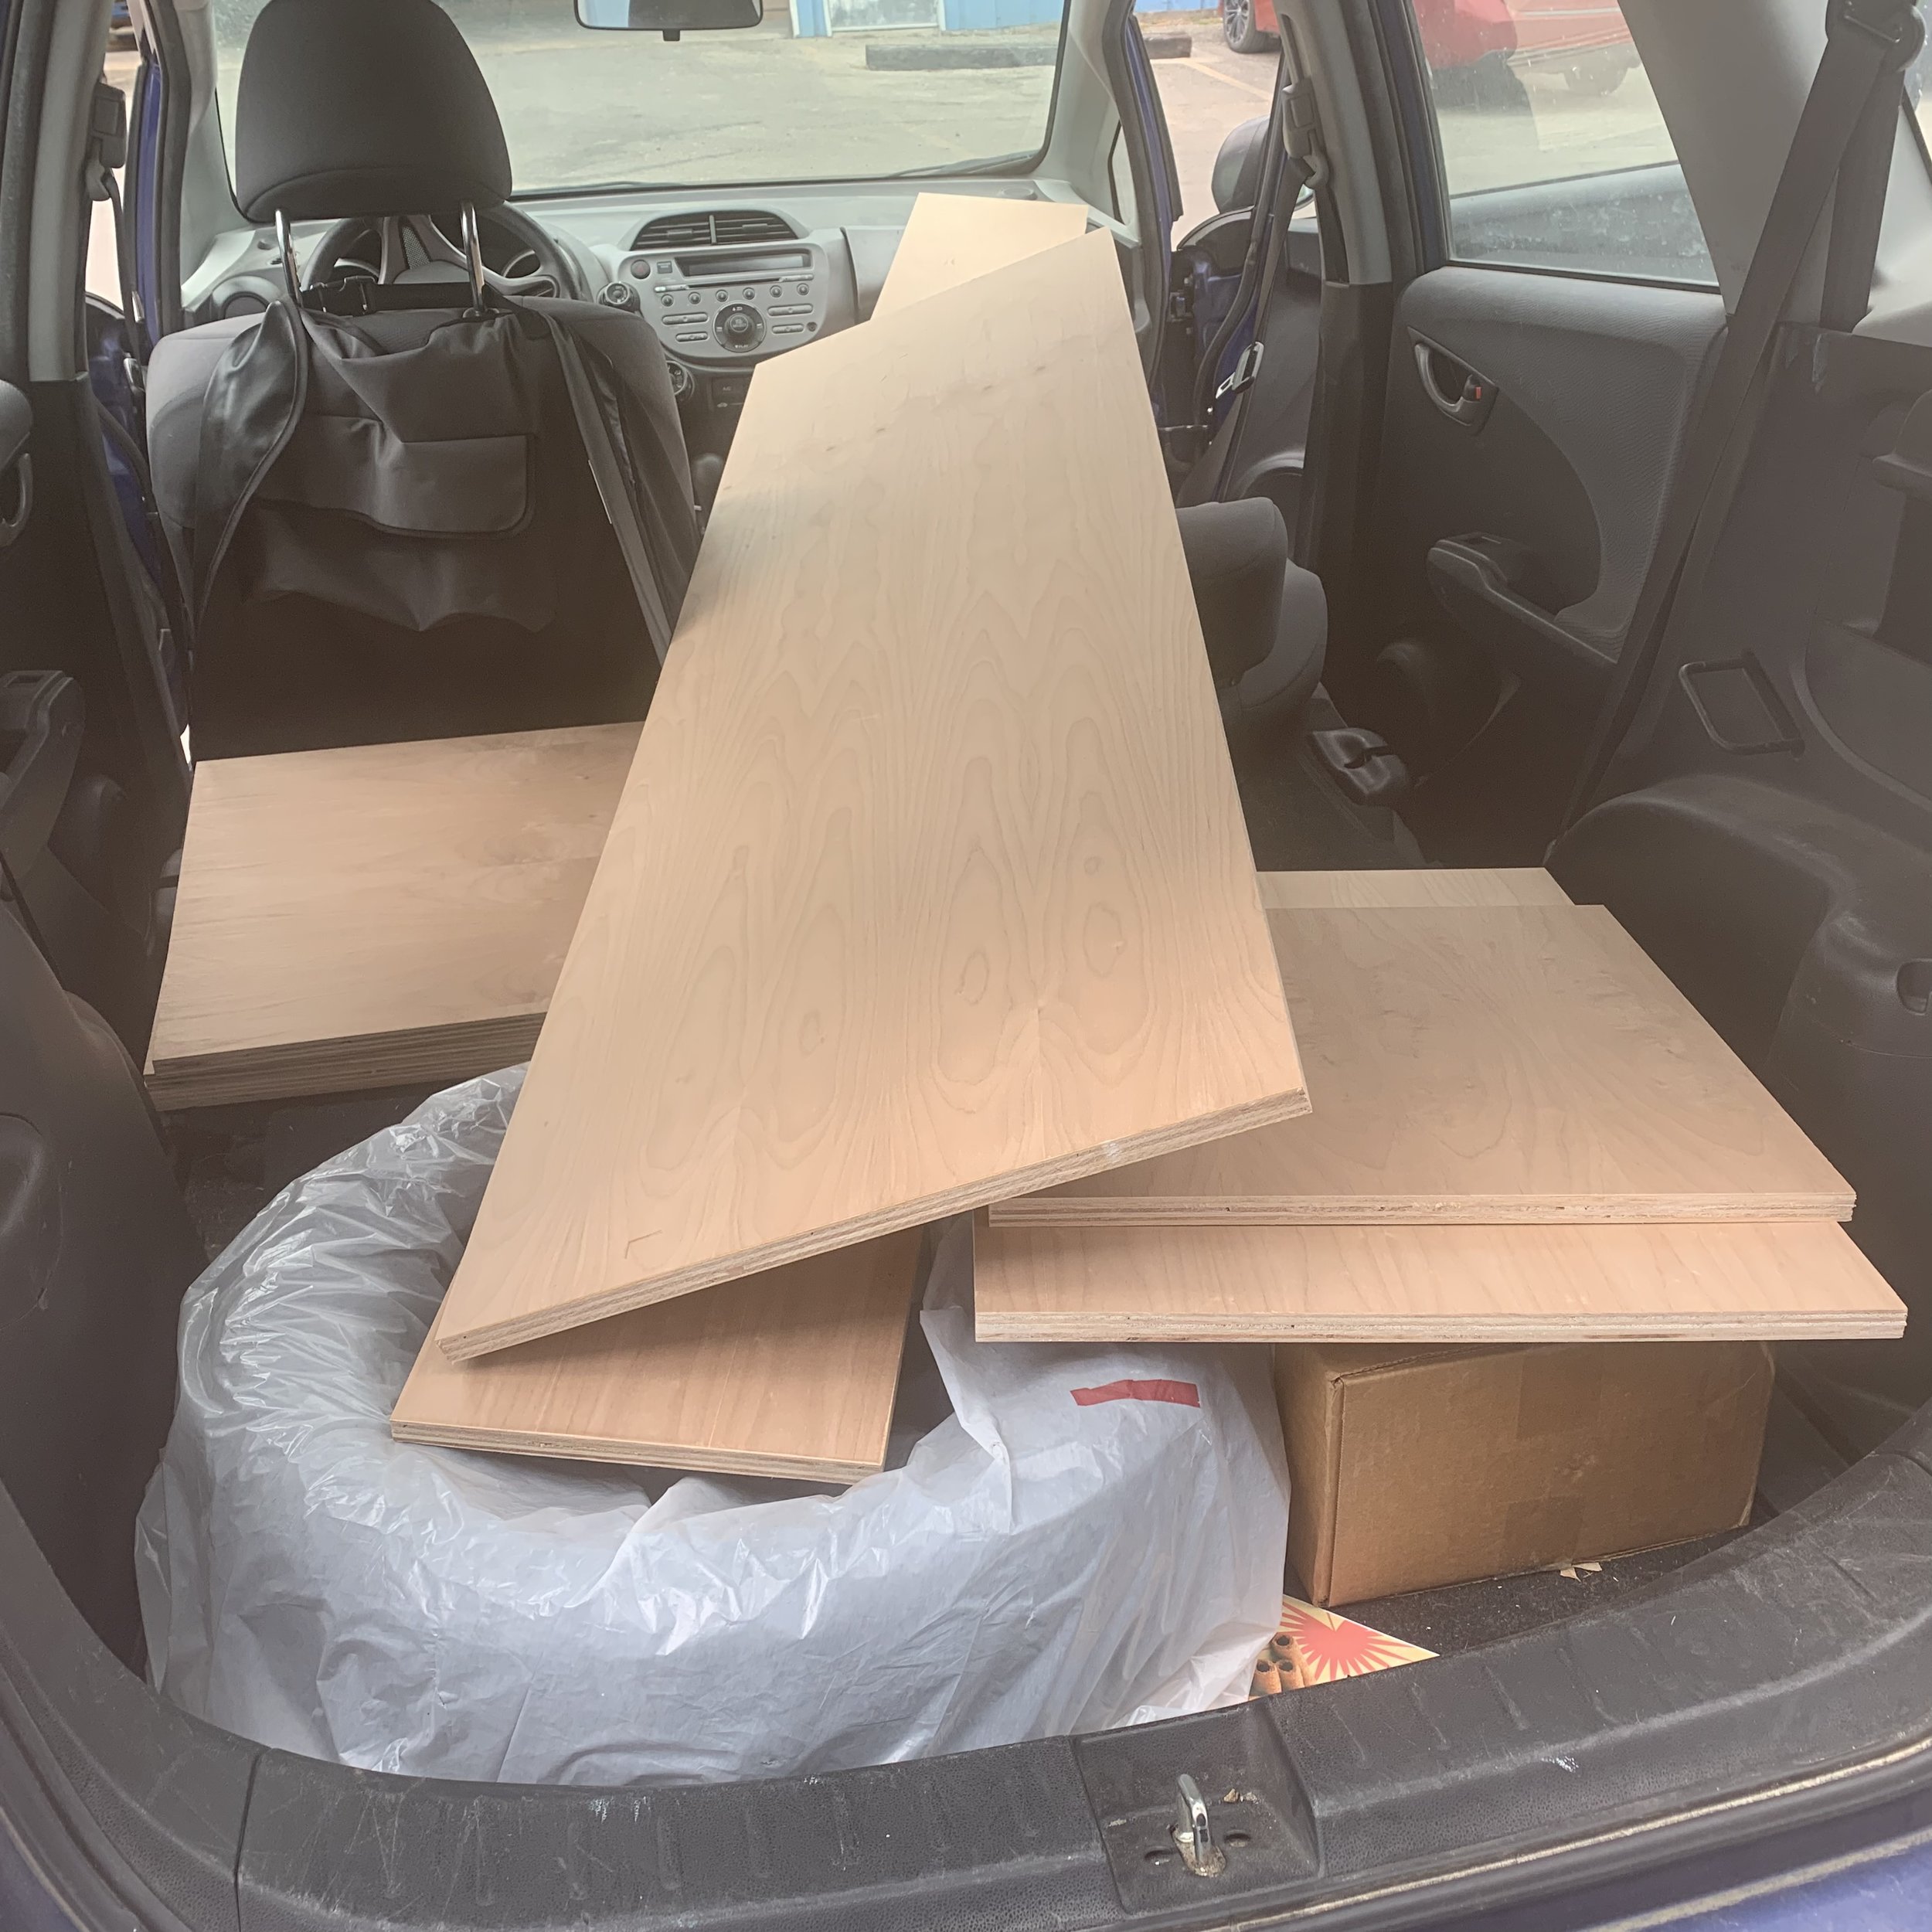
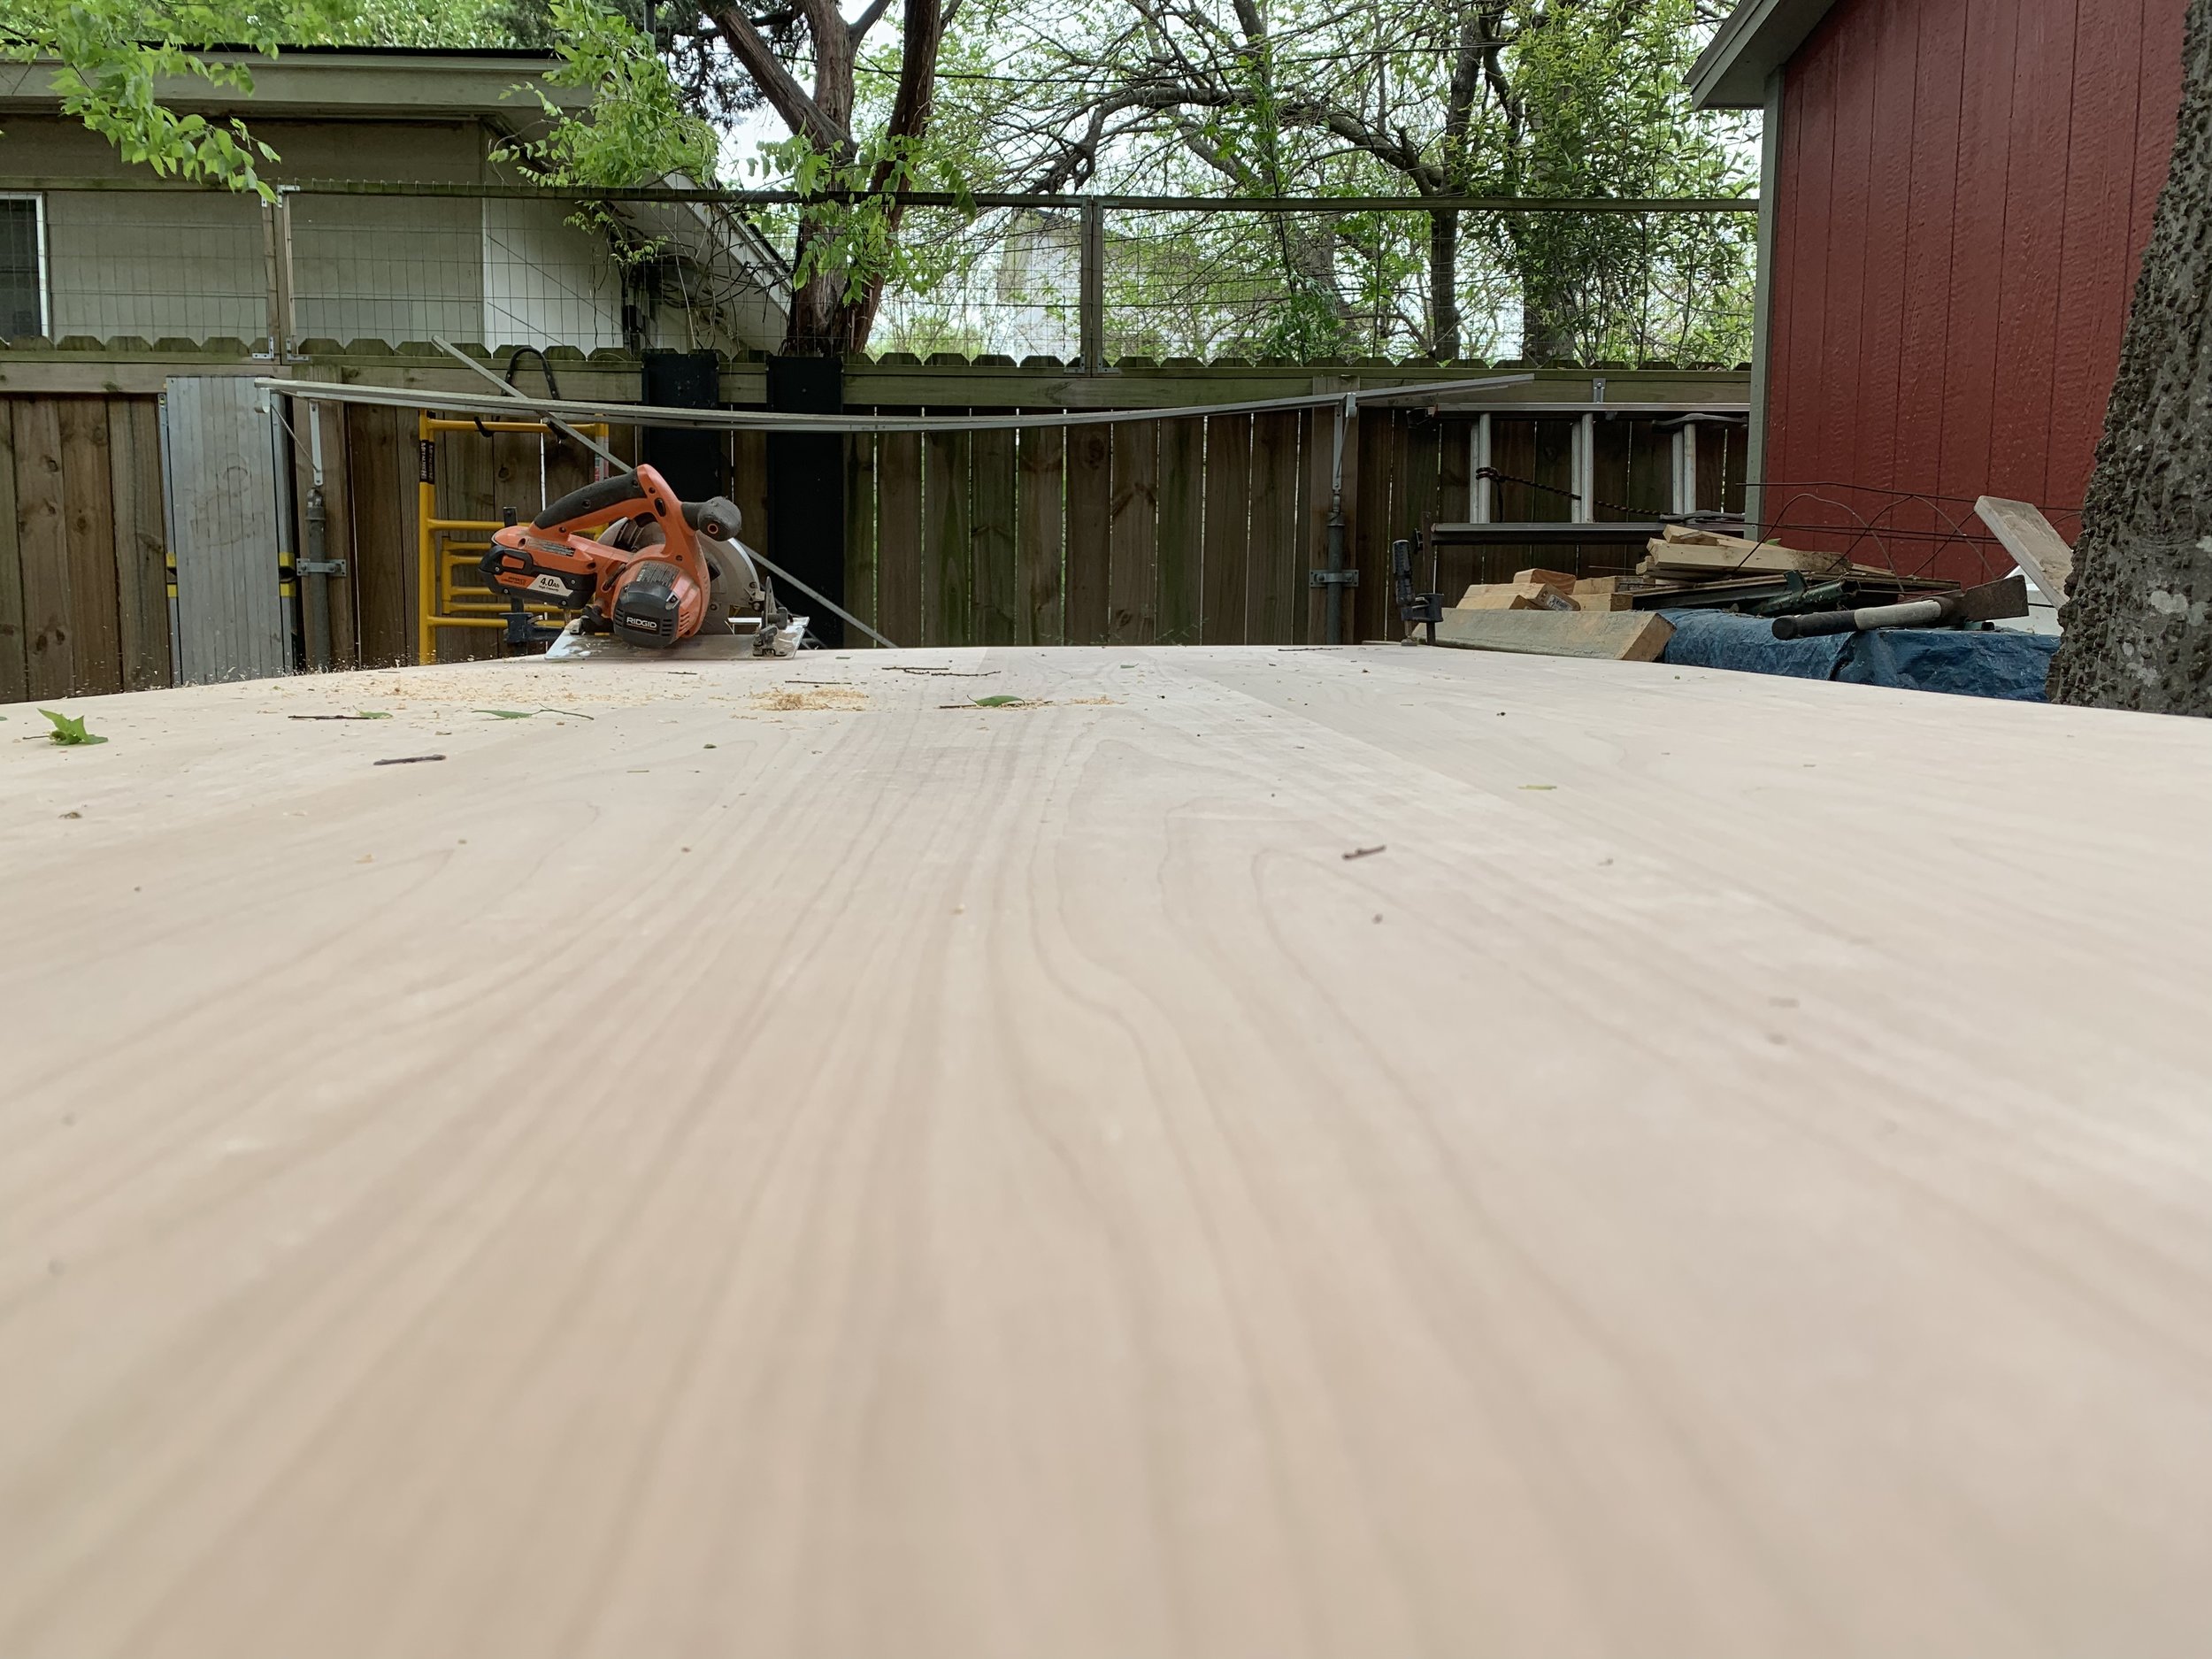
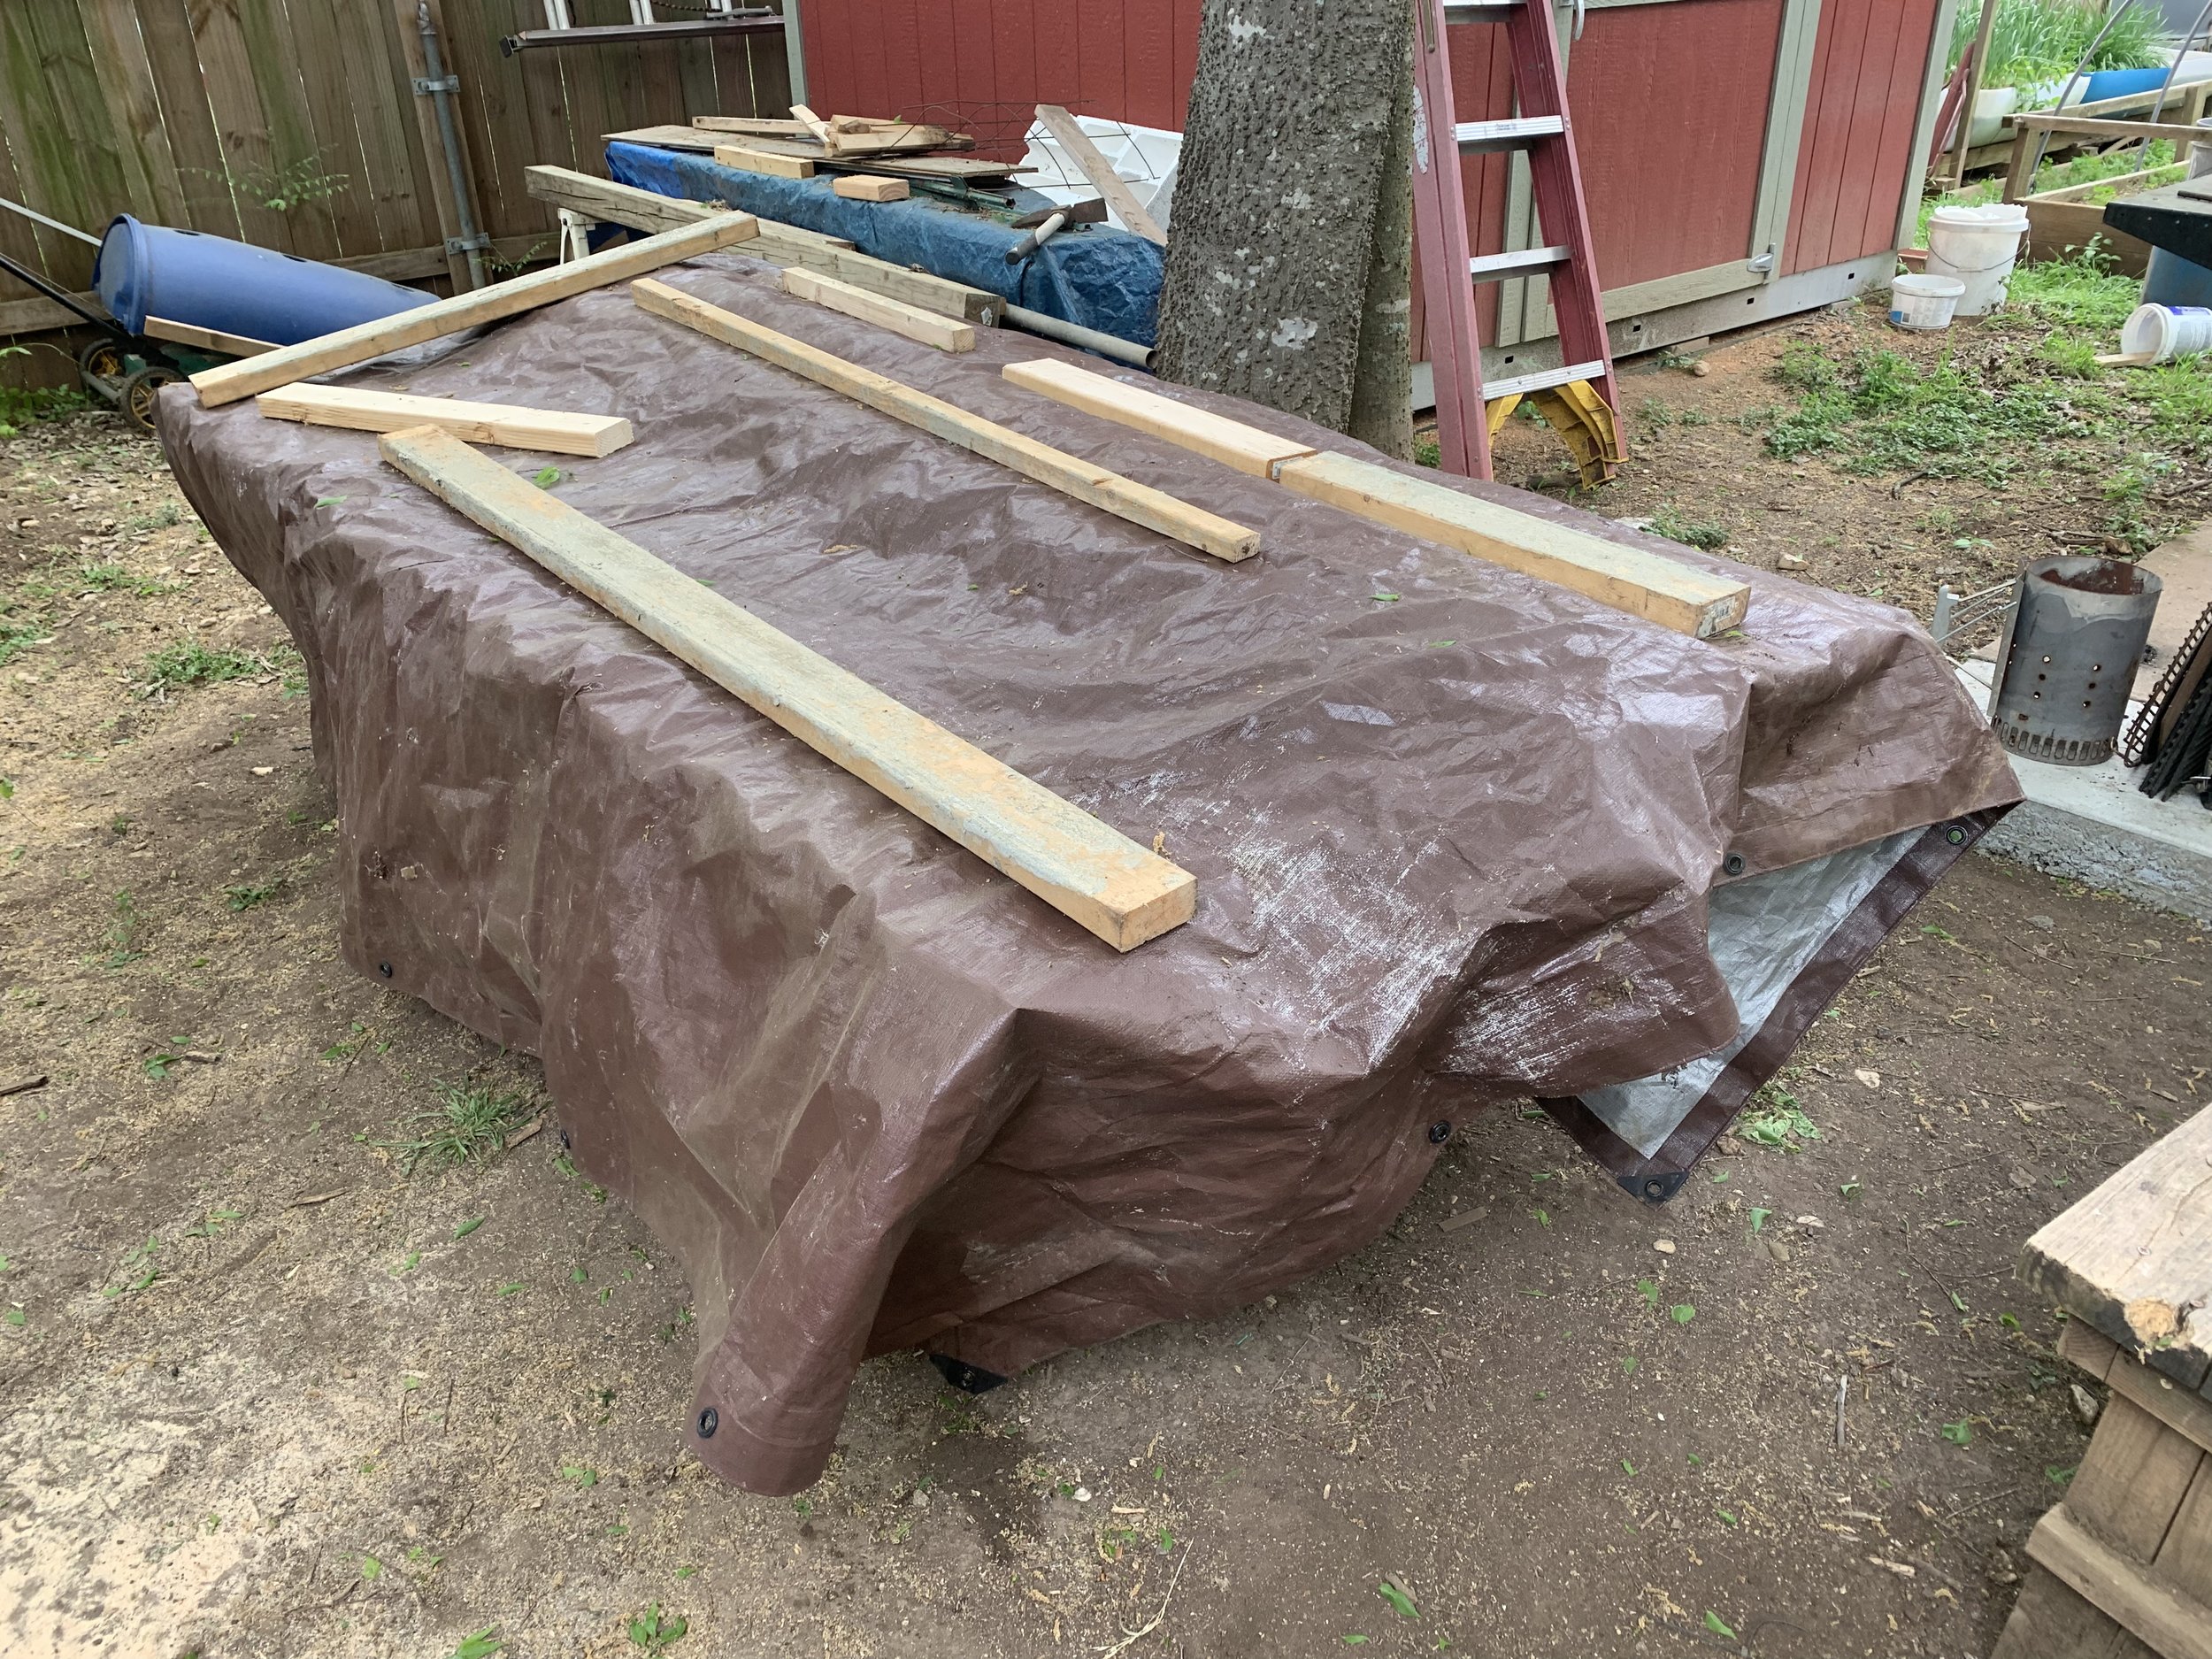
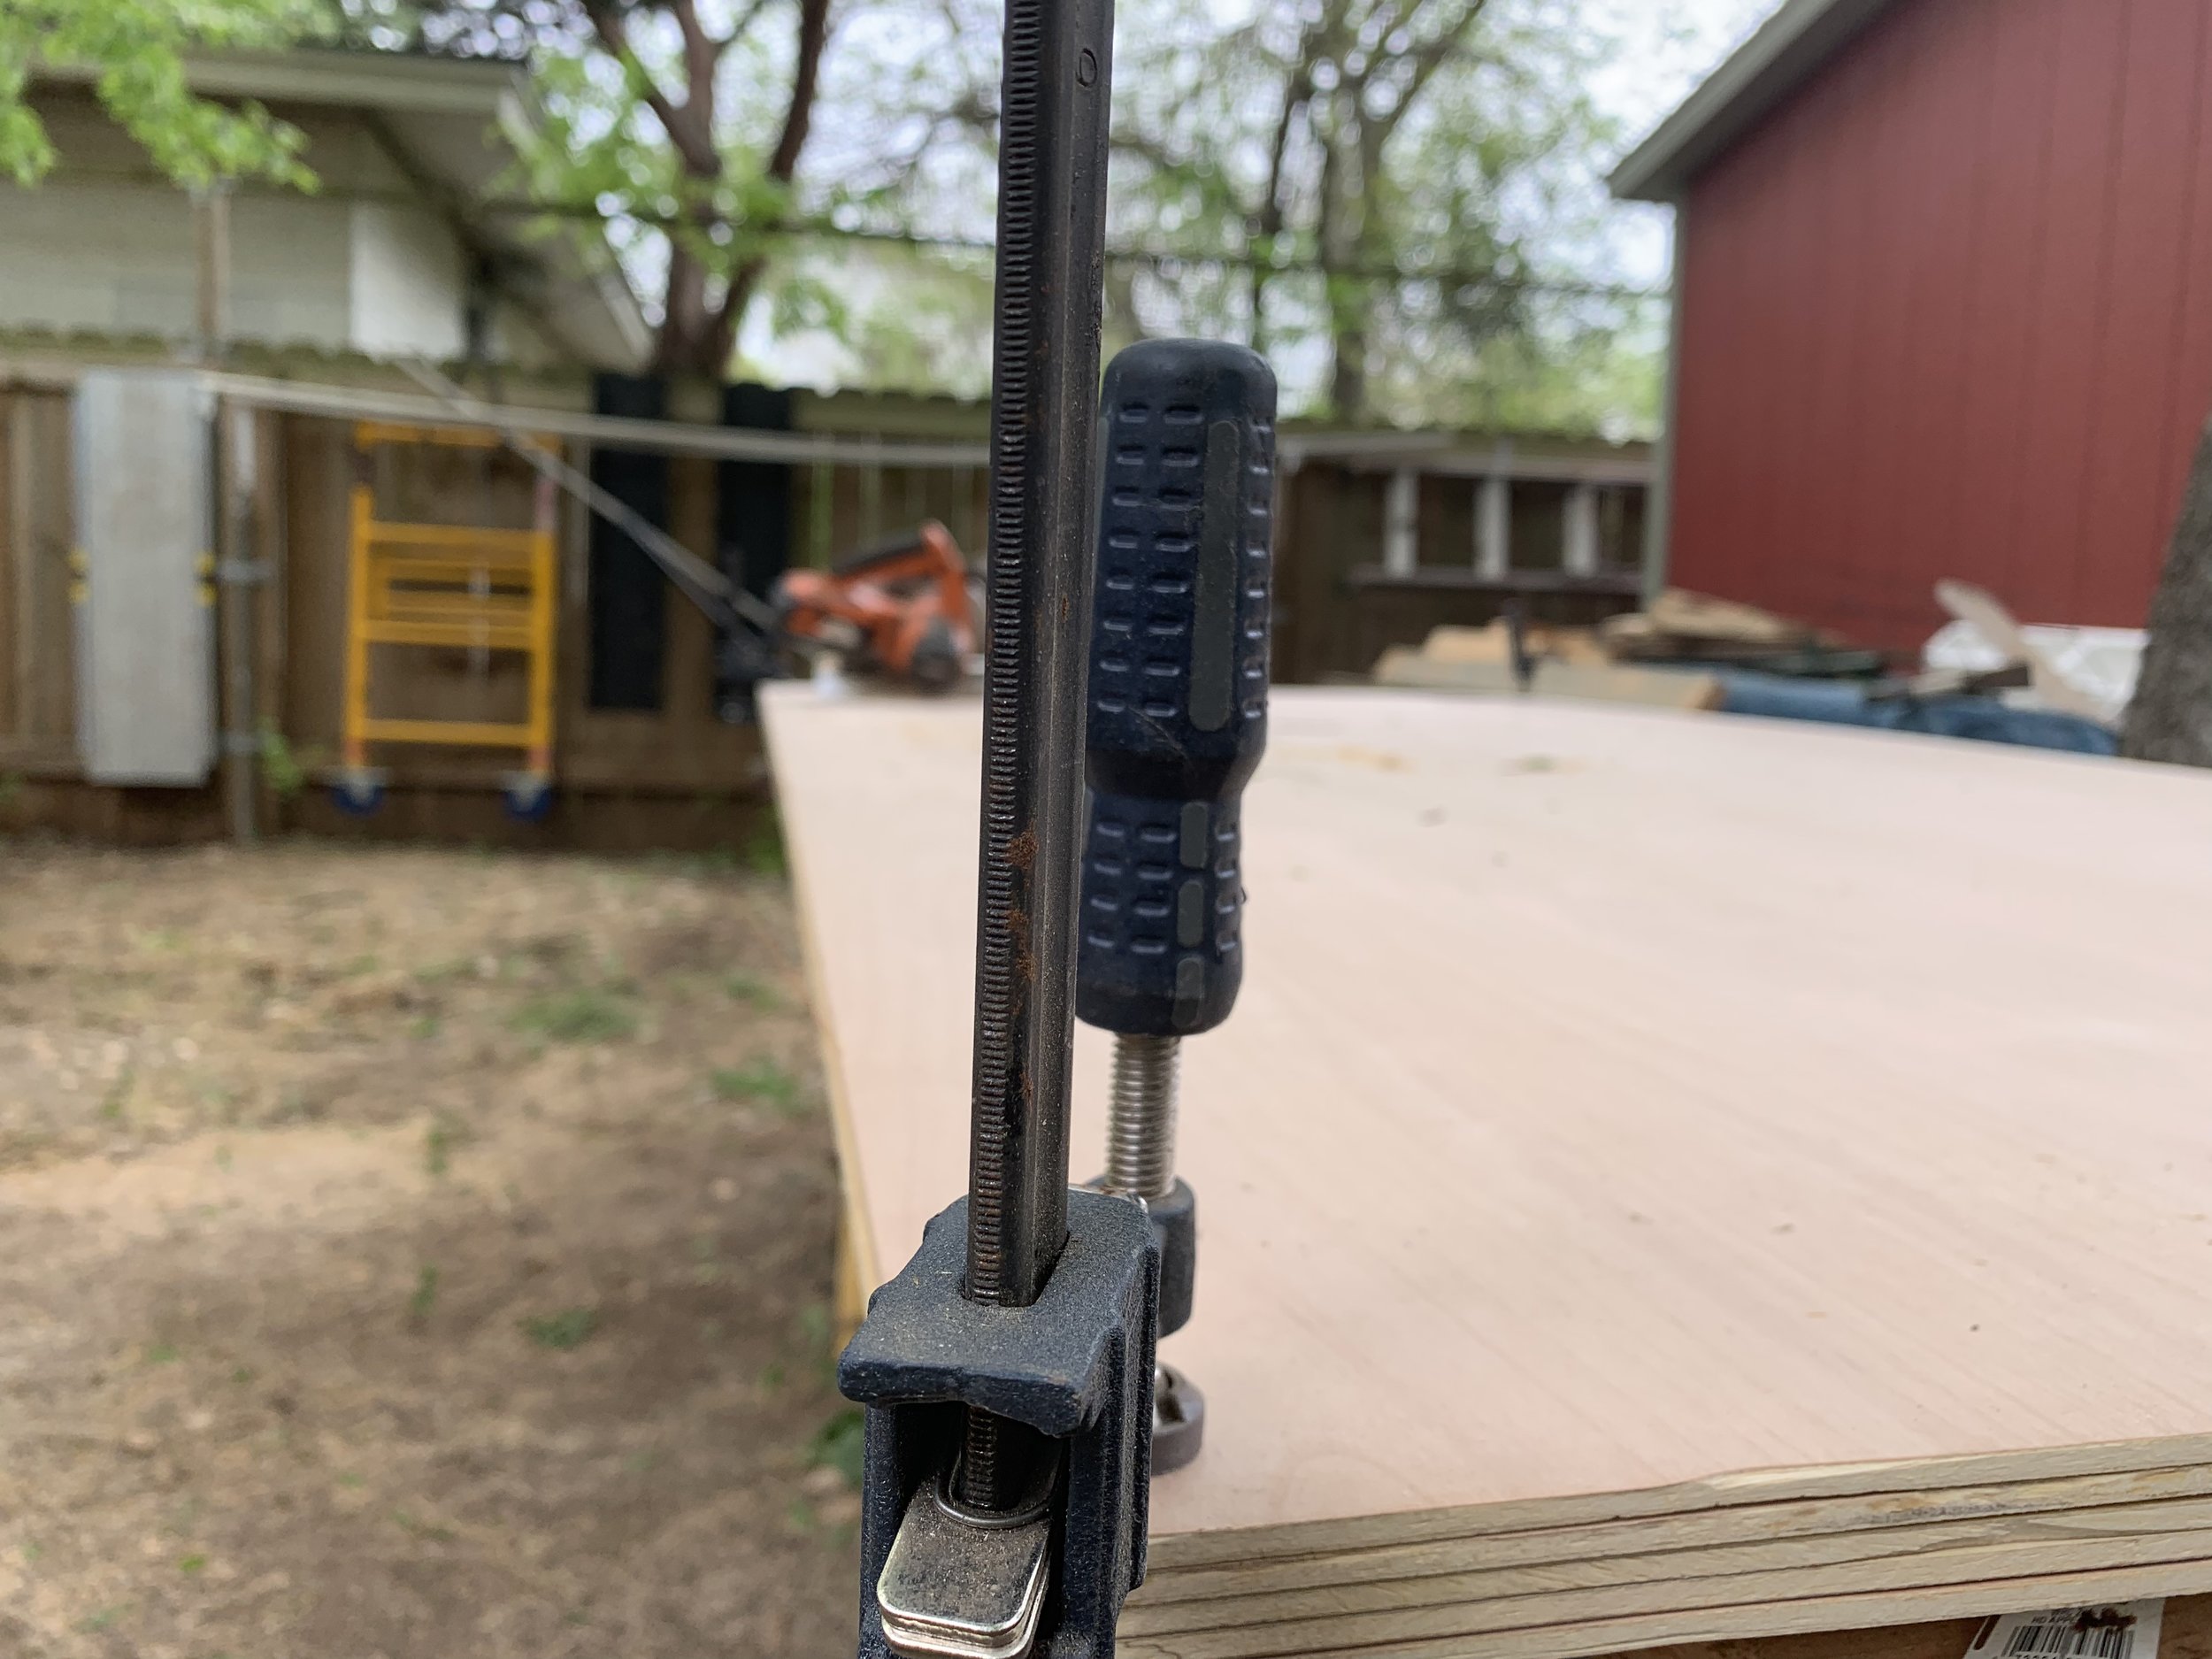
After purchasing the build plans for the diffuser and paying my friend from AMBO Guitars (a superior woodworker) to help me with the build, today was the first day we jumped in. We purchased the wood from Austin Fine Lumber and Plywood in North Austin. Our goal today was to cut the pieces we’d need to assemble. Here’s the progression:


Coming Up Next…

My job this week is to get some more wood from Austin Fine Lumber and Plywood, purchase wood screws, and purchase the stain I would like to use.

More to come… stay tuned.

Absorbing Sound Reflection From Side Walls in a Rectangular Room

I've been working to make my existing mixing setup sound good acoustically rather than getting new pieces of gear. So, I decided to take it upon myself and construct my own sound panels for the side walls of my room:

IMG_2750.JPG

The first thing I wanted to do was absorb the upper mid and high frequencies that reflect off the side walls. Why the side walls? The music I'm listening to from my monitors goes straight to my ears but when the side walls don't have any absorbtion, the direct sound gets combined with the reflections. As you might be able to guess, my monitoring room is a rectangle, which is exactly what you don't want. This reflection can color mixes negatively, so I started treating the side walls with some old Auralex foam panels, some cedar slats, partical board, and some glue.

Here's the general progression of how I put these together

My next project will be to create superchunk bass traps for the corners. I'll have plenty of photos to share.